Home Tags Posts tagged with "video tutorial"
Tag:

video tutorial

Are you ready for part 2 of the RIOLA skirt tutorial? After making the bound opening, sewing the front pleat, the pockets and the sides of the skirt, it’s time to make the waistband, complete with a clean and pretty seam allowances finish, and attach it to the skirt.

Grab your copy of the Riola skirt pattern here: RIOLA skirt.
0 comments
0 FacebookTwitterPinterestEmail
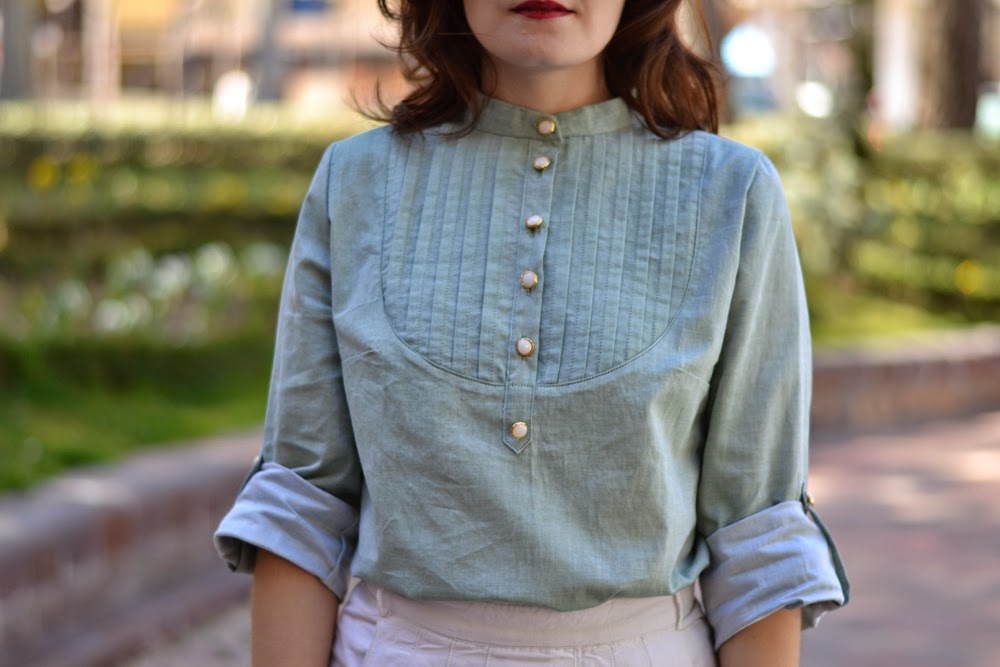
The Carme blouse pattern 2.0 is here! As it’s one of my first pattern, the sizing was not up to date, but I’m happy to tell you that you can now sew this blouse from size 34 to 52.
The pattern includes a print-at-home file as well as copyshop version. Get your copy here: Carme blouse pattern.
And now, buttons! In this tutorial, I’ll show you where to place the buttons and buttonholes. You’ll not see me actually stitch them because, 1st I didn’t have my buttons at the time, and 2nd my machine makes an automatic buttonhole in 1 step so… not really interesting.
I have seen versions of the Carme blouse with only 2 or 3 buttons on the button placket and that’s a great idea! You’ll probably never wear it buttoned-up so it’s a good way to spare buttons and go for a more relaxed look. I think I’ll do that for my next version…

Thank you so much for following this Sew-Along and I really hope you enjoyed the video tutorials. I know I had fun making them. I’m looking forward to see photos of your Carme!!!


4 comments
2 FacebookTwitterPinterestEmail
The Carme blouse pattern 2.0 is here! As it’s one of my first pattern, the sizing was not up to date, but I’m happy to tell you that you can now sew this blouse from size 34 to 52.
The pattern includes a print-at-home file as well as copyshop version. Get your copy here: Carme blouse pattern.


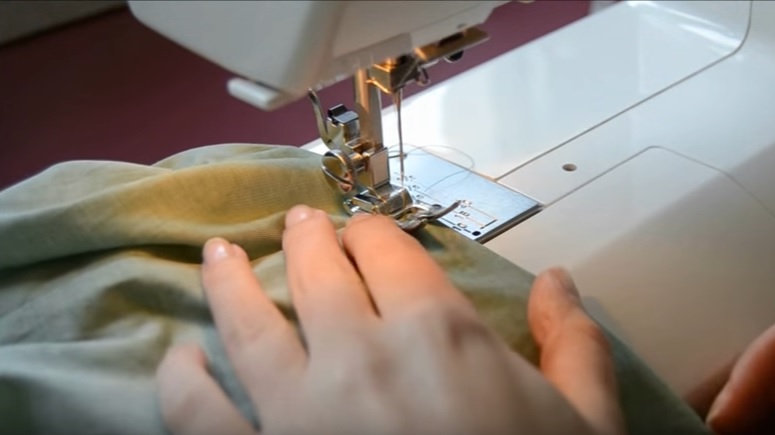
We’re almost done with the Carme blouse! Today we’ll hem it. We’ll use a narrow hem (0,5 cm or 3/16″) but you don’t need a special foot. Let’s see how to do it:

On Wednesday, we’ll see the last part of this Sew-Along, the buttons and buttonholes placement. Have a great week!


3 comments
0 FacebookTwitterPinterestEmail
The Carme blouse pattern 2.0 is here! As it’s one of my first pattern, the sizing was not up to date, but I’m happy to tell you that you can now sew this blouse from size 34 to 52.
The pattern includes a print-at-home file as well as copyshop version. Get your copy here: Carme blouse pattern.
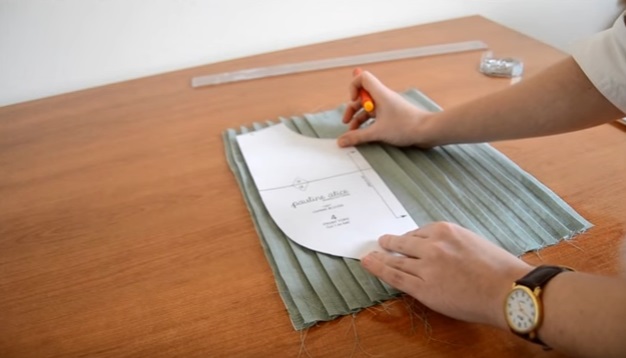
The pin tucks… they might seem difficult to make and get those nice and parallel little folds might seem tricky but it’s not!
When I was designing the Carme blouse, I wanted to incorporate pin tucks because I find they add a romantic detail without beeing to “frilly”. So I tried different approach to pleat the yoke and the one we’re using is by far the easiest I could find (if you have any other method, please let us know).
We’ll make the pin tucks on a big enough piece of fabric and then cut the yoke out of it. So if you’re not happy with your pin tucks, you can make more before cutting the final yoke.
And don’t worry, folding the pin tucks is not as time consuming as you think… just need a little bit of patience.


15 comments
0 FacebookTwitterPinterestEmail

We really like to share these video tutorials with you as we know you might need some visual help or a little motivation to sew the Mila jumpsuit & dress pattern. As usual, we’ll cover all the steps to make the Mila pattern, this time focusing on View B, the dress version. But the construction is almost identical for the jumpsuit!

Have fun watching it and let us know if you have any questions…

4 comments
1 FacebookTwitterPinterestEmail

In order to help you sew your Romero trousers, we have prepared a special video tutorial how to sew the pockets and button opening for this pattern.

This step-by-step video will give you tips and advices to make what can be considered the most difficult part of the pattern… and you’ll see that it’s definitely not that difficult!

If you have doubts or you’re not sure how to follow one step, feel free to contact us any way you want: leave us a comment or send us an email at info@paulinealicepatterns.com, we’ll be more than happy to help you.

Don’t forget to share your projects on social media with the hashtag #RomeroTrousers.

5 comments
2 FacebookTwitterPinterestEmail

We are very excited to share this new video tutorial about the Hemisfèric Coat with you today!

It’s a perfect visual help for all of you who don’t feel secure enough to try this project. So, don’t be afraid anymore and take your sewing machine, your fabric and your scissors and enjoy watching our video tutorial!

If you have any question, feel free to ask in the comment section or send us an email at info@paulinealicepatterns.com, we’ll be happy to help. And don’t hesitate to share your Hemisfèric Coat with us on social media with the hashtag #HemisfericCoat.

1 comment
16 FacebookTwitterPinterestEmail

We are very excited to share this video tutorial with you today! While working on the Lliria dress pattern, we thought it would be such a great idea to offer a more visual help for all of you who don’t feel secure enough to try this project. Sometimes, we just need a little bit of extra help to tackle a new challenge.

So get your Lliria dress pattern, your fabric and your sewing machine and enjoy watching our video tutorial!

If you have any question, feel free to ask in the comment section or send us an email at info@paulinealicepatterns.com, we’ll be happy to help. And don’t hesitate to share your Lliria dress with us on social media with the hashtag #LliriaDress.

2 comments
9 FacebookTwitterPinterestEmail
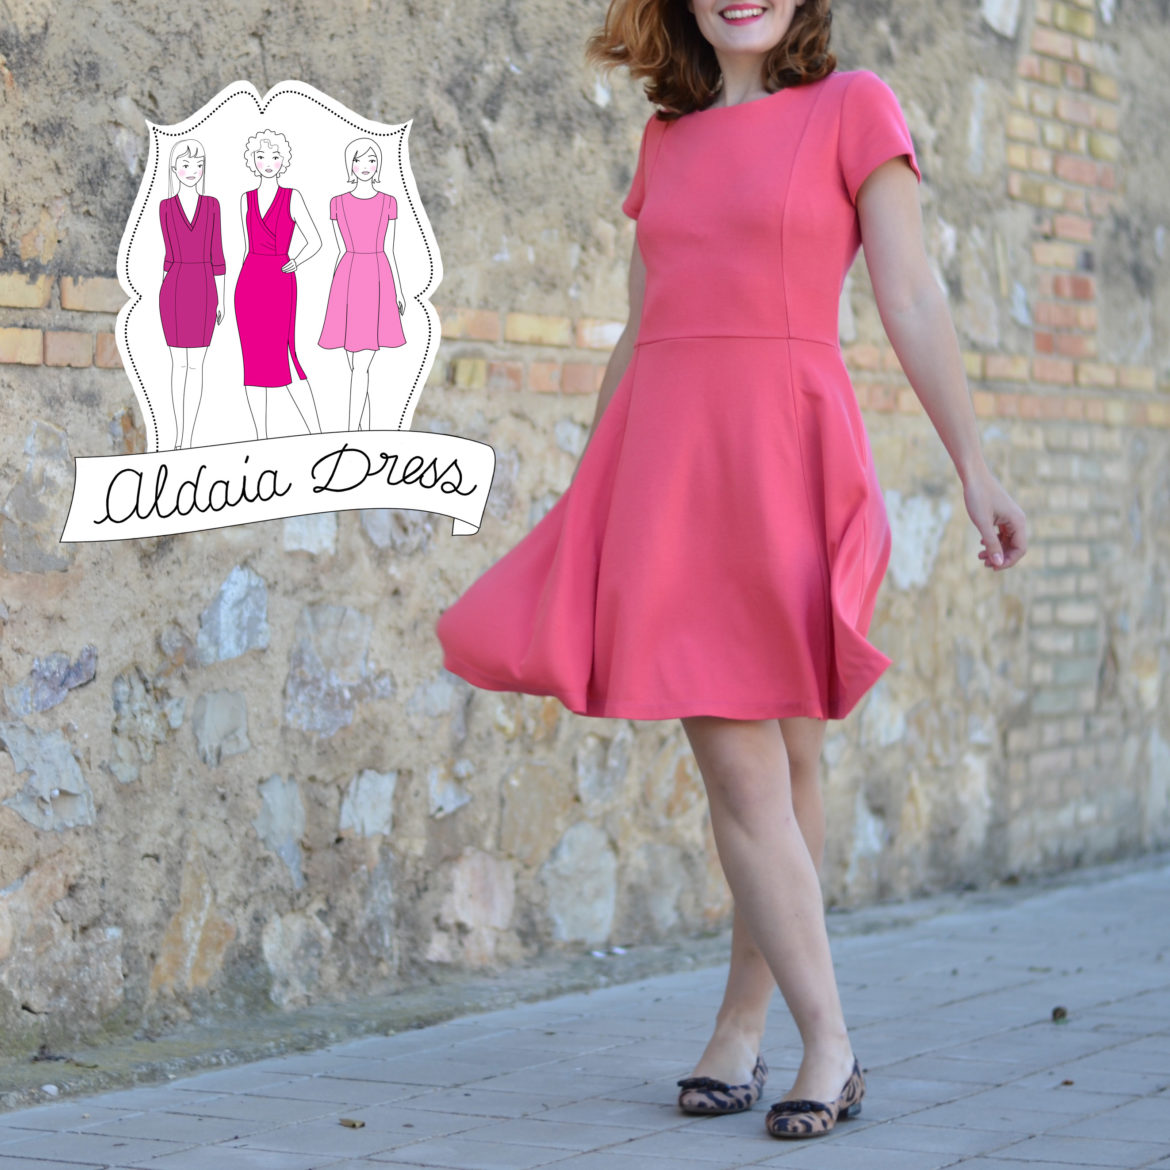
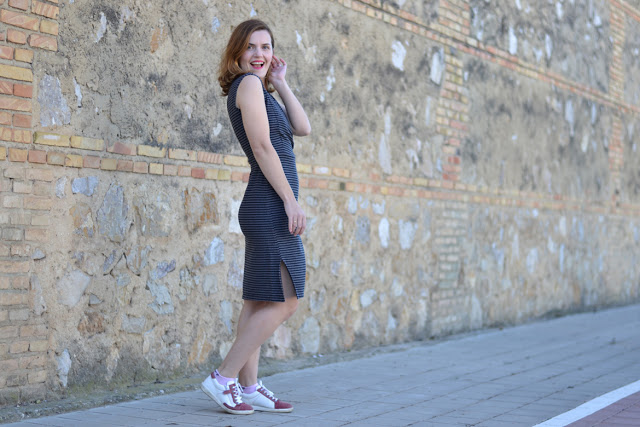
Here’s the second part of the Aldaia dress tutorial series.
If you want to sew the Aldaia dress pattern but don’t own a serger, no problem! You can use your sewing machine to sew knits, you’ll just to know a few tips. Let’s see them:

If you have any questions, feel free to ask in the comments below.

signature1_editado-1

0 comments
4 FacebookTwitterPinterestEmail
aldaia dress 3
It’s not always easy to choose the right fabric when sewing: it needs to have the right drape, body, weight… and in the case of the Aldaia dress pattern, the right amount of stretch!
I’ve prepared a short video to show you what types of knit fabrics would work nicely for the Aldaia dress and a tutorial on how to calculate the stretch percentage of your fabric. For the Aldaia dress, you’ll need a fabric with a stretch percentage between 20% and 40%.

If you have any question, feel free to ask!

Watch the video in Youtube.

signature1_editado-1

0 comments
1 FacebookTwitterPinterestEmail
  • 1
  • 2