The Carme blouse pattern 2.0 is here! As it’s one of my first pattern, the sizing was not up to date, but I’m happy to tell you that you can now sew this blouse from size 34 to 52.
The pattern includes a print-at-home file as well as copyshop version. Get your copy here: Carme blouse pattern.

 Method 1.
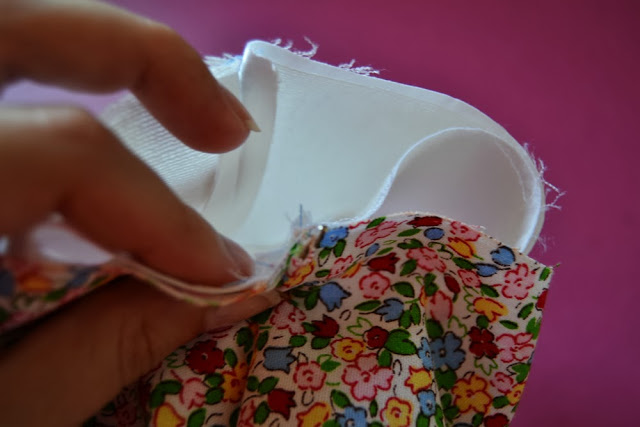
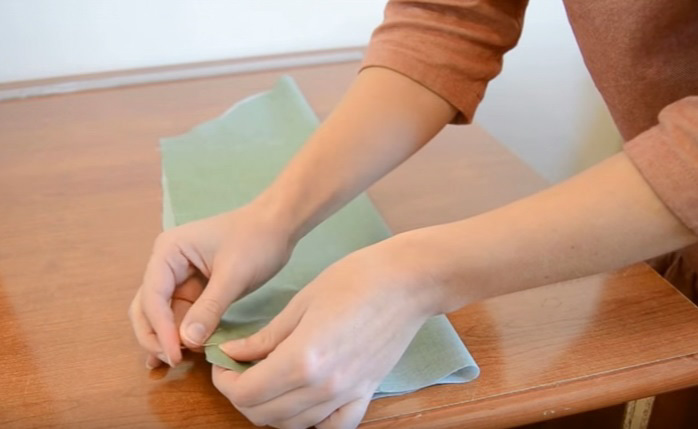
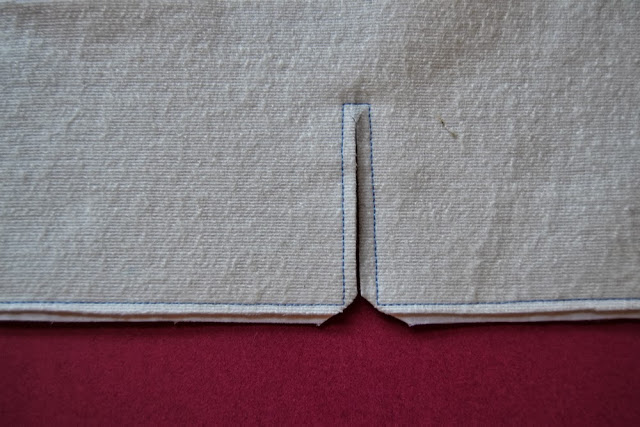
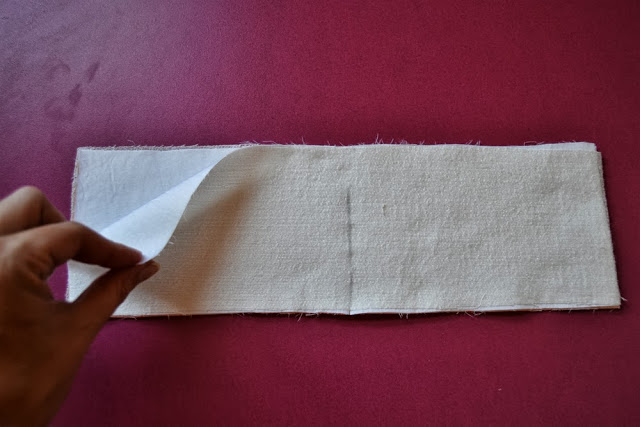 1.Take your two cuff pieces, already interfaced and place them with right side together. Make sure the opening is marked (I drew only the slit but you can draw the whole box as in the pattern, it’s easier).
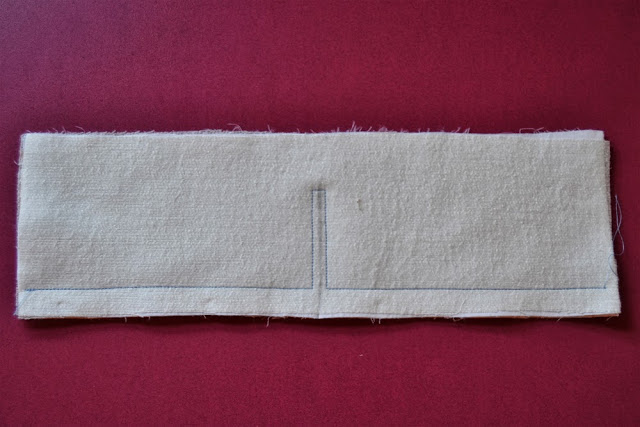
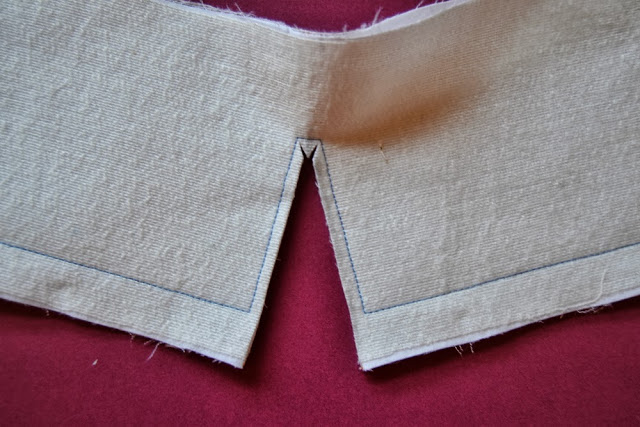
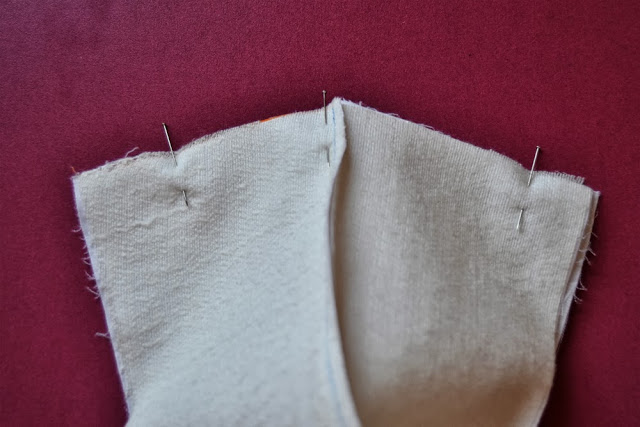
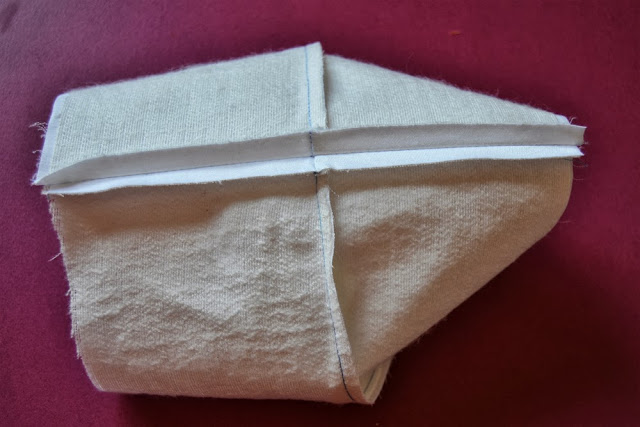 6.Press the seam open.
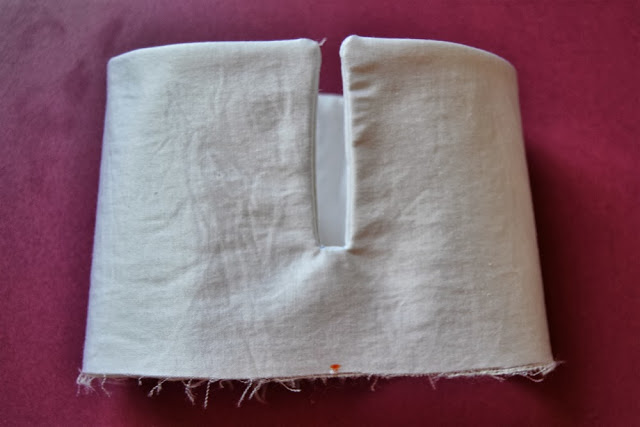 7.Turn the cuff inside out and press.
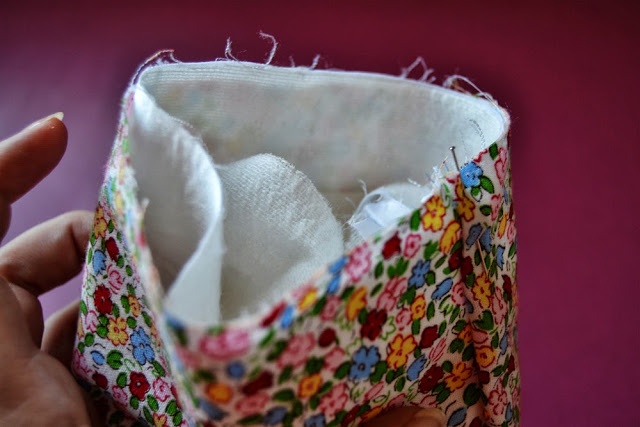
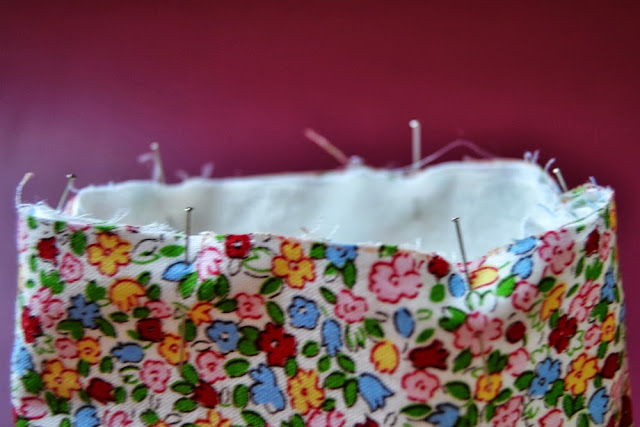
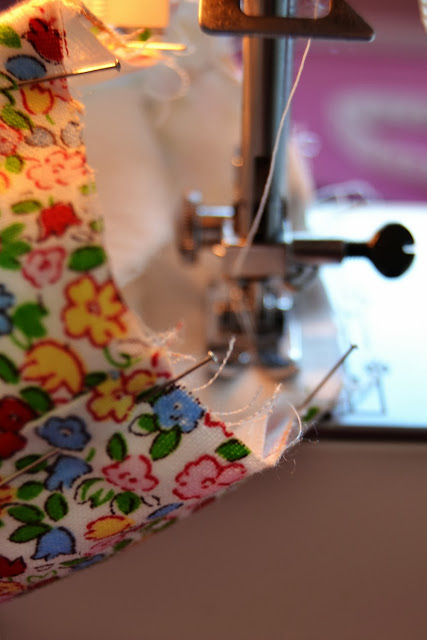 1. Now comes the tricky step: matching the cuff seam and the sleeve seam, pin the cuff inside the sleeve hem. Look carefully at the pictures and try before sewing. We will stitch the cuff like we would stitch bias binding. So the cuff right side is against the sleeve wrong side (believe me, try it! I inserted my first cuff on the wrong side.) When you have pinned it, stitch. Trim the seam allowances and press toward the cuff.
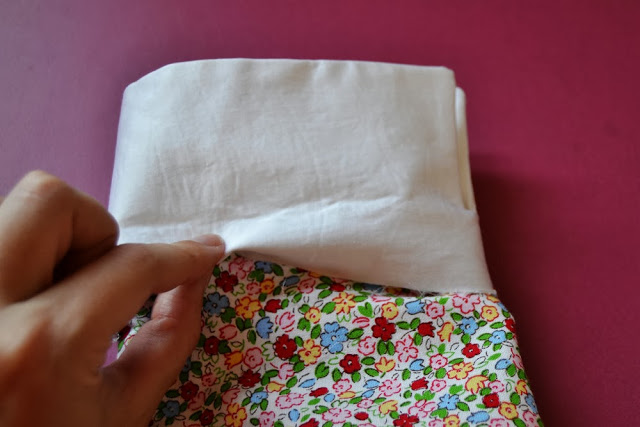
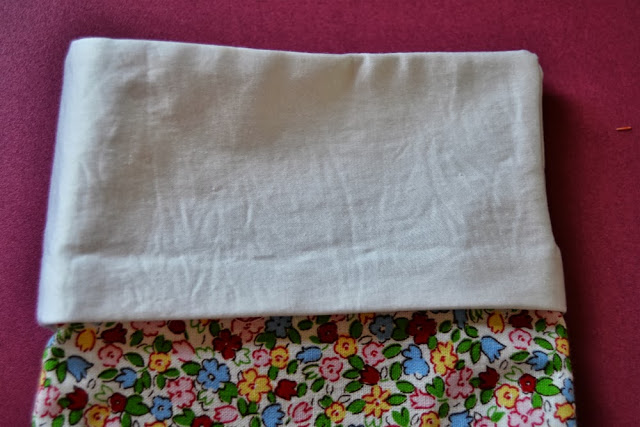 2. Take the cuff out of the sleeve and press the seam allowance toward the cuff.
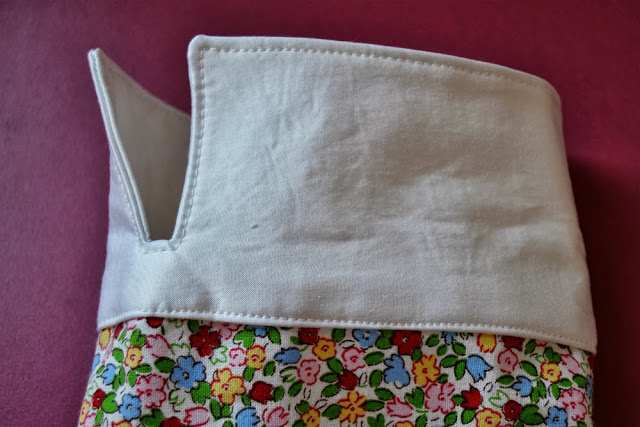 3. Topstitch!
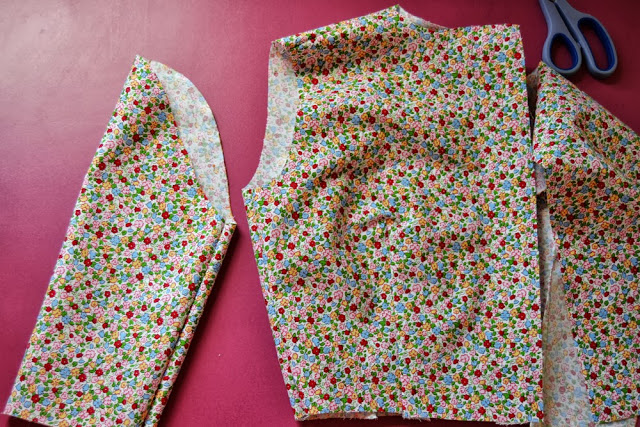
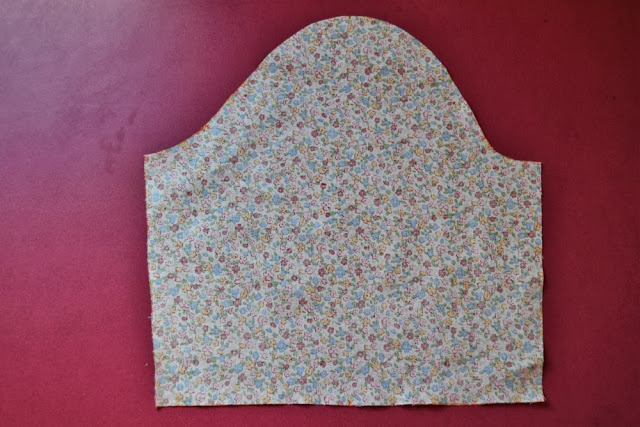
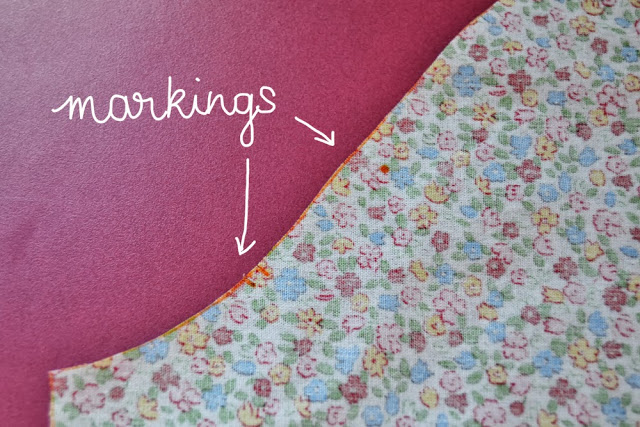 1.The first step is to make sure you have marked your fabric correctly. Take your sleeve piece and check that you have marked: the dots for easing, the top center, the two marks indicating the back and the one mark indicating the front. Those are important in order not to set the wrong sleeve in the wrong armhole!
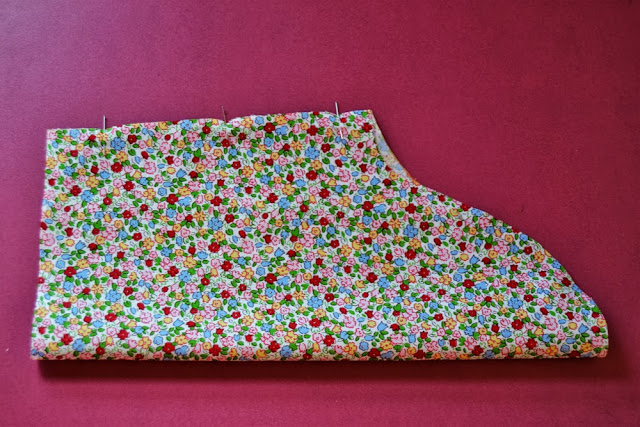 1.With WRONG sides together, pin the sleeve sides.
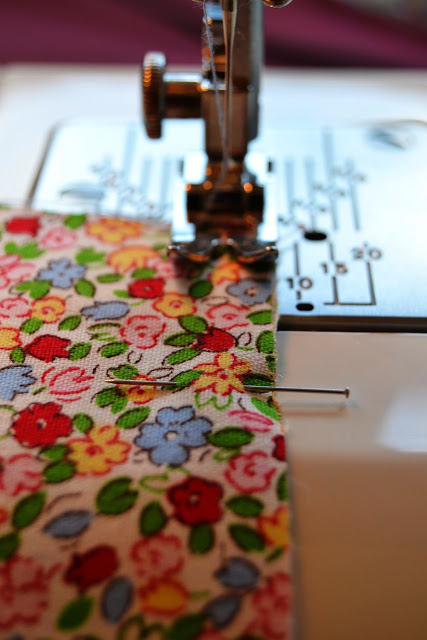
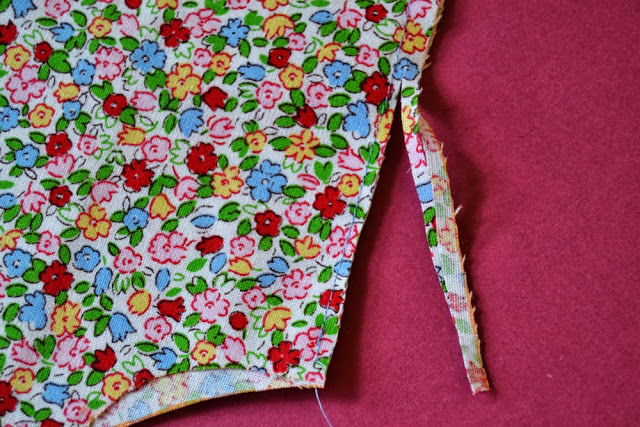
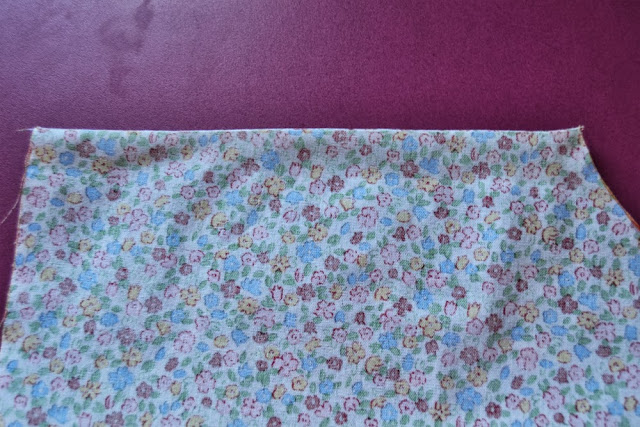 4.Turn over, with wrong sides out and press the seam flat.
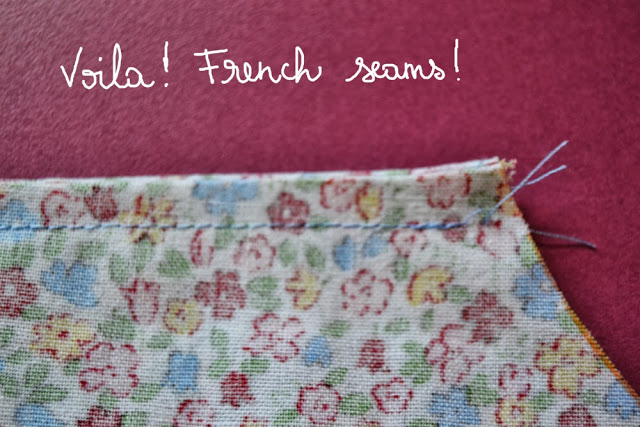
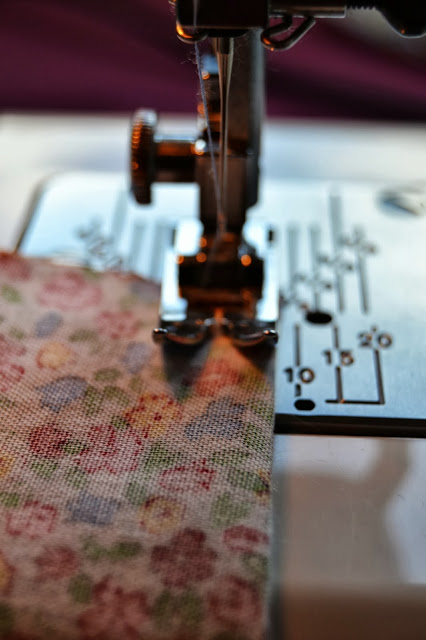 5.Stitch the side seam again at 0,6 cm (1/4″) or the presser foot width. You will be enclosing the seam allowances, creating a clean finition. Press the seam to one side.
 SET THE SLEEVE IN
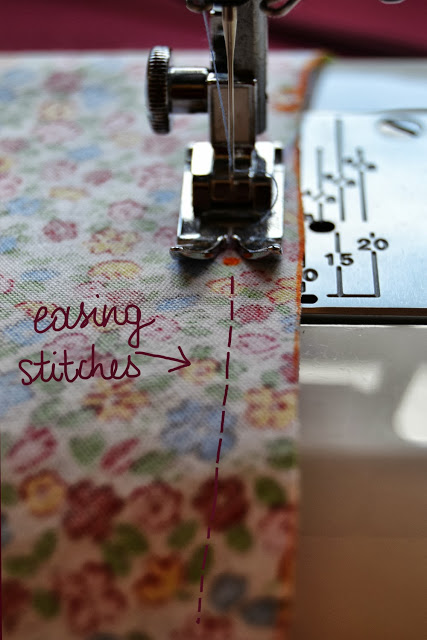 1.With a long basting stitch, ease the sleeve head from one dot to the other.
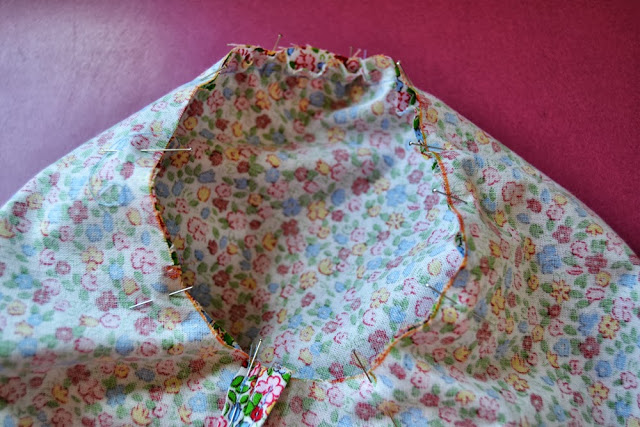 3.When they match, pin and ease the fabric excess of the sleeve head with the basting bobin thread, making sure there is no pleats. When it fits perfectly, pin everything (don’t be afraid to over-pin!).
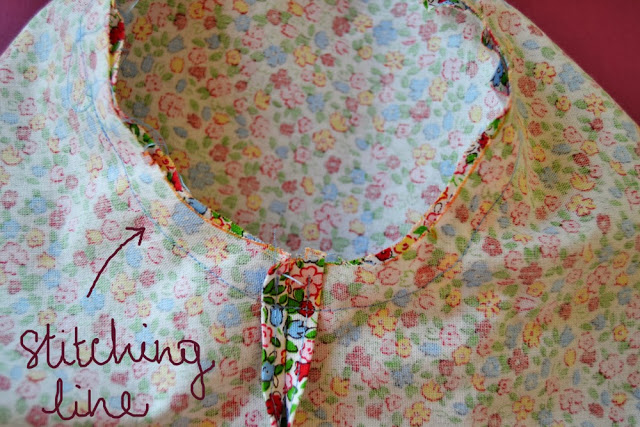
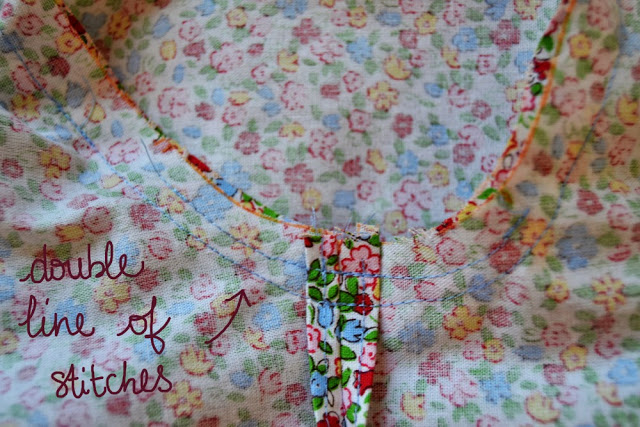 4.Stitch around the armhole. Make sure there are no pleats at the sleeve head.