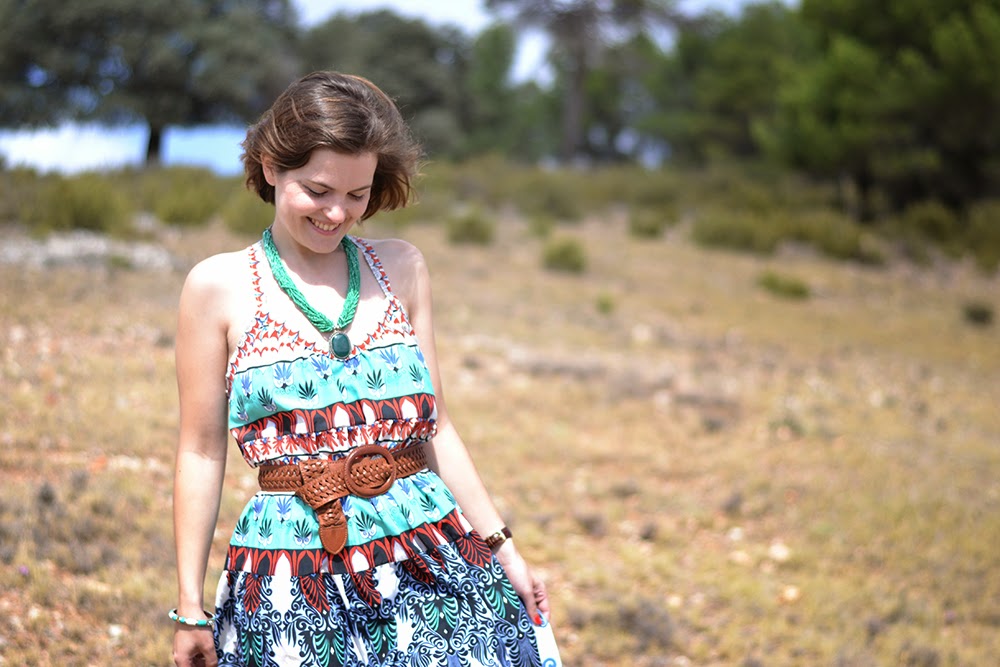
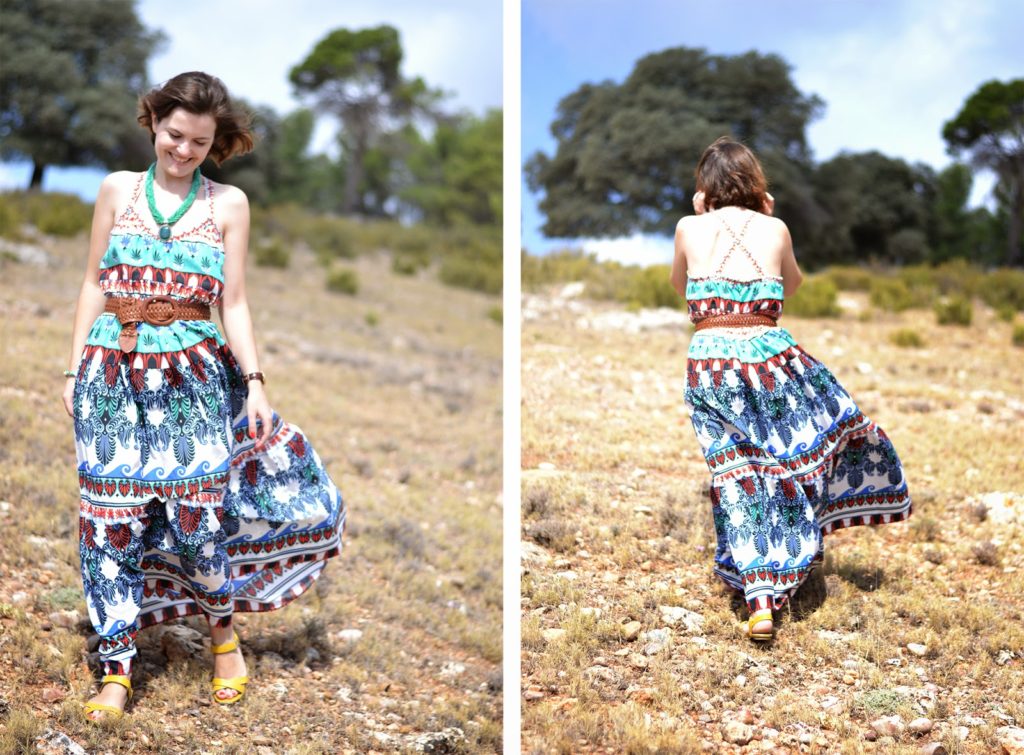
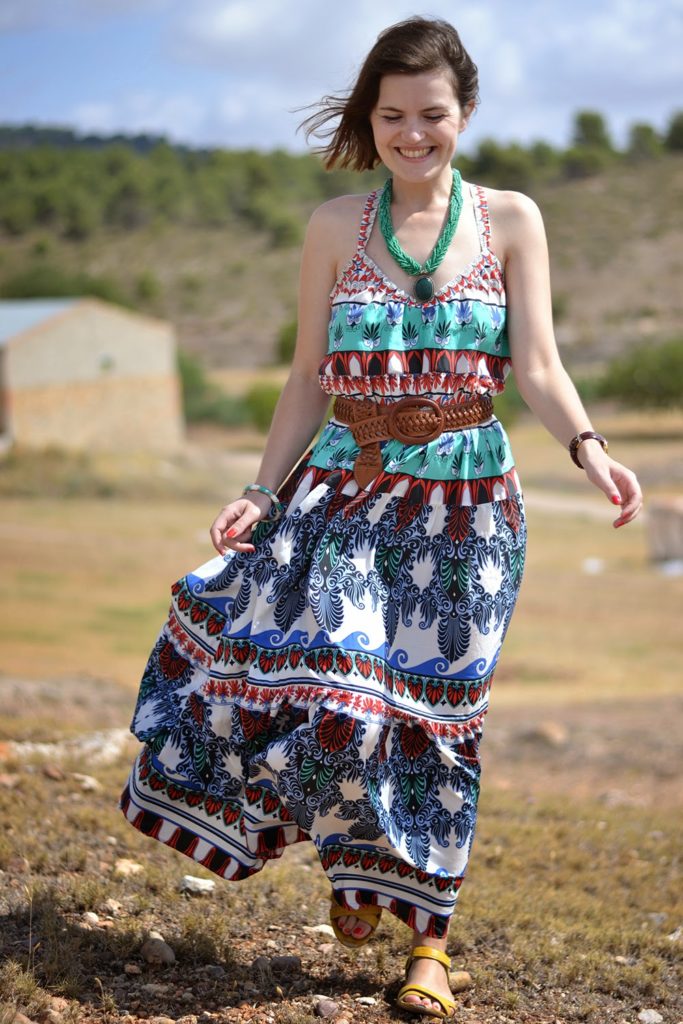
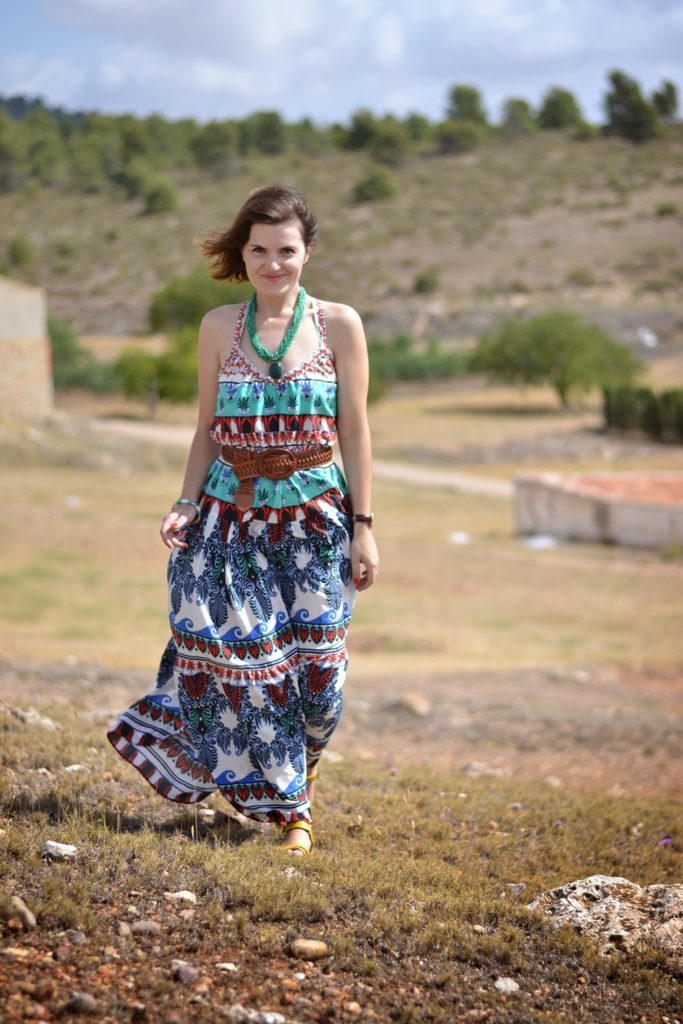
self-drafted
When I first designed the Camí dress pattern, I spent a long time deciding whether I should make a classic shirt collar or a cute peter pan one. Well, you which one won but I kept the peter pan collar as a backup idea. I am going to show you how to draw your own peter pan collar for the Camí dress (or any other dress or blouse). If you don’t feel confident enough for the shirt collar or want to go for a super cute look, that’s a great alternative!
Pendant la conception du patron de la robe Camí, j’ai longtemps hésité entre faire un col chemisier classique et un col claudine. Bon, vous savez lequel l’a remporté mais j’ai quand même gardé l’idée du col claudine dans un coin de ma tête, juste au cas où. Je vais donc vous montrer comment dessiner votre propre co claudine pour la robe Camí (ou toute autre robe ou blouse). Si vous ne vous sentez pas prête à attaquer le col chemisier ou que vous voulez une robe au style encore plus féminin, voilà la parfaite alternative!
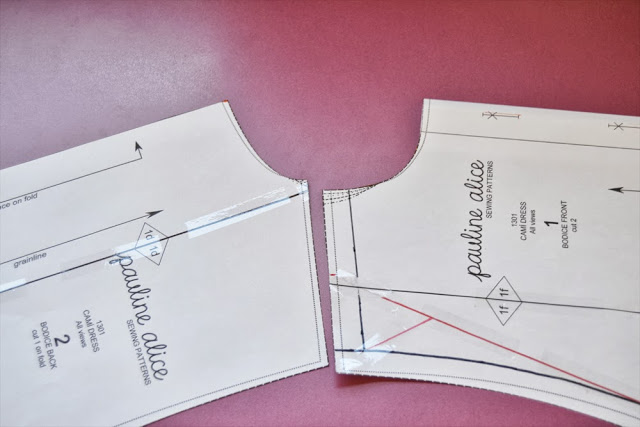
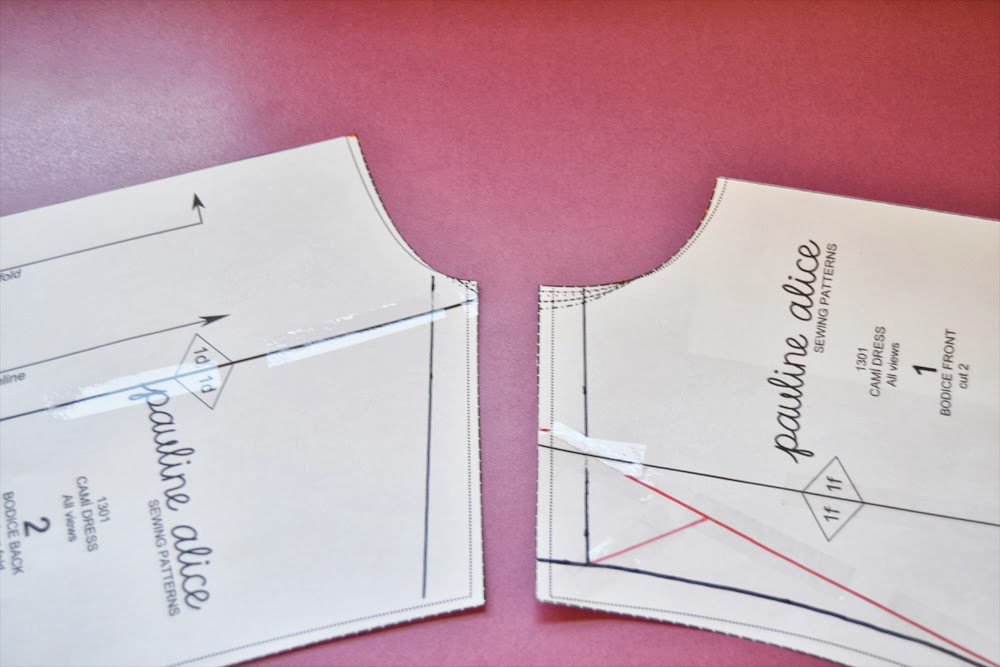
1. Take your front and back bodice pattern pieces. On the bodice front, decide where you want your collar to arrive: cross over the button placket (first picture – fold the first part of the placket), join at the middle of the button placket (no picture – fold the placket on the button line), before the button placket (second picture – fold the whole placket). Mark the seam allowances at the shoulder (1,5 cm or 5/8″).
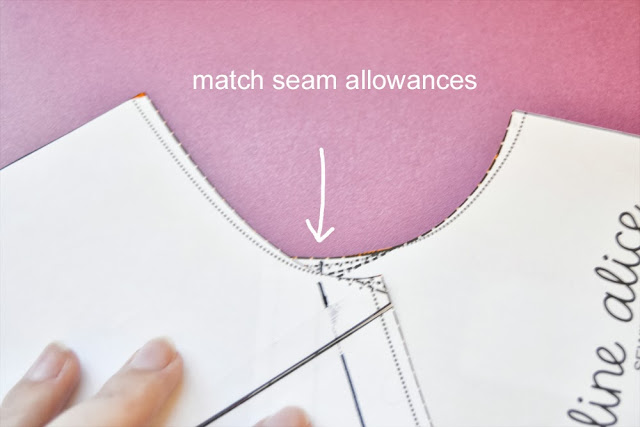
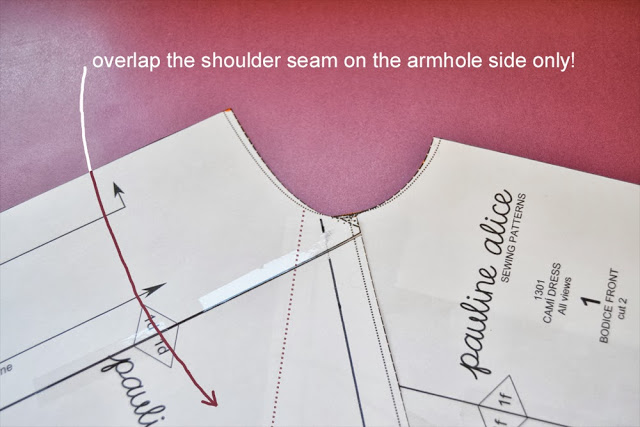
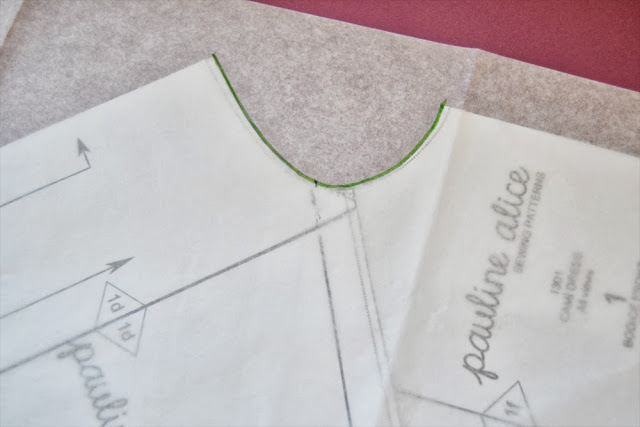
4. Now you’ll need to paste the pattern pieces together so they don’t move and get some pattern paper. Trace the neckline.
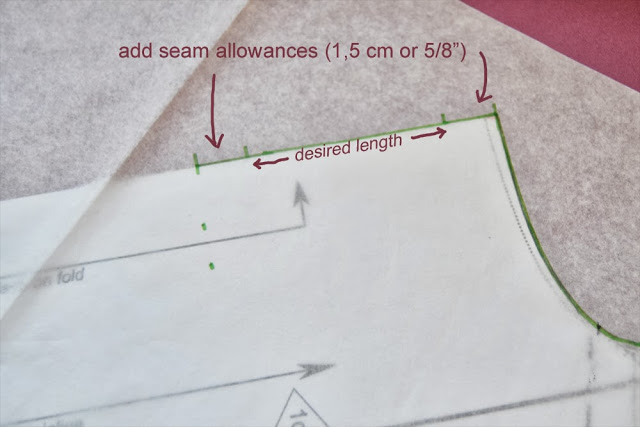
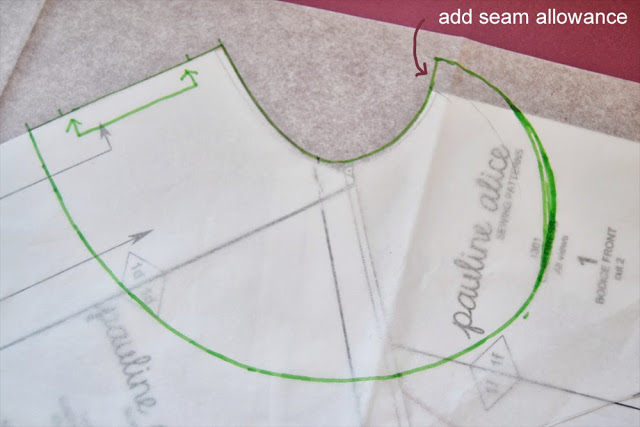
7. Cut two pieces of this pattern on the fold in the fabric and interfacing. Interface and stitch the exterior seam with right sides together. Clip the seam allowances or cut close to the edge, turn inside out and press flat. Ready to attach to your neckline!
Scarlett Dress: the construction
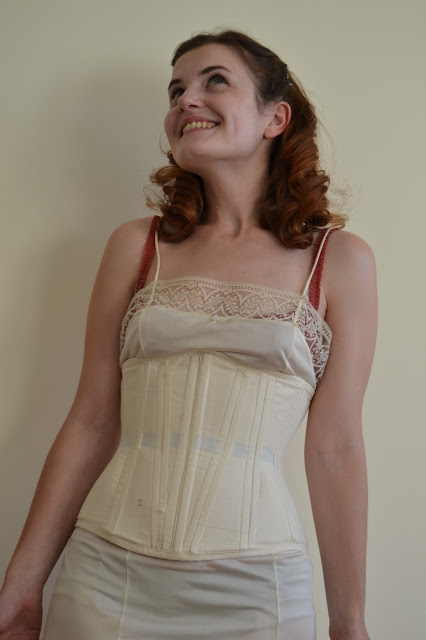
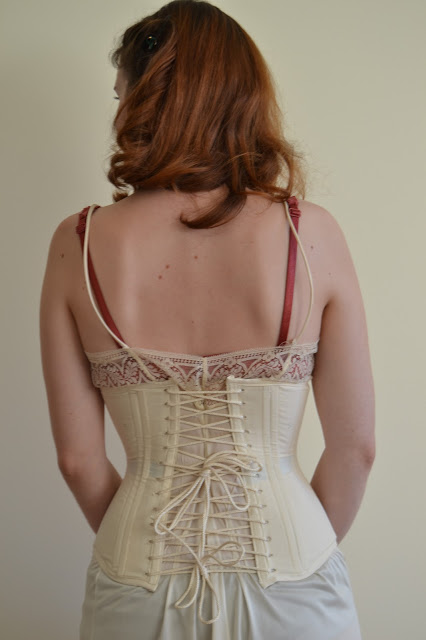
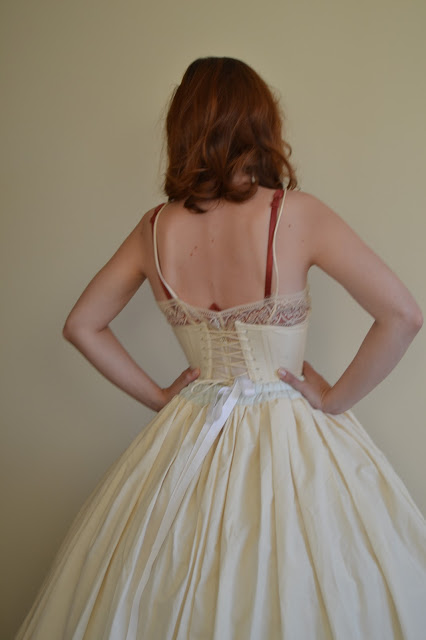
Let’s start with the corset:
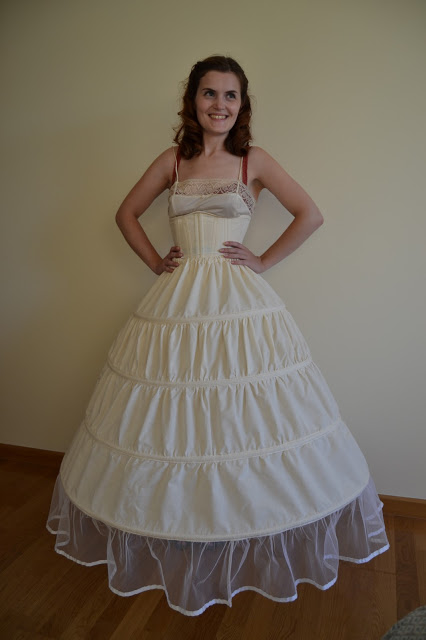
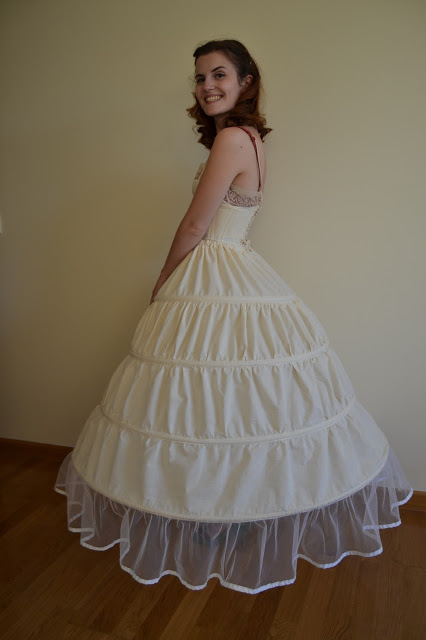
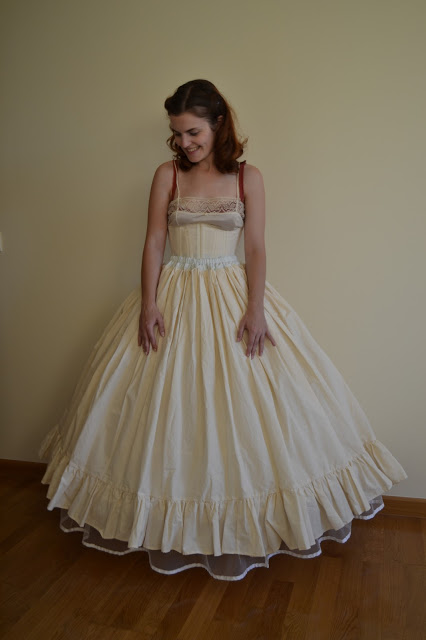
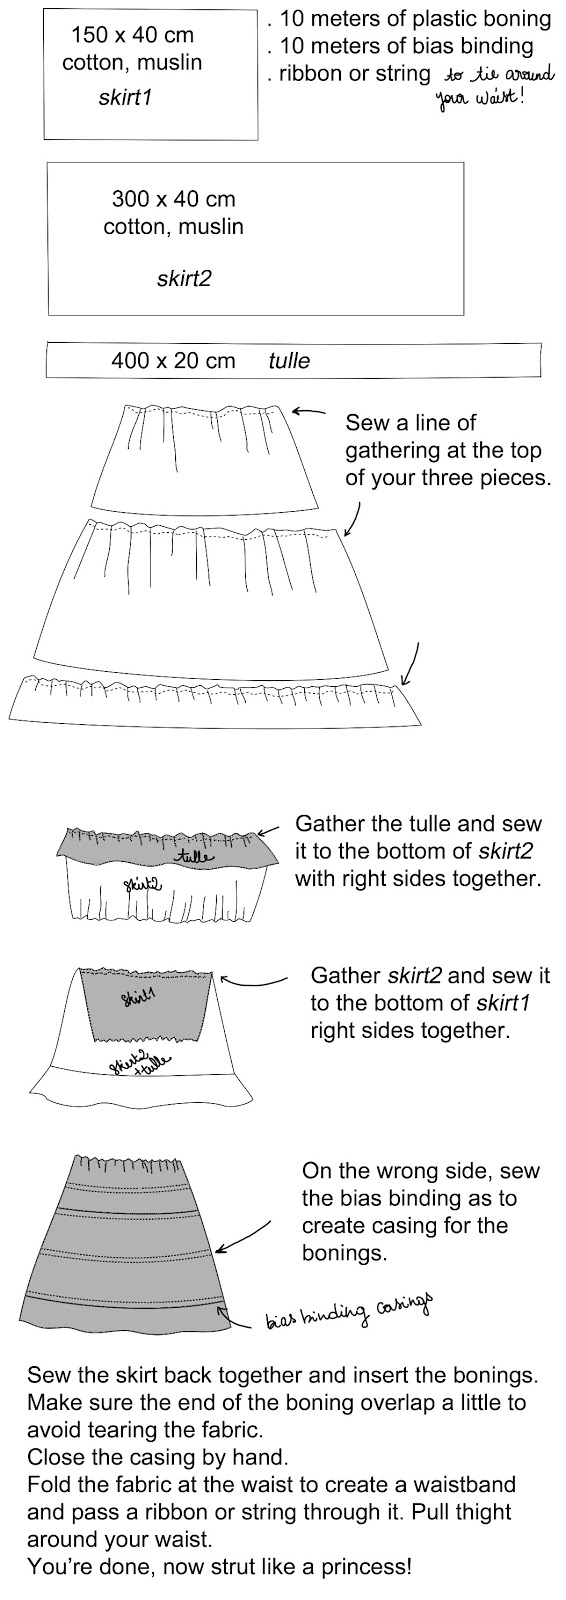
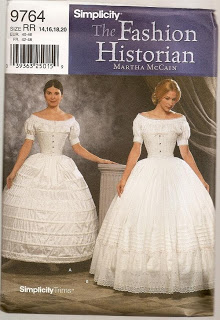
Here is the hoop-skirt: the most important part of the costume as it support the whole dress. The volume depends of how many hoops you add and the width. Here is how I made mine:
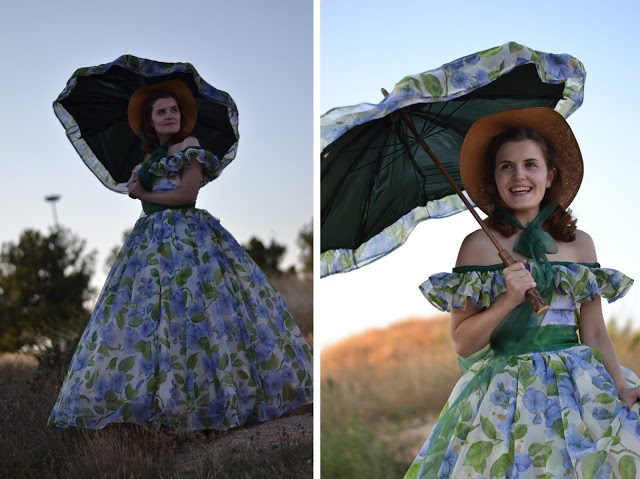
Scarlett O’Hara Barbecue Dress
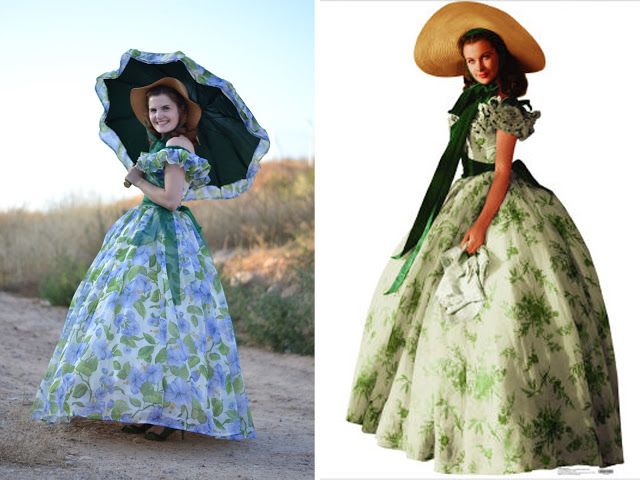
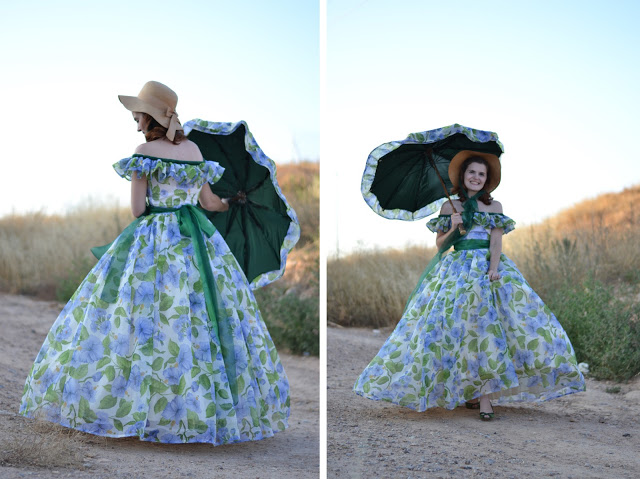
That’s the last dress I made: the famous barbecue dress worn by Scarlett O’Hara in Gone with the wind.
I made it for a special occasion (I don’t wear that kind of dresses on a daily basis, sorry to disappoint you): a costume birthday party! How cool is that? I love costume parties…
And as the theme was the cinema, I couldn’t think of a better heroine than Scarlett.
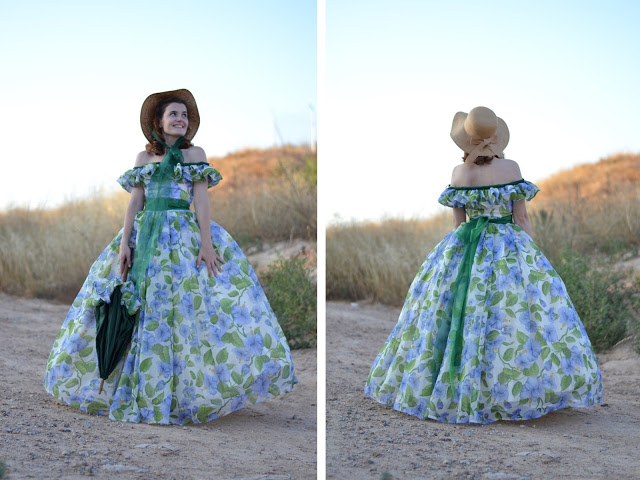
The most important part of the costume is the foundation: a corset, a hoop-skirt and an underskirt. I will explain all those parts in the following post.
I leave you with a short excerpt from the movie where you can see the dress and the foundation worn by Scarlett I used as inspiration.
See you on Friday for the details post.
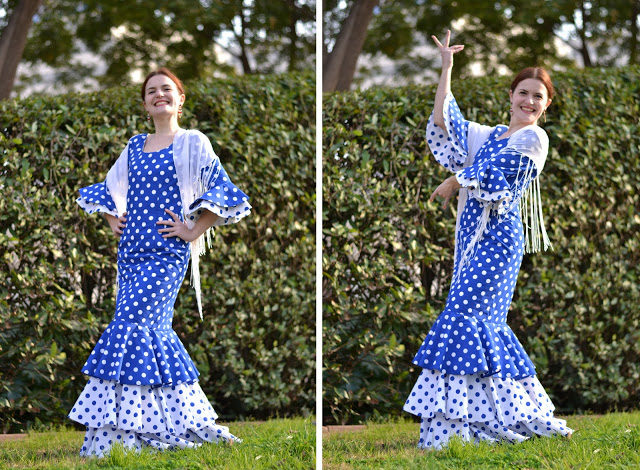
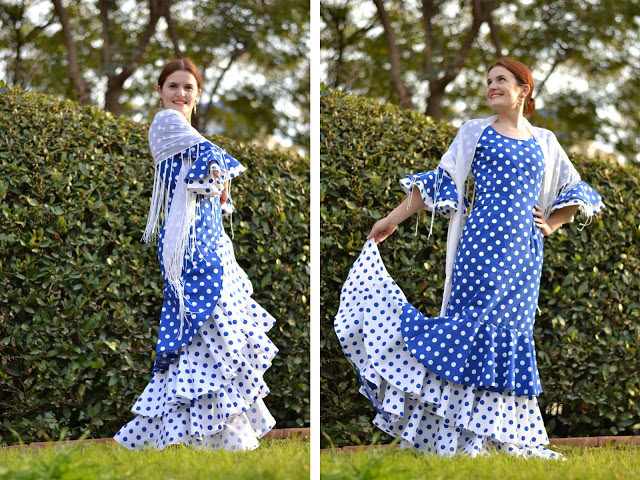
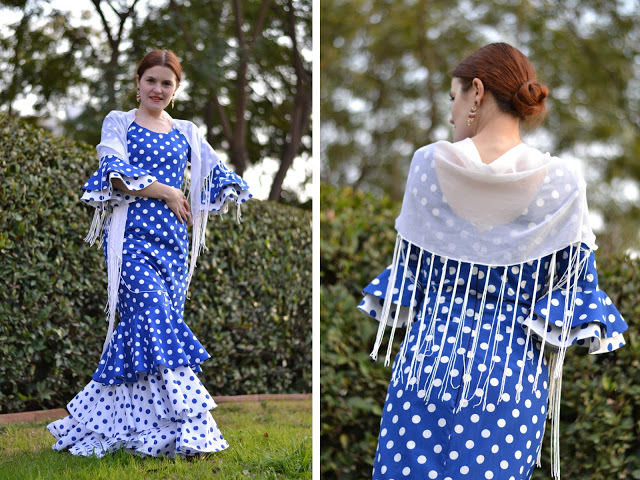
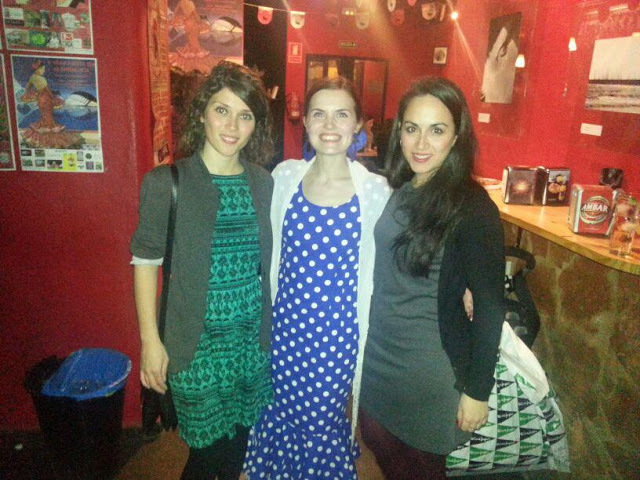
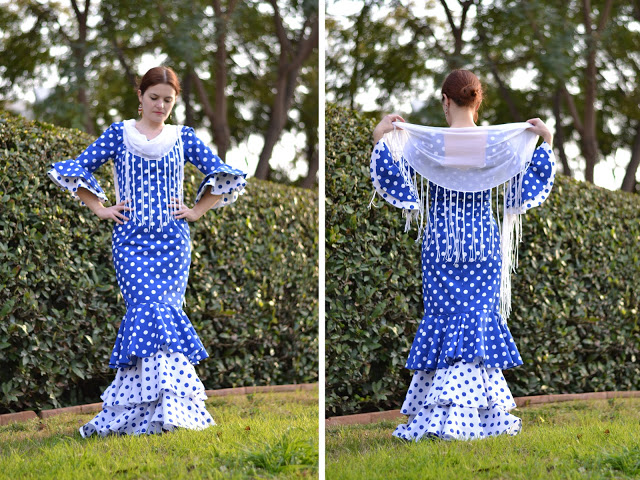
Flamenca dress part 4 – skirt
…………………………………………………………………………………………………………………………………………….
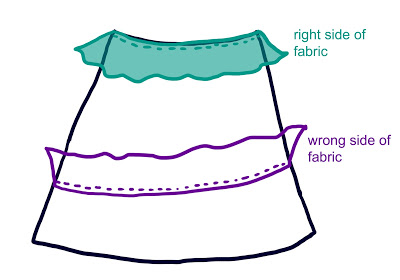
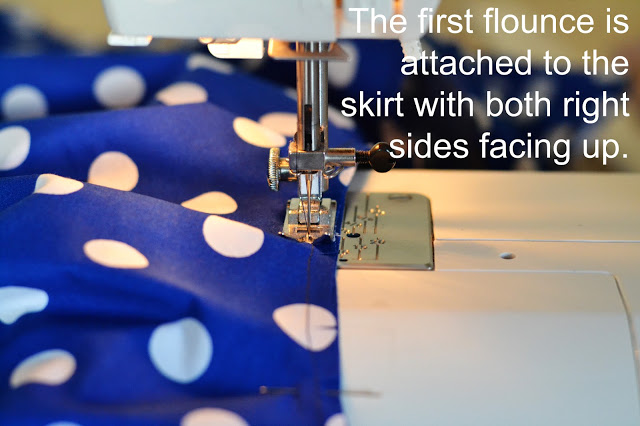
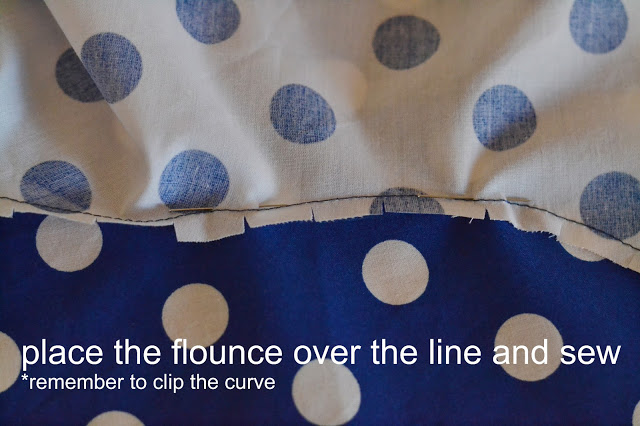
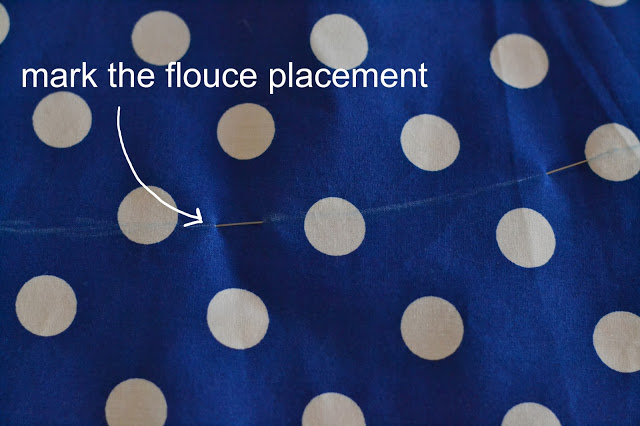 3-Here is a drawing (very bad!) I made to explain how to place the flounces on the skirt. You see that the first flounce is sewn right side up and the following ones wrong side up with the flounce facing upward (that way, the seam allowance is hidden nder the flounce when folded).
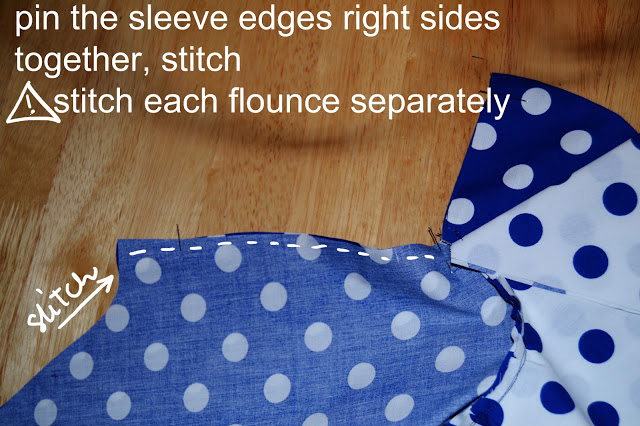
 4-Repeat step 7 of the previous post to sew the back the dress (remember to sew each flounce separately).
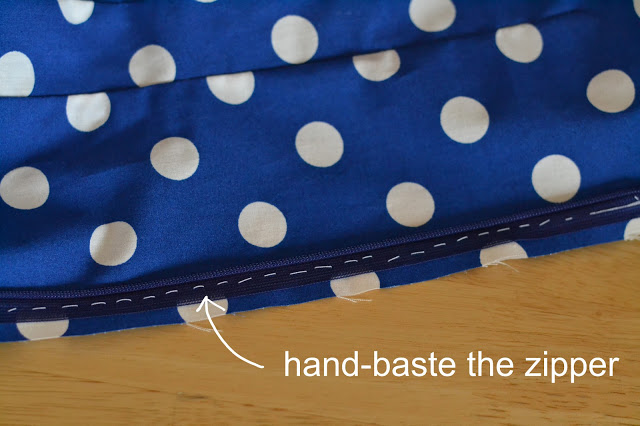 6-Hem the skirt and the flounces as you choose (decorative binding, turn in hem…).
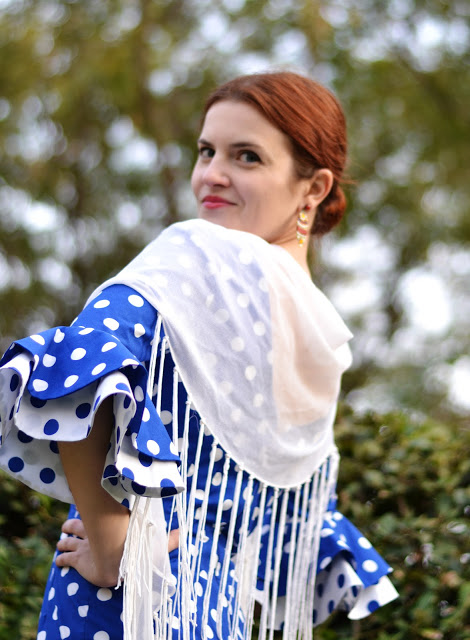

Flamenca dress part 3 – sleeves
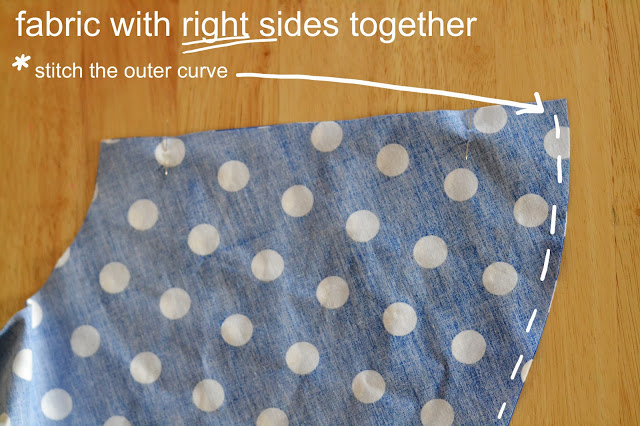
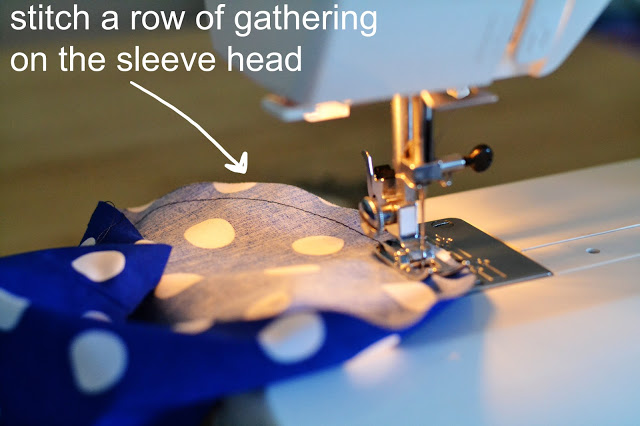
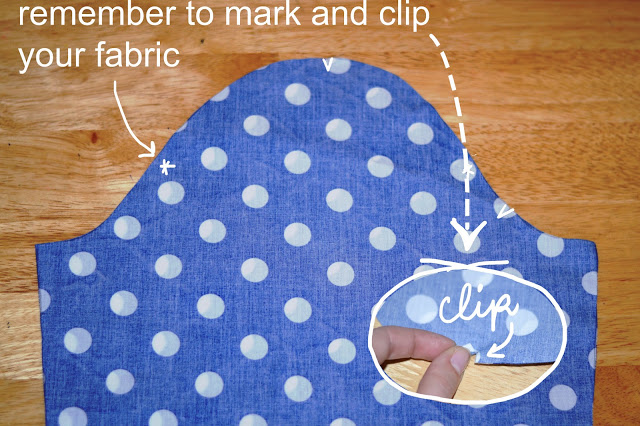
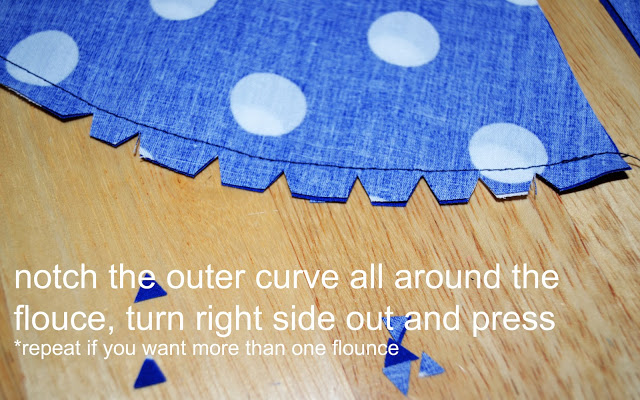 2-Remember to press flat (if the curve isn’t round, notch more closely but be careful not to cut into your row of stitches).
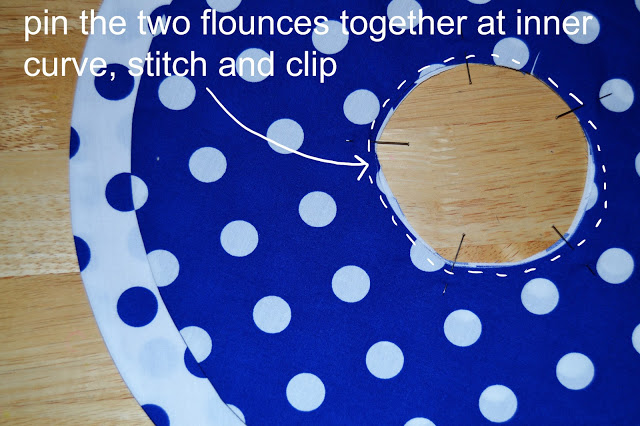
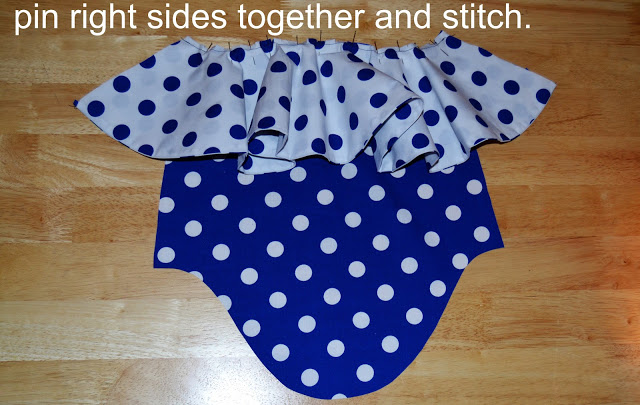
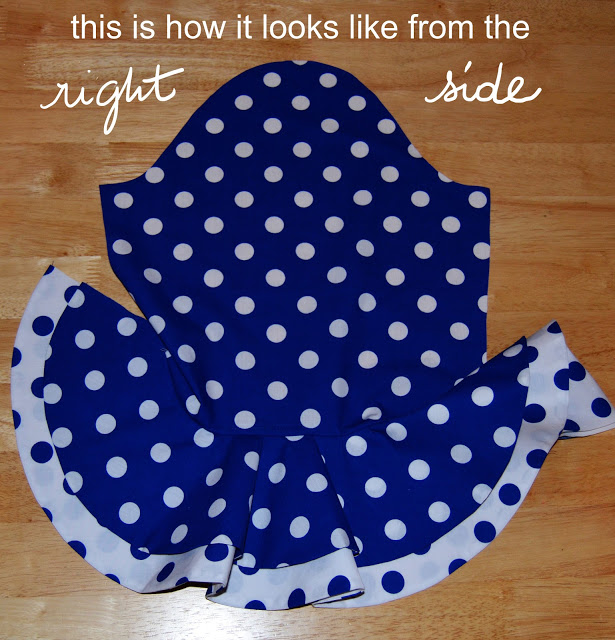 7-Stitch the flounces separately, press the seam allowances open, finish the edges as you prefer (zigzag, serger, bias binding…).
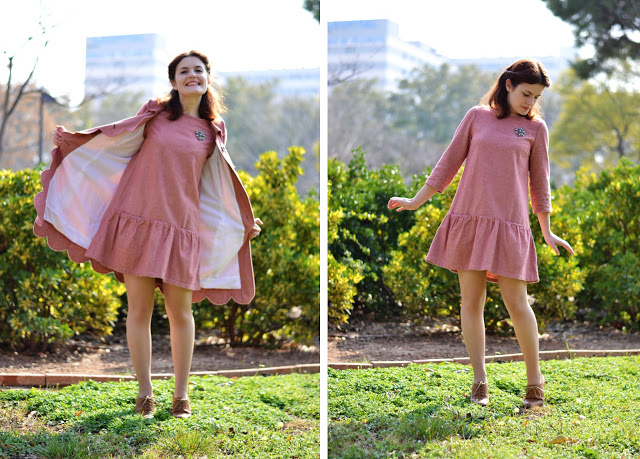
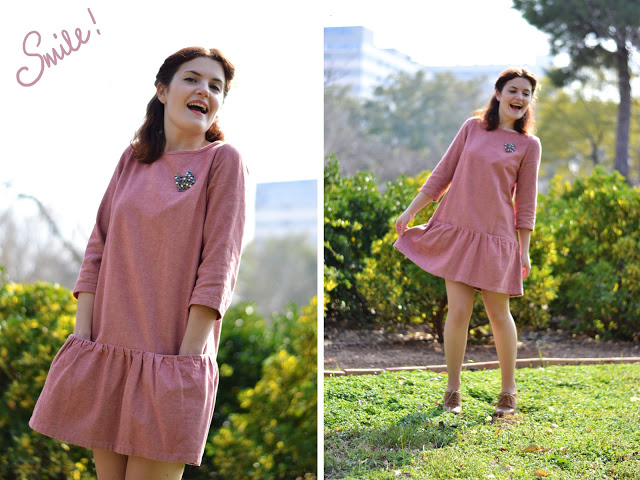
How amazing it is to be able to dress like that in February! This is one of the many reasons I love Valencia…
I made this dress before Christmas and it has been one of my favourites ever since. I am already sewing another one in blue with short sleeves.
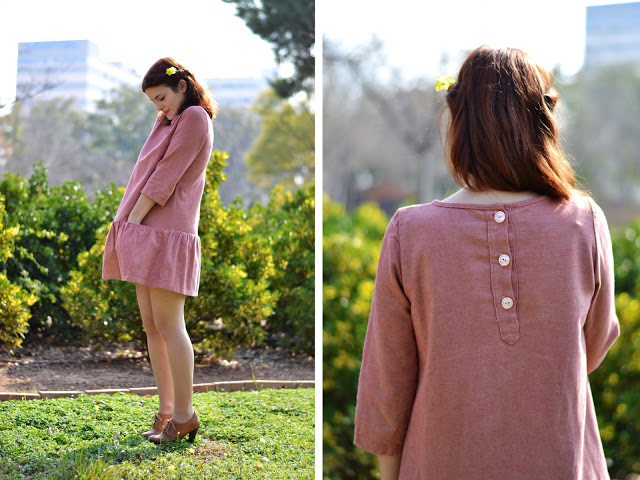
I lve the flirty flounce, the hidden pockets, the button placket… And the pink fabric of course! I mean, I wear so much pink it’s actually hard to believe my favourite colour is blue (I swear it is!).
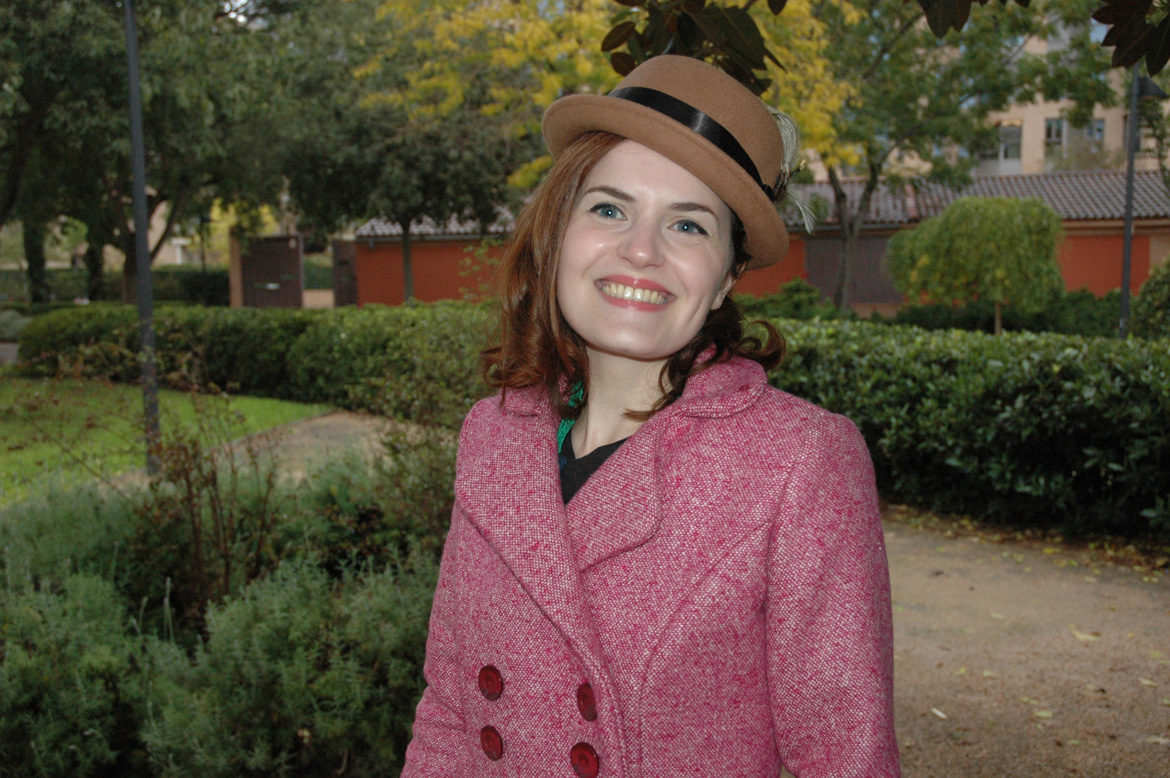
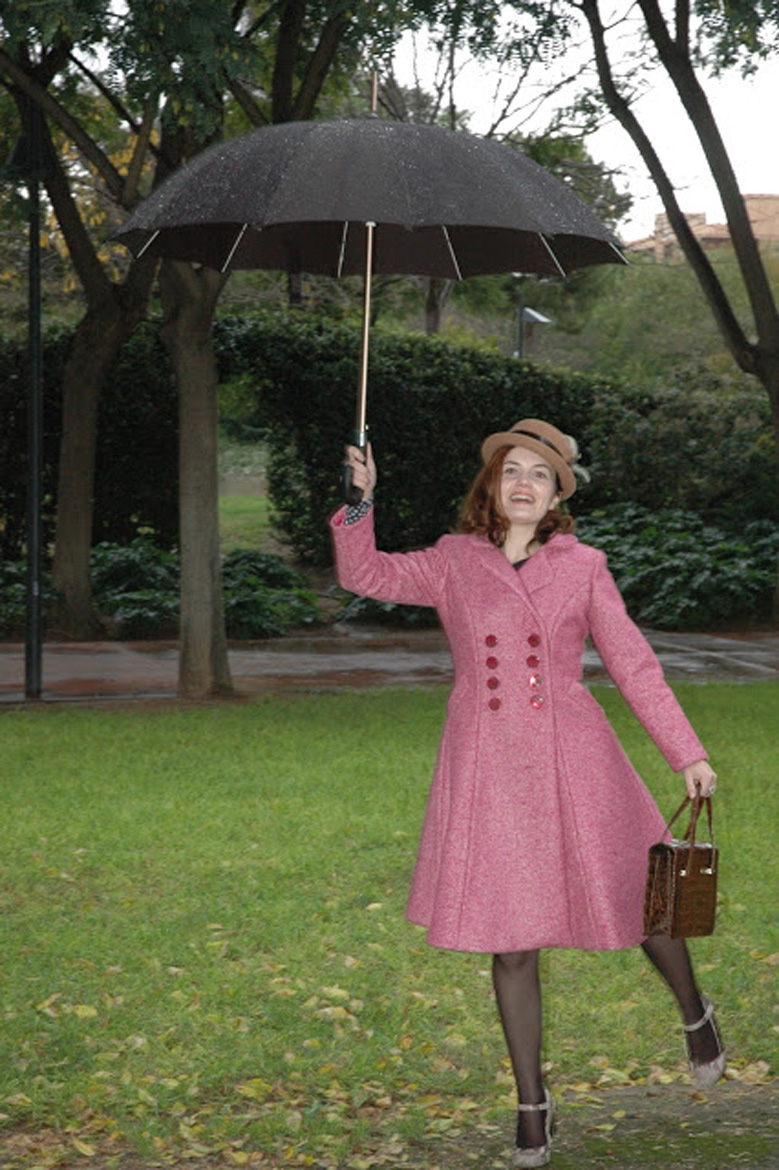
You might have recognised the fabric, it’s the same one I used for the petal coat. I have tried wearing the two garments together and I have to admit that even if such sweetness is not for the faint of heart, I love the matchiness of the outfit.
Lately, I have been experiencing and learning about patternmaking and my last projects have almost all been self-designed. This one follows the same rule.
It was fun to incorporate all my favourite elements in one dress and make it work as a whole. The pockets were particularly exciting to design.
The overall loose shape allowed me to have a placket opening at the back instead of the regular zipper one, but I don’t even need to open the buttons to pass the dress over my head.
I hope you like it as much as I do and hopefully I will be able to show you the spring version soon.


 |
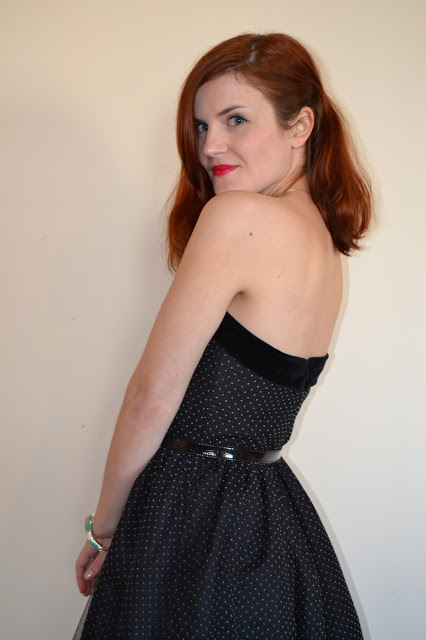
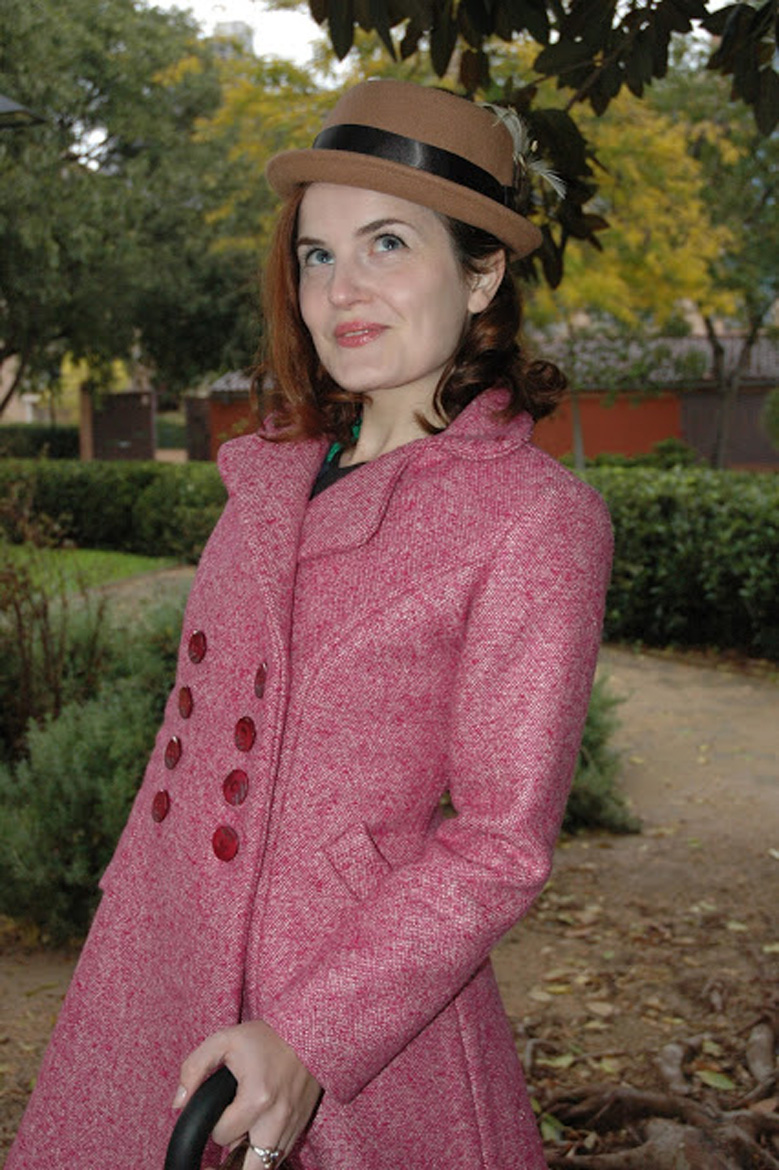
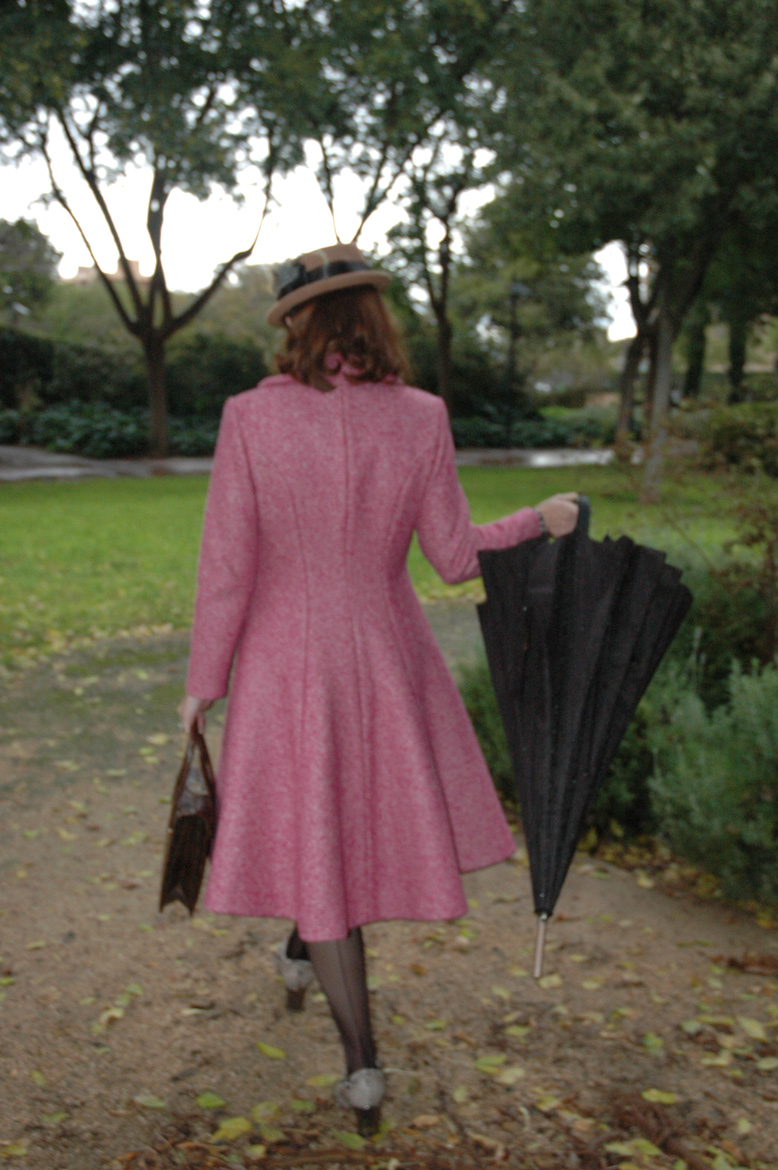
I am glad to present The Dior coat in all its spendour:
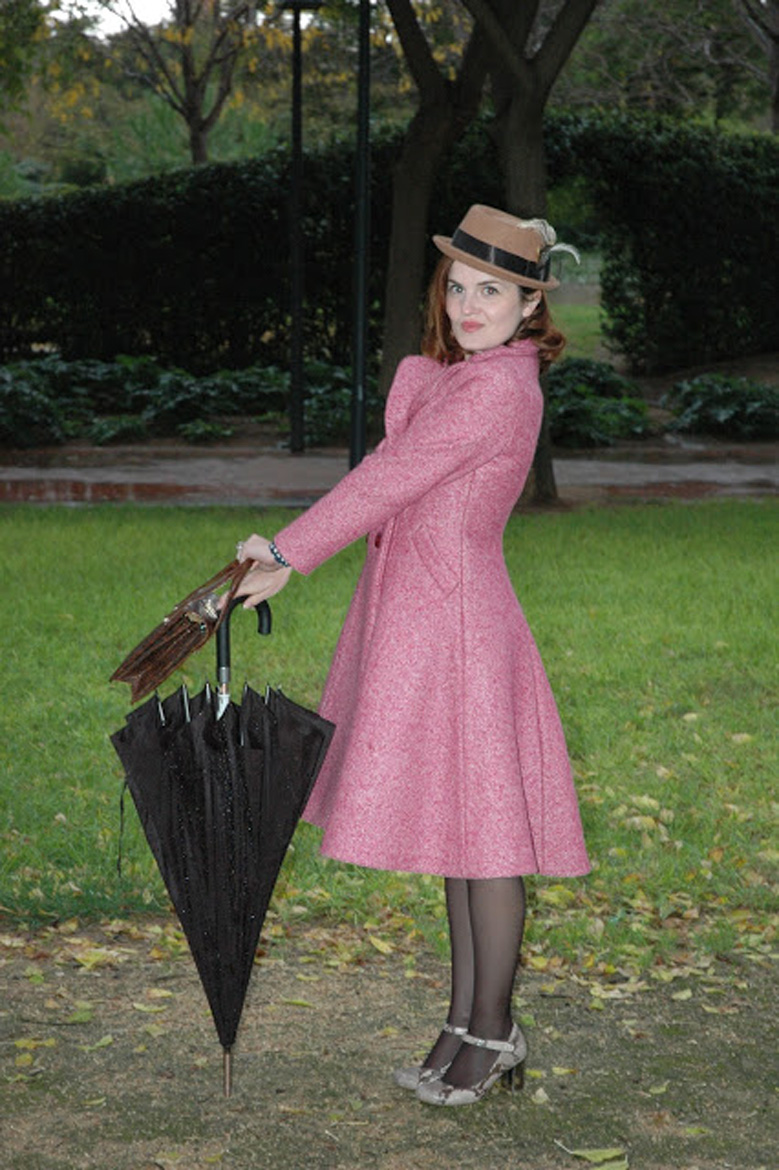
I designed the pattern myself from a princess seam slopper I did for the scallop coat I made in october.
The idea was to accentuate the waist and have a full skirt like the type of coats popular in the late 40’s, early 50’s. I also had some contempory inspiration but even those were based on retro models.
Earlier this year, I purchased an e-course on Craftsy called the Starlet Suit Jacket (sorry, I can’t link it, it appears to have disappeared from the classes availables). The course focuses on sewing a fitted jacket with hand-tailoring (or fusible-tailoring), using bound-buttonholes. welt pockets, and other vintage/tailoring technics.
I mostly bought this class because the instructor was Gretchen Hirsch, whose blog I religiously follow and whose book I bought and devoured. The woman is so passionate about vintage technics, her style is very close to mine and I love the fact that she is self taught (by that I mean that she has not been to fashion school, because she obviously has been to a lot of sewing classes with the crème de la crème of US sewing teachers).
Anyway, the craftsy class was great and I learnt so much from Gertie while sewing my coat. I even took the welt pocket pattern from her jacket and added it to my coat as I found it very elegant and I wanted to included as much technics as I could. I fear those technics are disappearing and that’s a shame as no machine will ever be able to make such beautiful and delicate buttonholes for example. Go to any store and try to find a jacket or a coat with bound-buttonholes, that might be mission impossible (or they will be very expensive).
I interfaced the front, the side front and the facing with weft fusible interfacing. I wasn’t feeling confident enough to do the whole hand tailoring method for the moment and I was also afraid it would take me months instead of weeks. And as my wool was very thick, the interfacing was just for shaping, not for supporting the fabric. So I am very happy with the fusible method. But next time, I definitely want to try the hand-tailoring method.
I wanted the shoulders to be structured without giving me crazy swimmer back. In the craftsy class, Gertie explains how to use biais cut mohair strips to consolidate the sleeve cap and give structure in the sleeve head, that technic is often used on tailored jackets and coats and it works wonderfully. I also added small shoulder pads.
As I might have repeated thousands of times, the fabric is pure double face wool from Dior in fuschia. It is very heavy, the coat has to weigh about 3 kg! But it feels so luxurious, even more when you get a peek of the bright fuschia silk lining (sorry, I realise we didn’t take any pictures of the lining). There were some moments I thought my sewing machine was going to die from the thickness of the fabric. Imagine sewing the seam allowances where you have 4 layers… a nightmare! But Elna survived! Good girl!
I am very happy and proud of the work I have done with this coat. I love a fast sewing project like a little dress or skirt that you can wear the following day but spending hours and hours on a project like this one is rewarding in a different way. I have learnt a lot in terms of sewing technics and for me that’s so much as I am self taught.
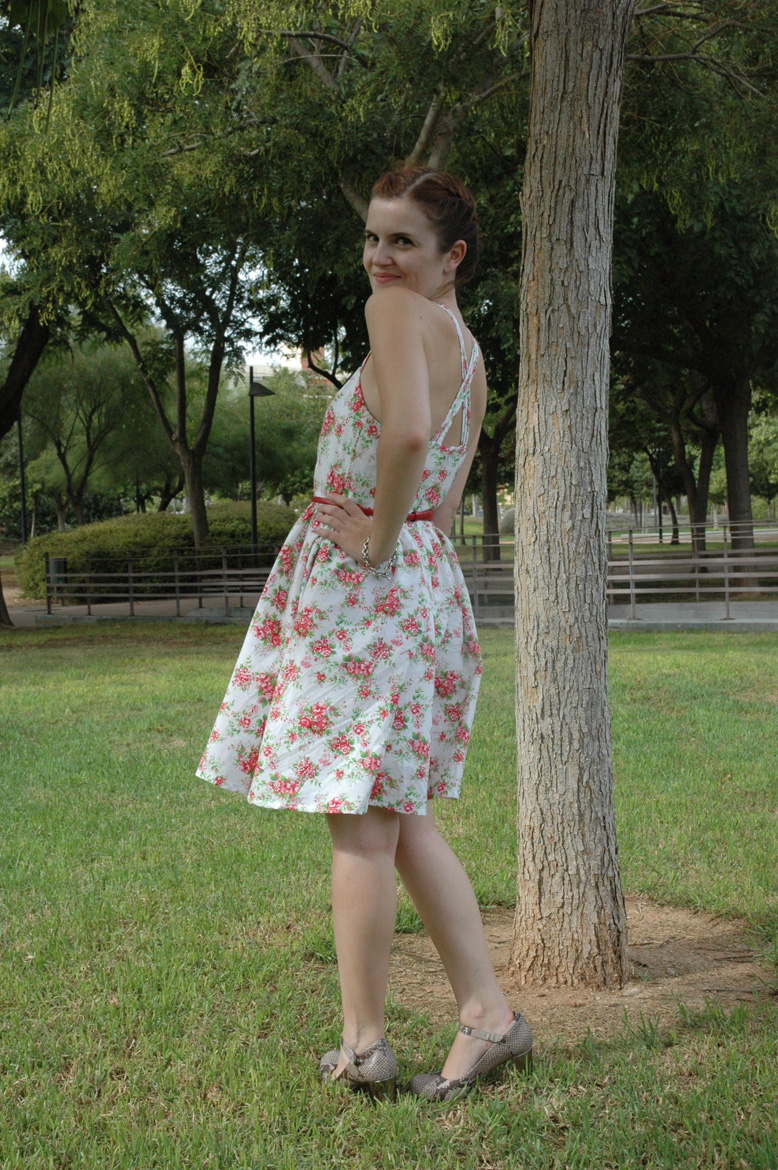
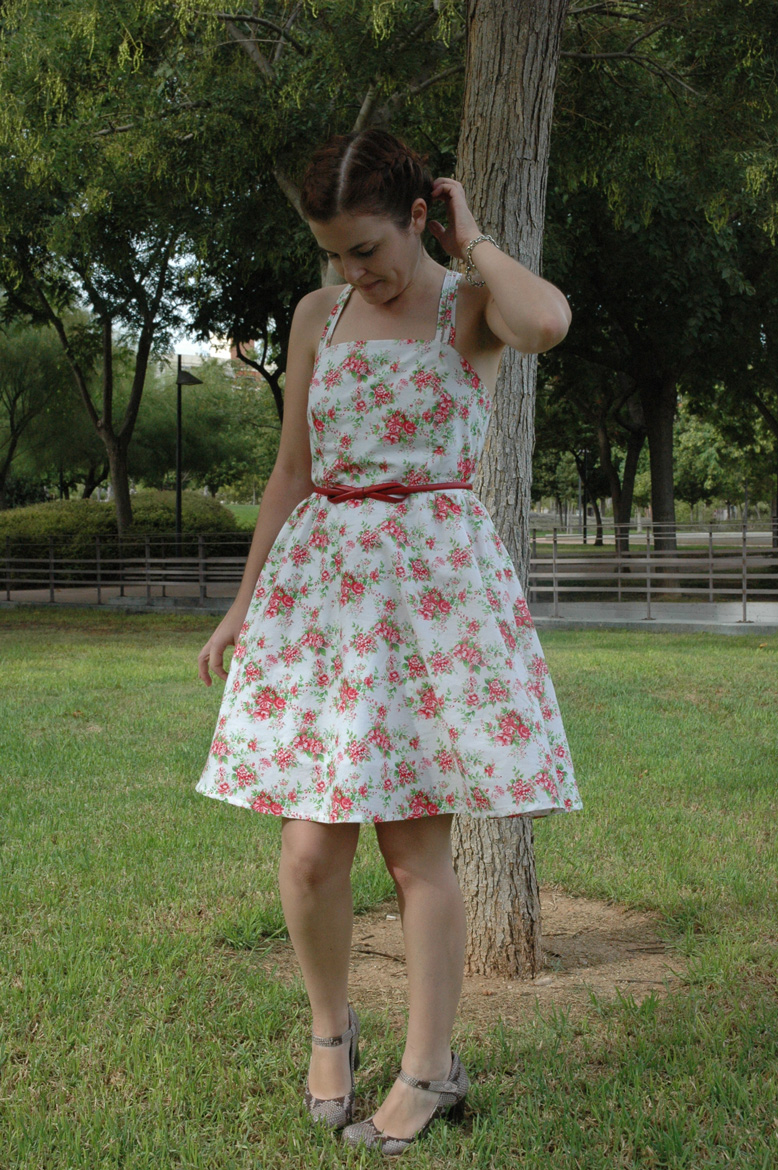
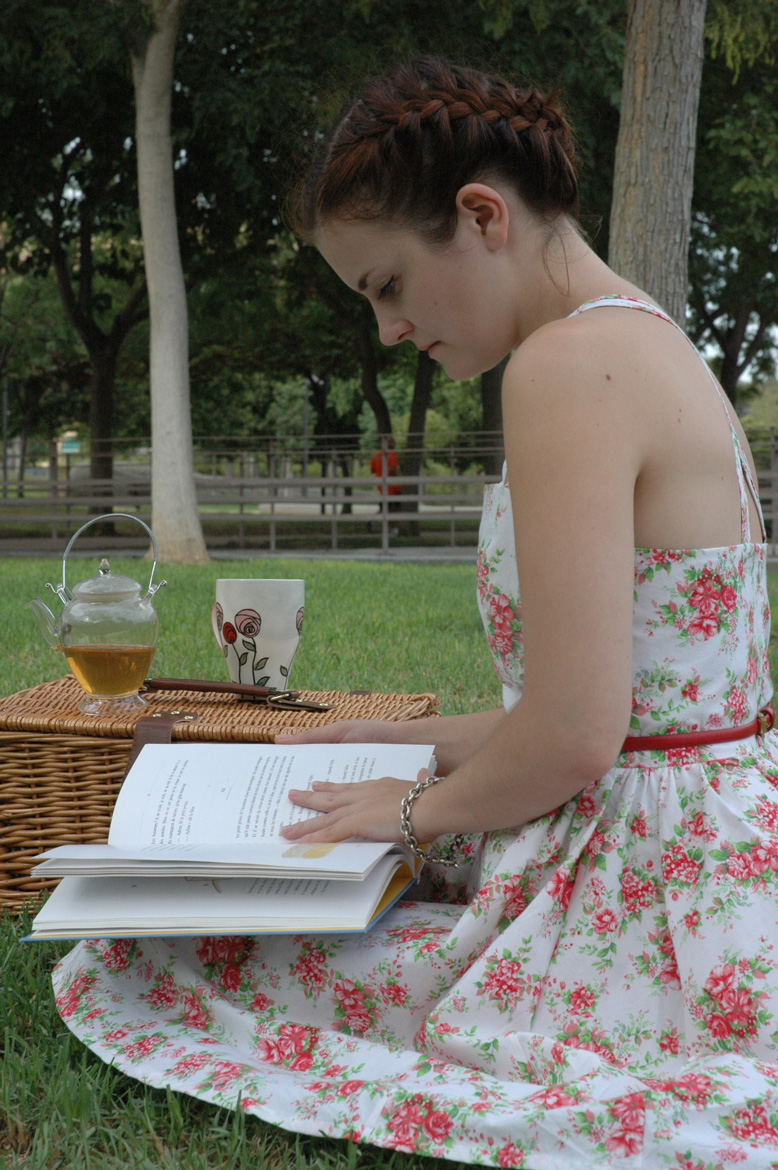
I have been enjoying the beautiful weather of Valencia in my new self-drafted dress last week. It’s perfect for walking on the sunny streets, doing some window shopping, taking late afternoon pictures in the park and going to dinner in the city afterwards.
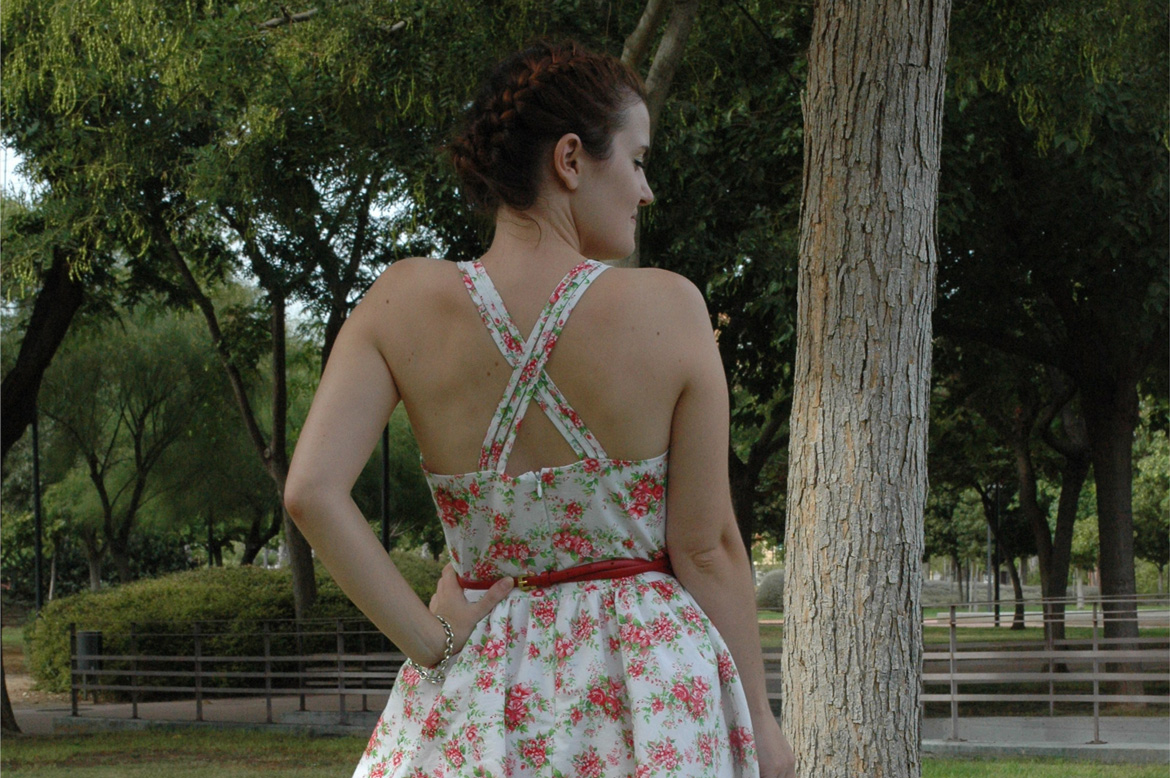
I drafted the pattern myself as I wanted to improved my skills and I felt like making something that I had in my mind for some times now. The skirt is gathered, I just left the central piece flat as I found it more flattering. The bodice has princess seams and three-pieces straps made with self-fabric biais binding. The biais binding “machine” I bought was one of the best investment I have made, and it costed less than 10 €. I wasn’t sure about crossing the straps at the back, but after a try, it seemed the best idea.
The fabric is a very light cotton with red roses. It has a crisp touch, which is very nice to wear but in order to give some opacity, I entirely lined it with light baptiste. That way, it’s still breathable and light for summer but nobody has to see my underwear… (or absence of it as this dress does not allow bra!)
Here is a more close-up picture to see the details: the princess seams, the straps…

