[vc_row][vc_column][vc_column_text]
Today, I’ll share with you a tutorial I wrote for Craftsy on right-angle seams.
If you ever had to sew a right-angled seam, you know how difficult it can be to get a neat and flat corner without any pluckers. As a pattern designer, it’s always a challenge to explain these complex steps with easy-to-understand illustrations.
The Malvarosa dress has drop shoulders with right-angle seams, and I know that it’s the most feared step of an otherwise relatively easy pattern. But, fear this step no more!
Here are two different methods for stitching these right-angle seams: one you can use on normal fabrics and the other for more delicate and fraying fabrics.
Method 1: For “normal” fabric
Use this method if you have a normal fabric (not prone to fray excessively or very delicate). It’s the easiest one and will give you very nice results. But I would still recommend making a test version first
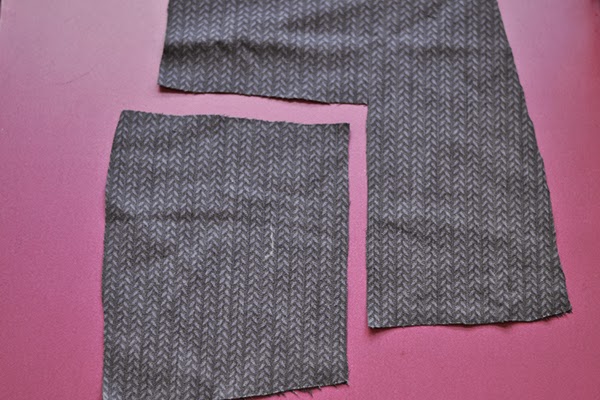 1. Here are your 2 pieces of fabric, right sides facing up. Seam allowances will depend of your pattern (usually 5/8″).
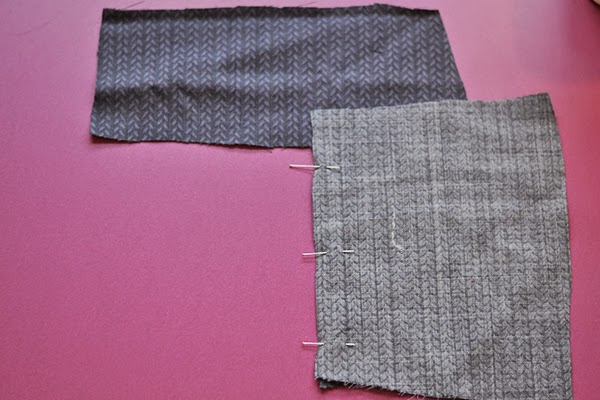 2. Pin the side together. As you can see, the top edges don’t meet: You should have about twice the seam allowance length
overlapping the corner.
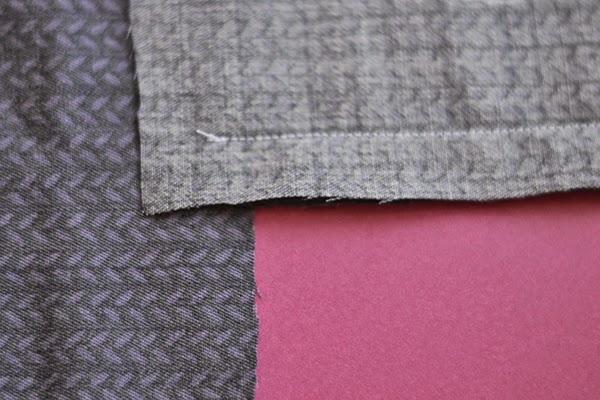 3. Stitch until the apex point (where the seam allowances meet) using short stitches.
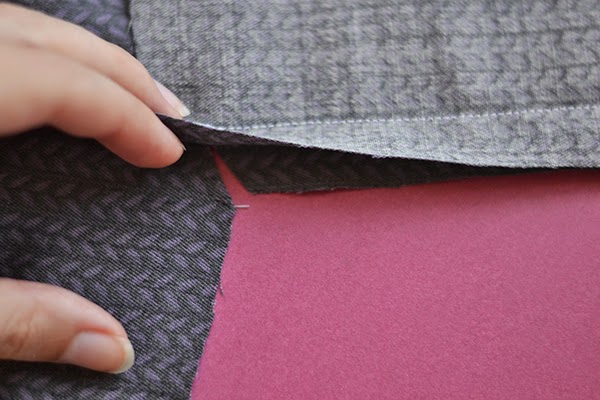 4. Carefully, clip the seam allowance up to the stitching line, (snip into just the bottom layer, the one with the angle in).
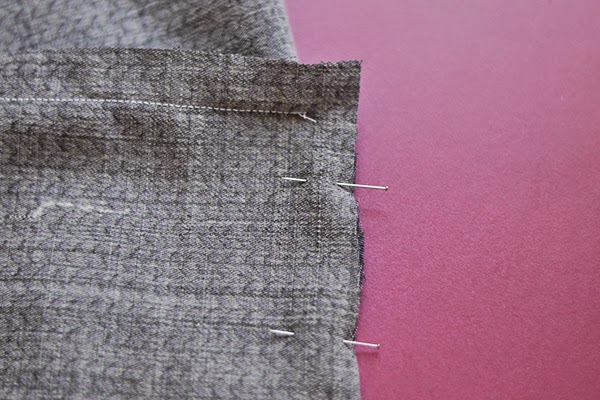
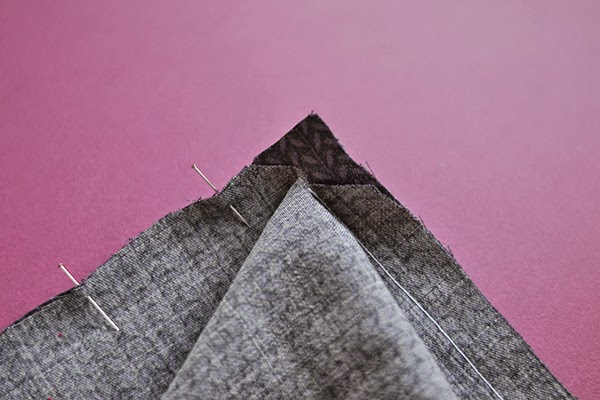 5. Pin the other sides together. You can see how it looks from both sides. Pivot the angle at the apex point so the edges meet and pin.
Stitch the other side until you reach the apex (make sure not to stitch over the fabic “fold”, the two lines of stitches will meet at the corner).
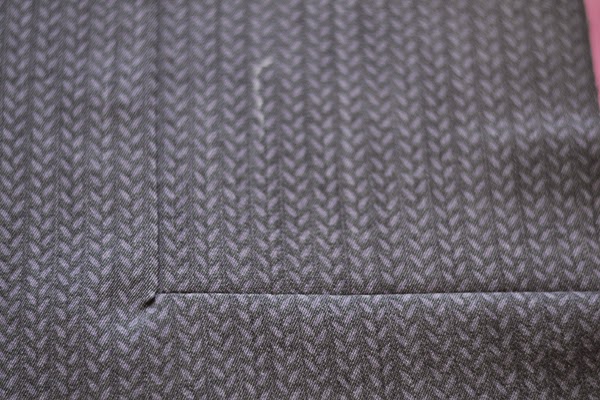 6. Press the seams to the outside. Here is the right side: if you see a little plucker like here, you can clip carefully a little bit closer to the stitches from the wrong side.
Method 2: For delicate fabrics
As you can see with the previous sewing method, we were clipping first into the seam allowances and then stitching very close to the edge. But with a delicate fabric or one fraying easily, it wouldn’t be possible to get a nice corner seam. So we’re going to use a piece of organza to create new seam allowances, similar to what you would do to sew gussets.
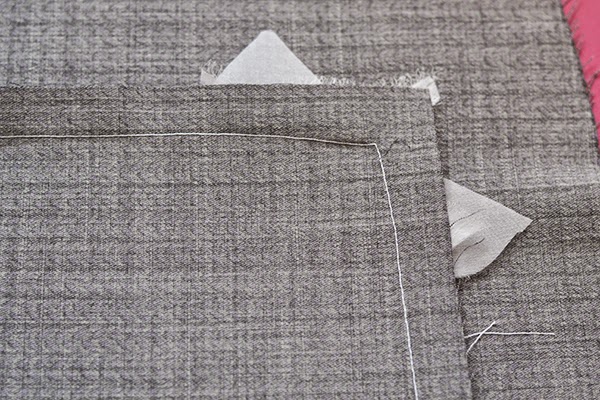
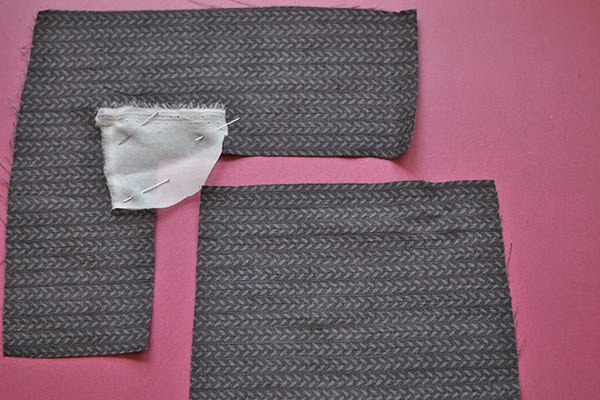 1. Pin a piece of organza over the inside angle, on the right side of the fabric. Make sure the apex point is covered (this is
where the seam allowances meet).
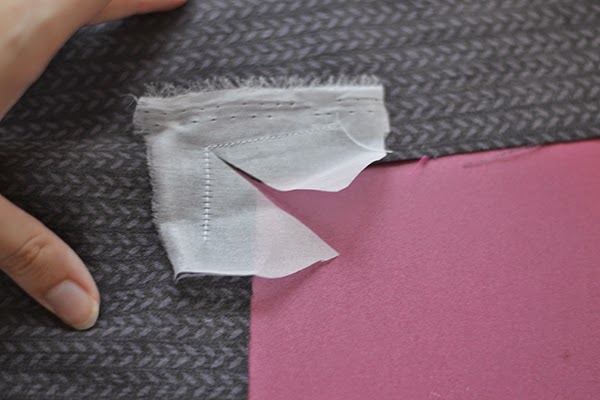 2. Stitch the organza around the angle, pivoting at the apex. Clip both layers diagonally into the corner, as close as possible
to the stitches.
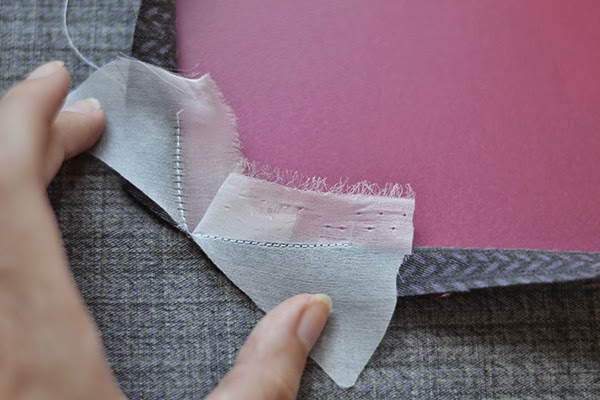 3. Press the organza to the inside, folding it on the stitches line.
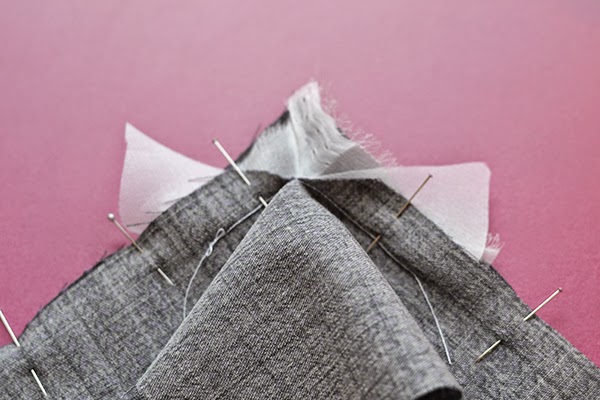 4. Pin the outer angle to the inner angle, using the piece of organza to lay both layers flat against each other. As you can
see, the organza seam allowances will allow you to stitch easily into the corner. Stitch, pivoting at the corner.
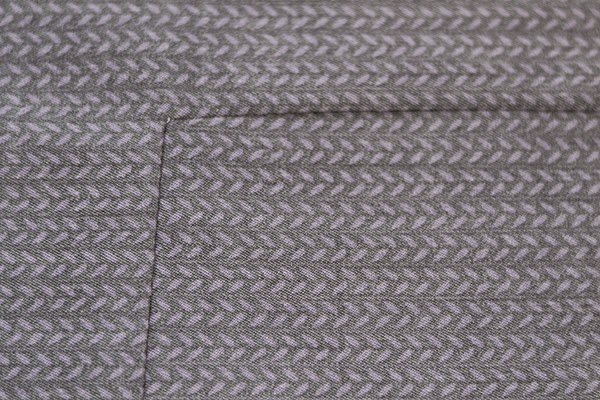
 5. Press the seam allowances to the outside. From the right side and from the wrong side of the fabric.
Right-angle seams are mostly featured as style lines as they don’t usually give any shaping like a princess seam or a dart. But used as a gusset, they serve both purpose: interesting design lines and pattern making functionality. You should definitely give them a try!

[/vc_column_text][/vc_column][/vc_row]