[vc_row][vc_column][vc_column_text]
Here are two different methods for stitching these right-angle seams: one you can use on normal fabrics and the other for more delicate and fraying fabrics.
Method 1: For “normal” fabric
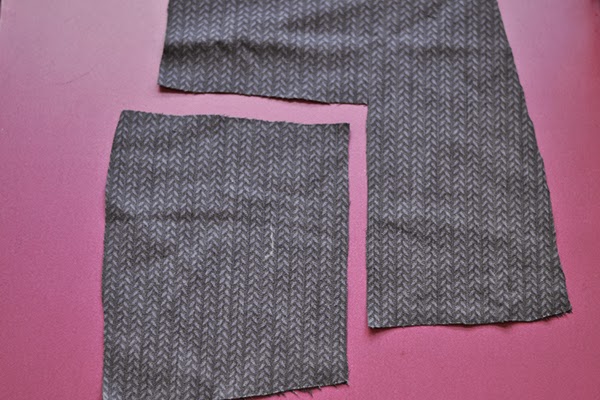 1. Here are your 2 pieces of fabric, right sides facing up. Seam allowances will depend of your pattern (usually 5/8″).
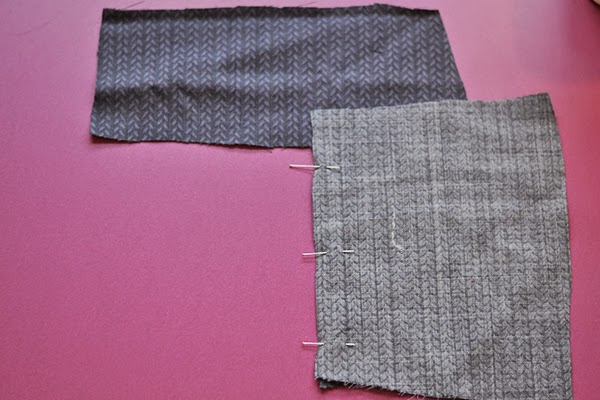 2. Pin the side together. As you can see, the top edges don’t meet: You should have about twice the seam allowance length
overlapping the corner.
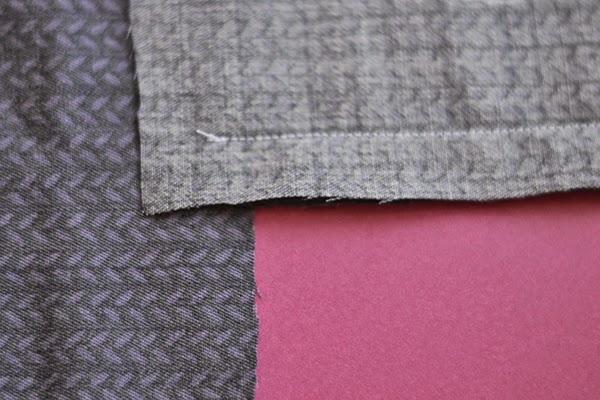 3. Stitch until the apex point (where the seam allowances meet) using short stitches.
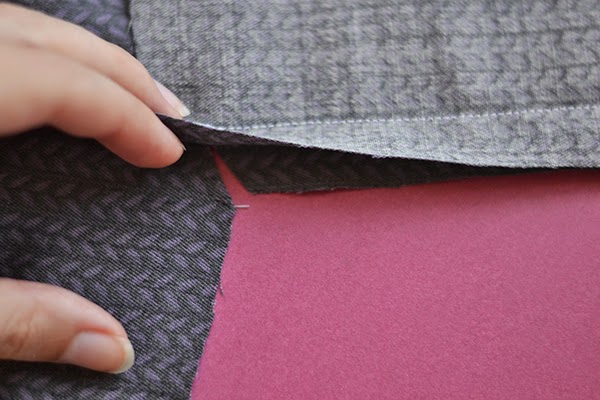 4. Carefully, clip the seam allowance up to the stitching line, (snip into just the bottom layer, the one with the angle in).
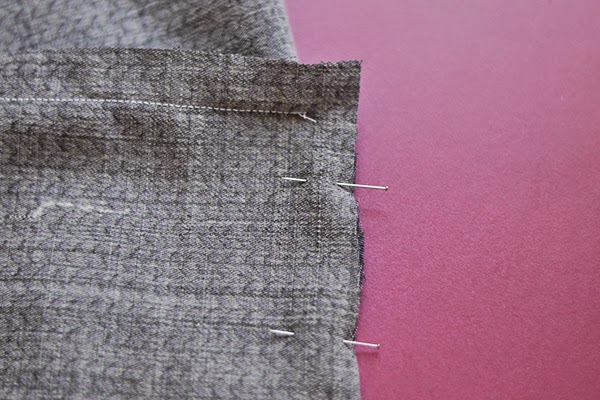
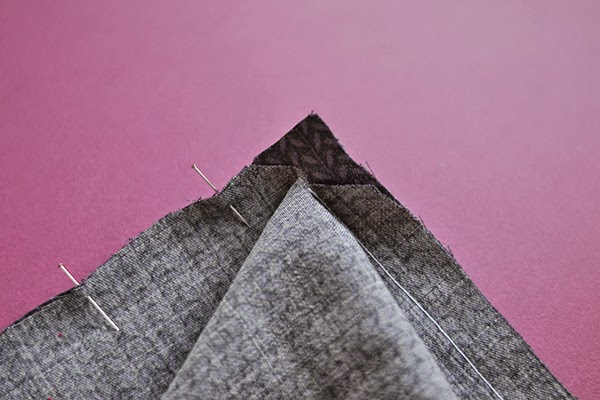 5. Pin the other sides together. You can see how it looks from both sides. Pivot the angle at the apex point so the edges meet and pin.
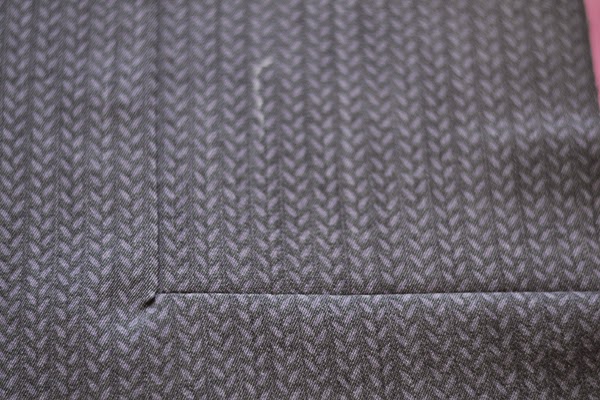 6. Press the seams to the outside. Here is the right side: if you see a little plucker like here, you can clip carefully a little bit closer to the stitches from the wrong side.
Method 2: For delicate fabrics
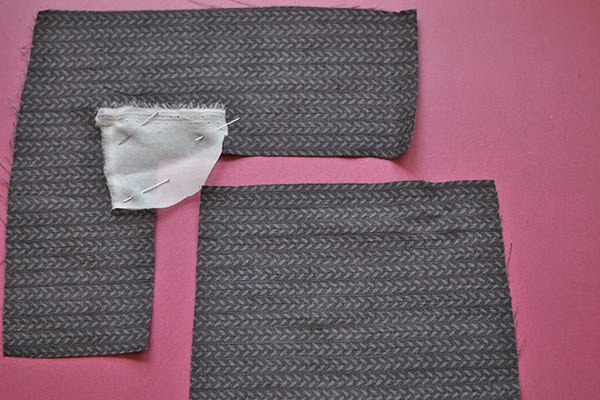 1. Pin a piece of organza over the inside angle, on the right side of the fabric. Make sure the apex point is covered (this is
where the seam allowances meet).
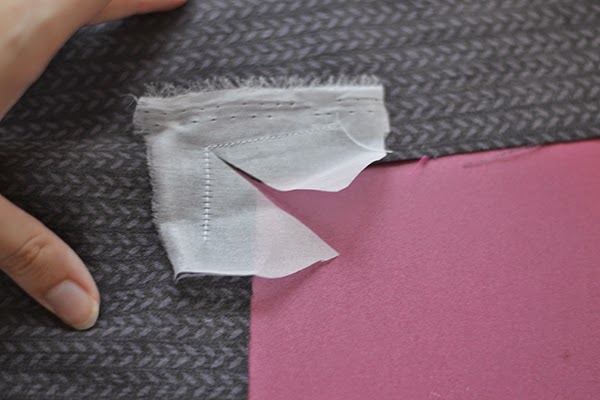 2. Stitch the organza around the angle, pivoting at the apex. Clip both layers diagonally into the corner, as close as possible
to the stitches.
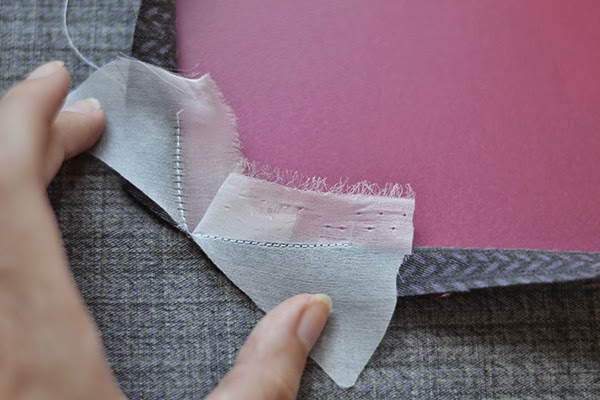 3. Press the organza to the inside, folding it on the stitches line.
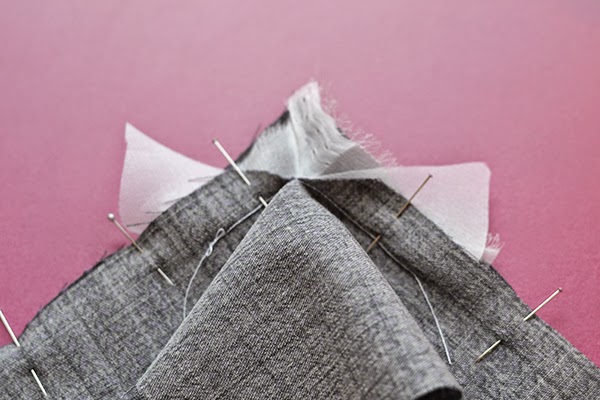 4. Pin the outer angle to the inner angle, using the piece of organza to lay both layers flat against each other. As you can
see, the organza seam allowances will allow you to stitch easily into the corner. Stitch, pivoting at the corner.
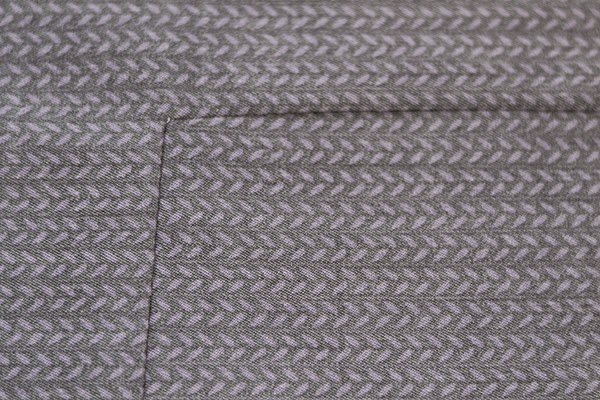
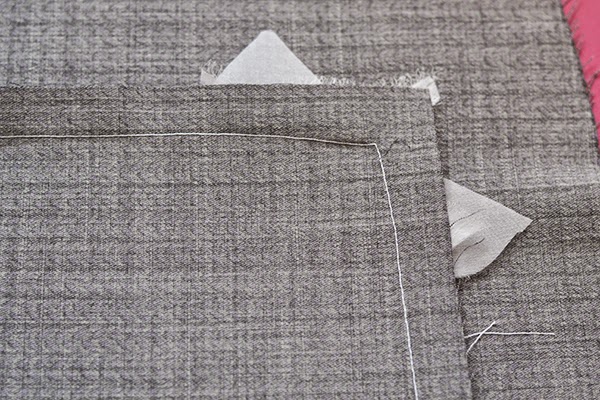 5. Press the seam allowances to the outside. From the right side and from the wrong side of the fabric.
[/vc_column_text][/vc_column][/vc_row]


