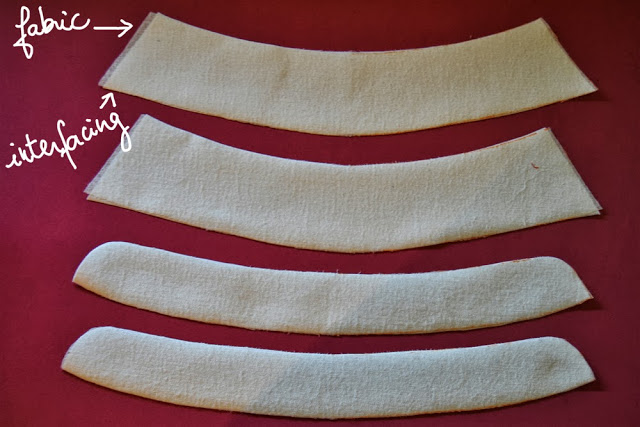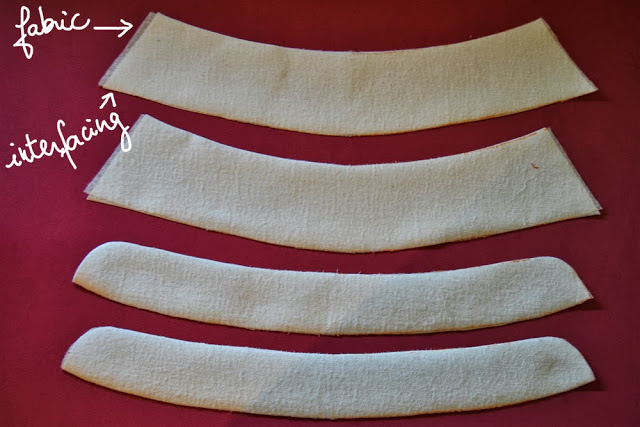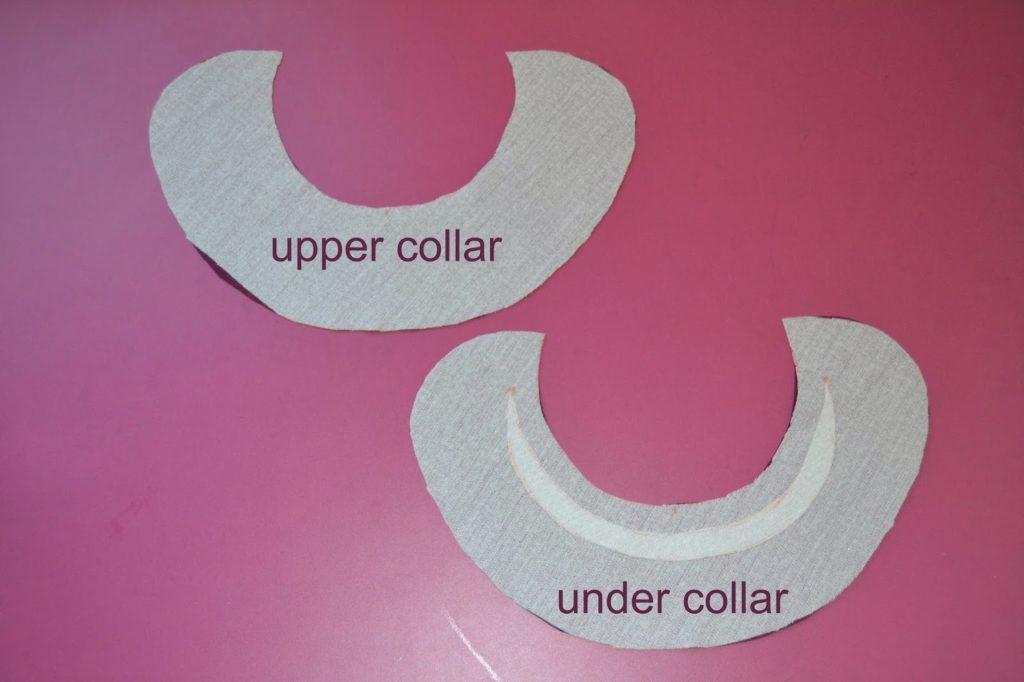
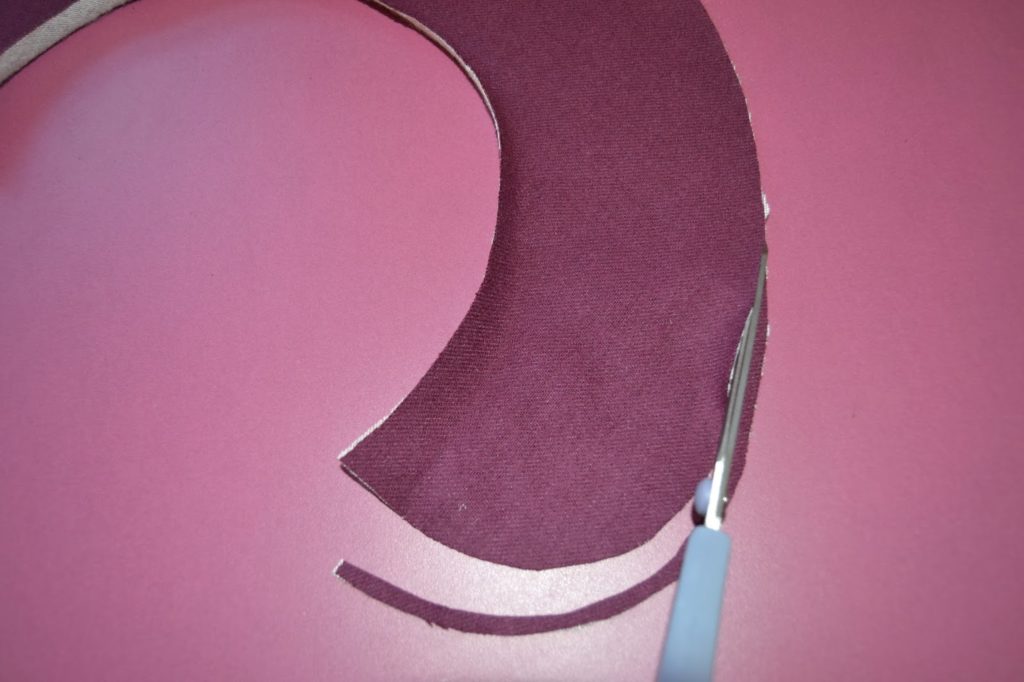
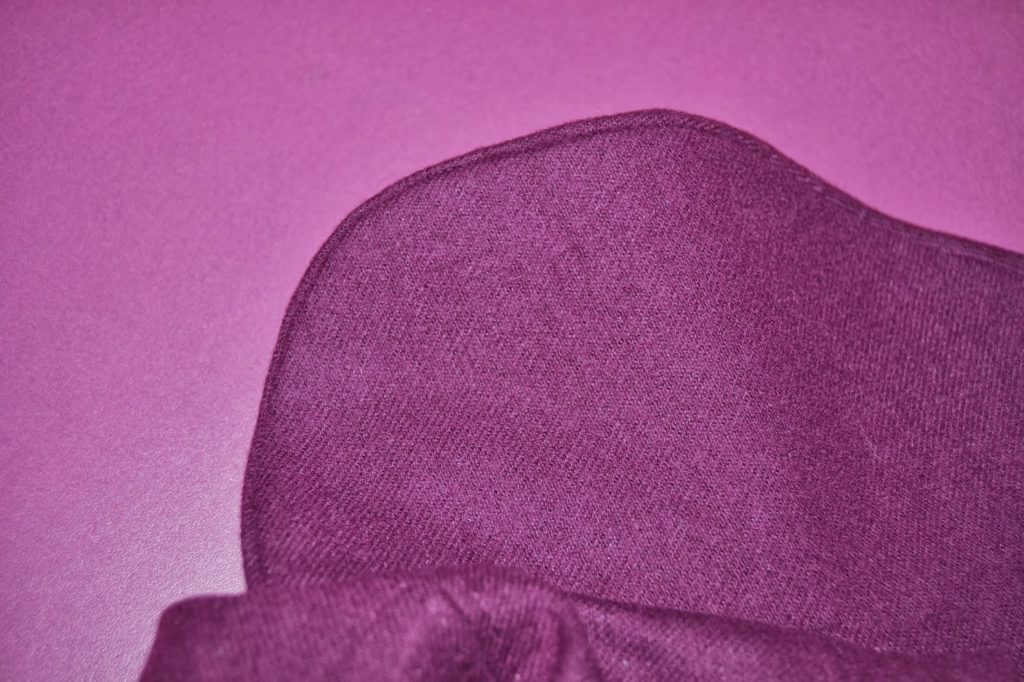
 2.Take the under collar piece and trim about 2 – 3 mm (2/16″ – 1/8″) from the outer edge. This will account for the turn of cloth and keep the stitching line from showing.
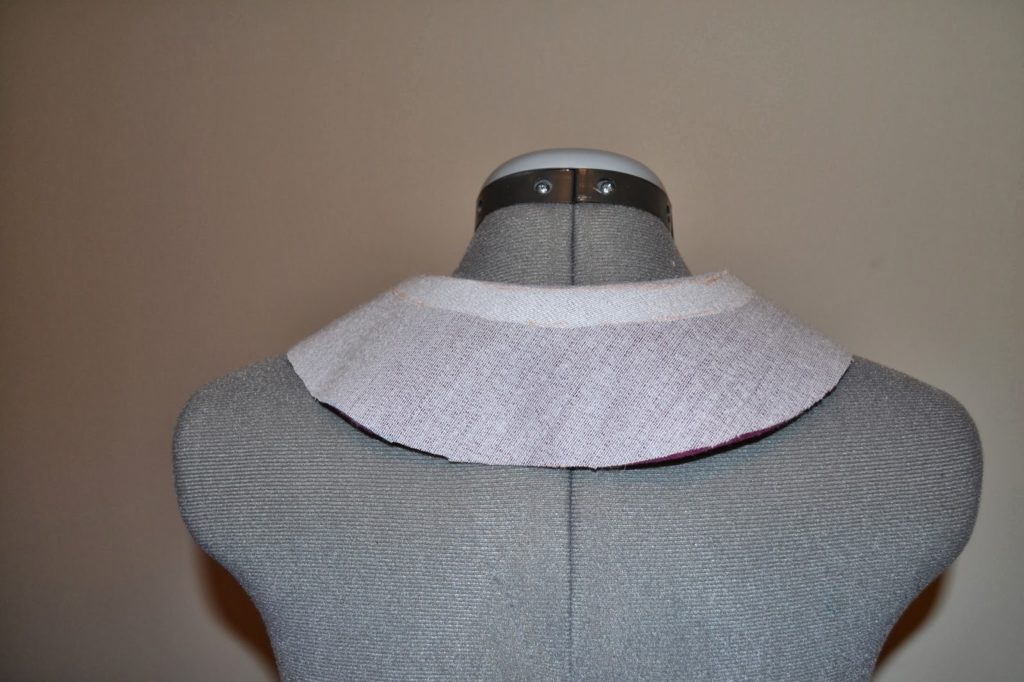
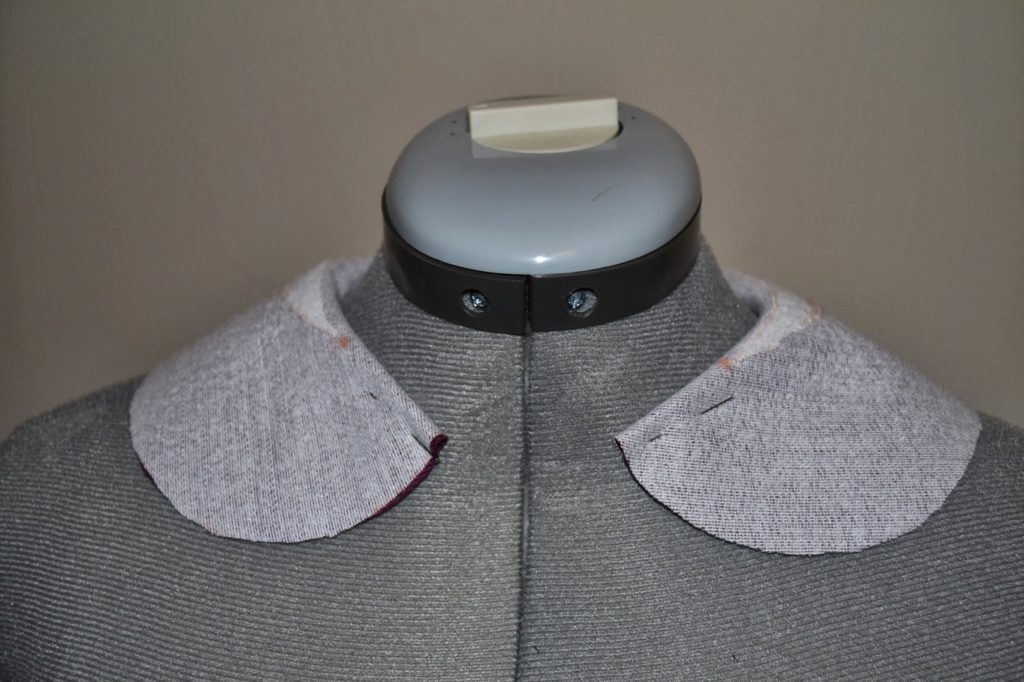 3.Shape the under collar around your dress form if you have one (if you don’t you can use a folded towel about the size of your neck). Fold gently around the collar roll and pin in place. Steam the collar and leave it cool down at least a few hours (a full night is better).
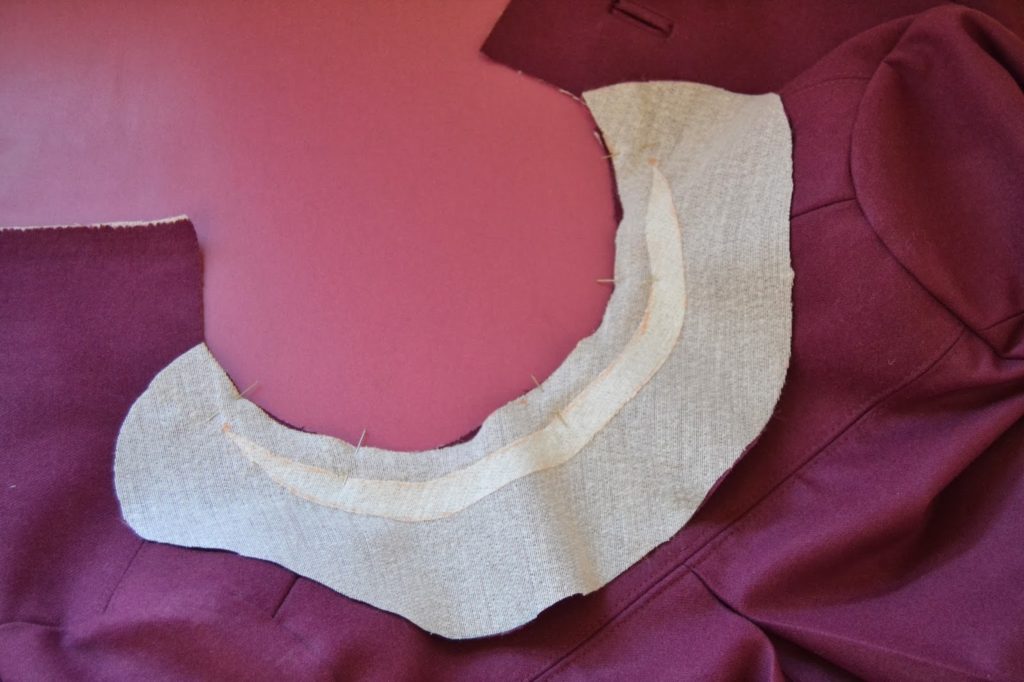
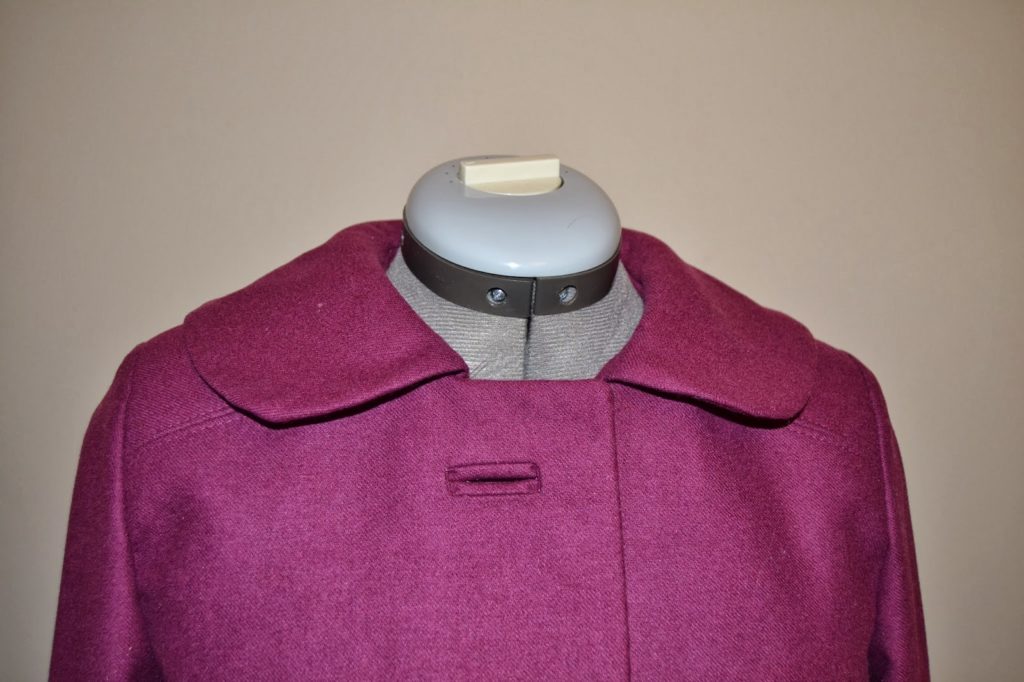
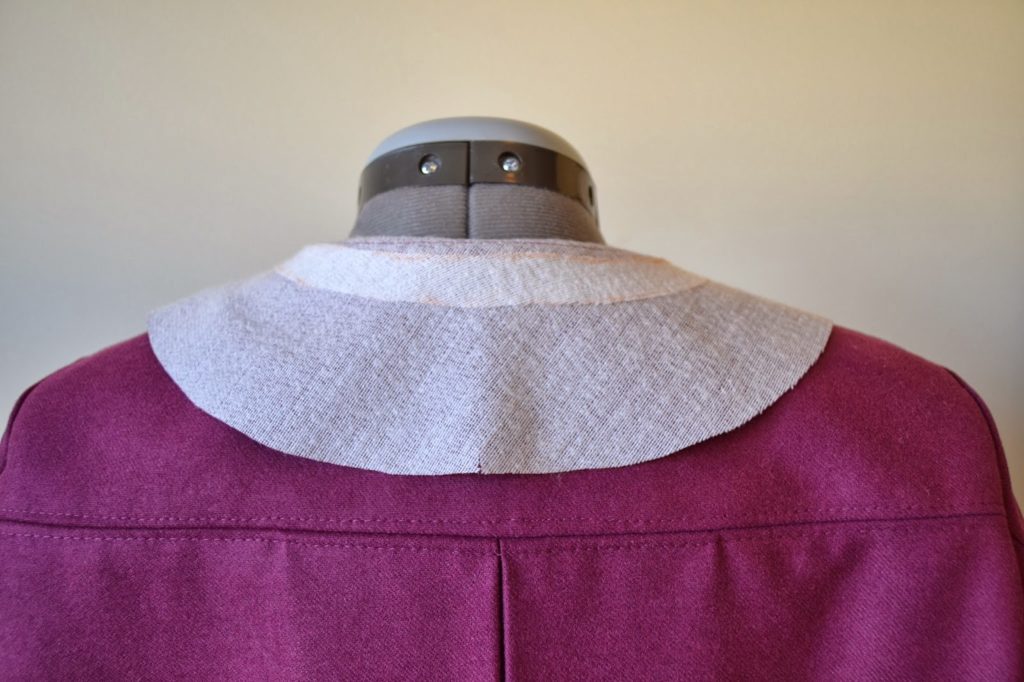 4.After the under collar is completely dry, pin it to the jacket shell matching center back and front marks. Stitch. Trim and clip the seam allowances to reduce bulk.
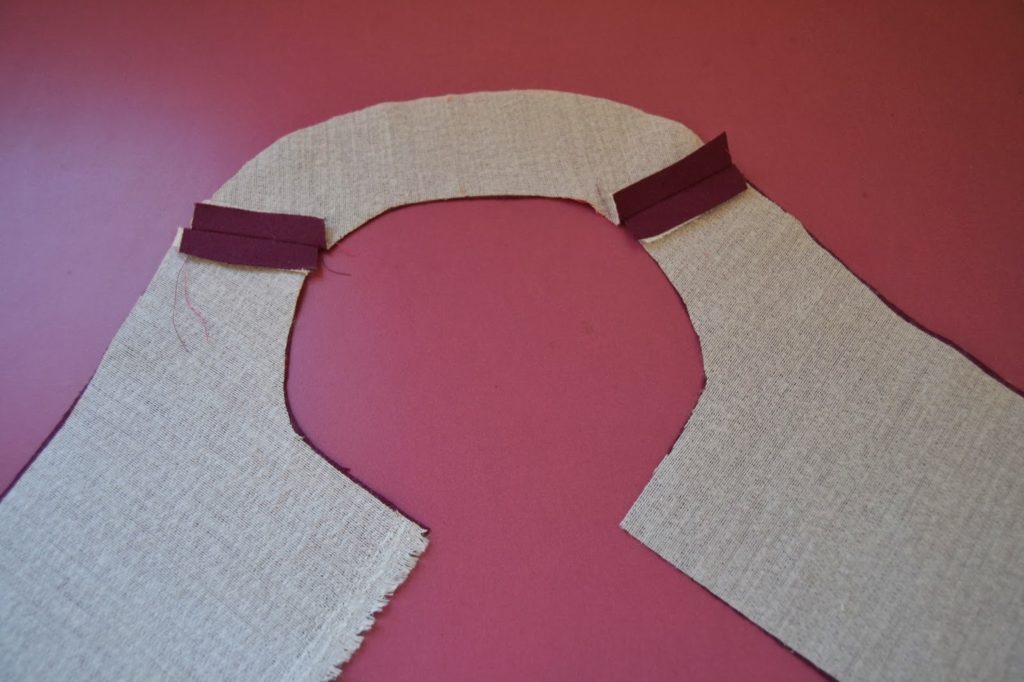
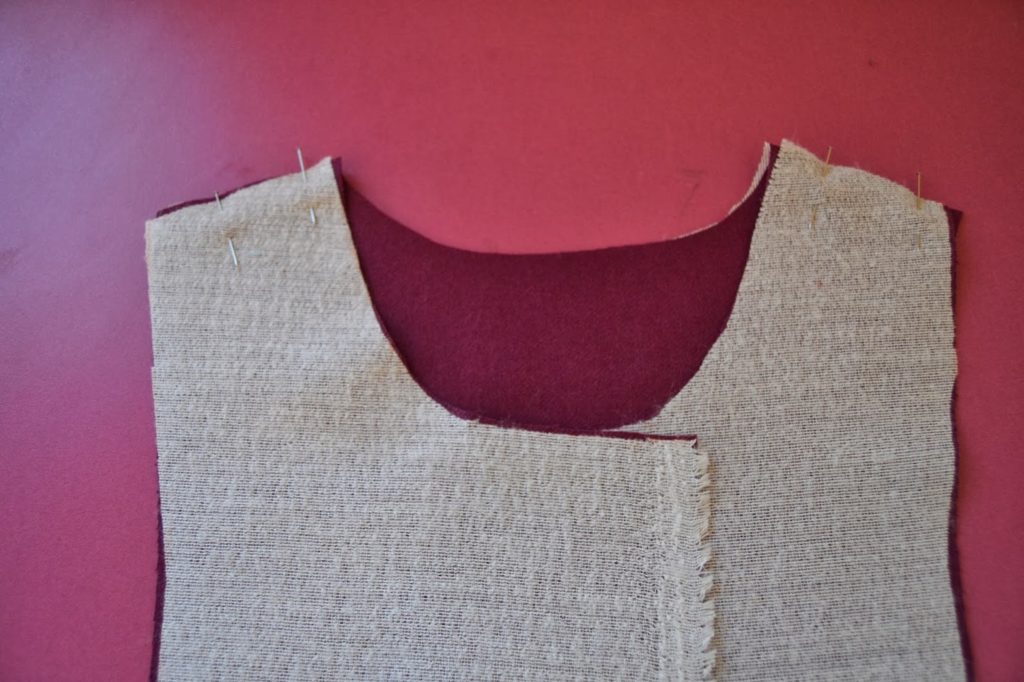
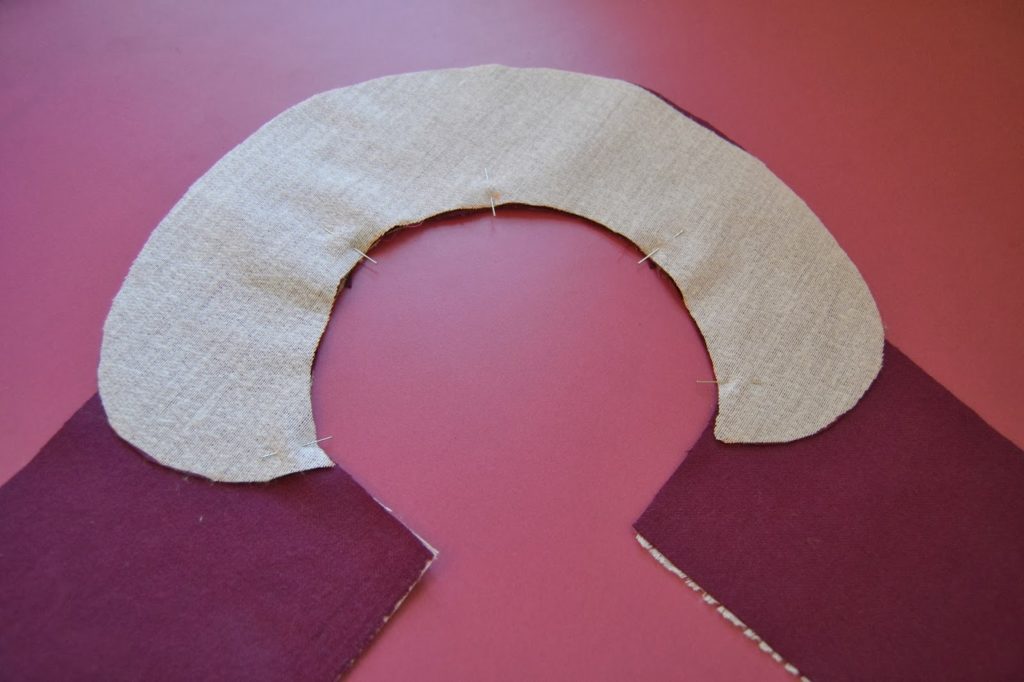 6.Pin the upper collar to facing, matching center back and front marking. Stitch. Trim and clip the seam allowances to reduce bulk
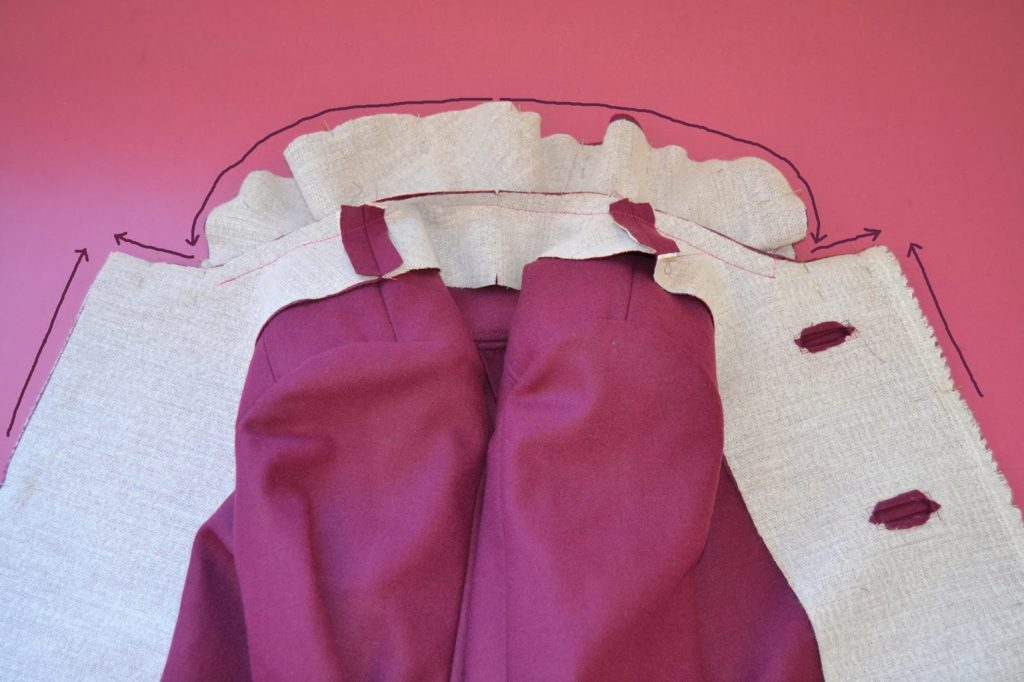
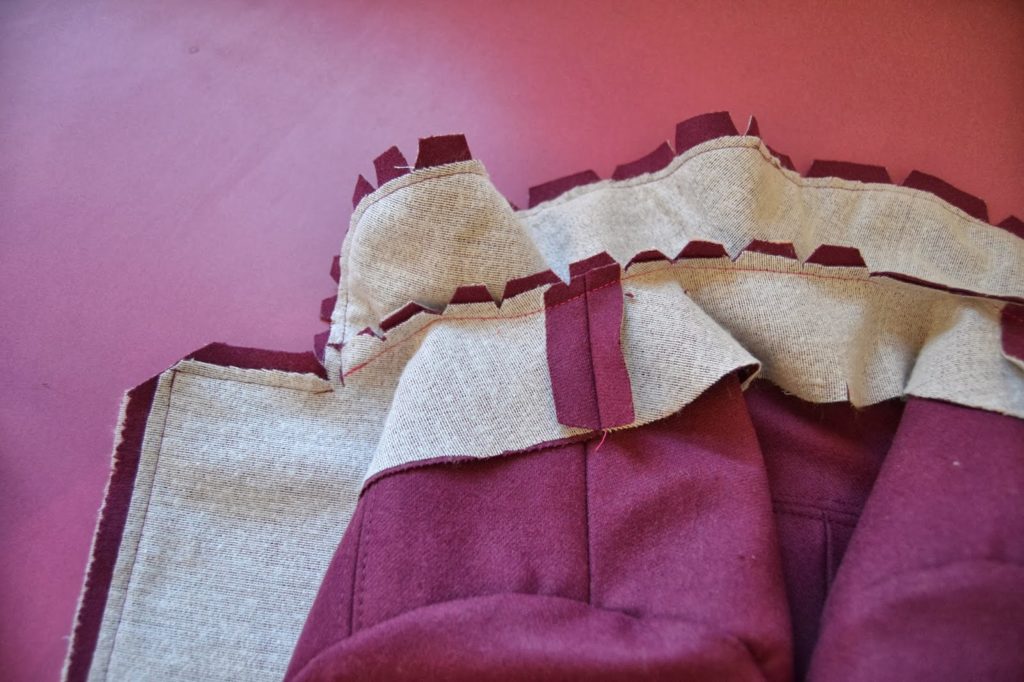


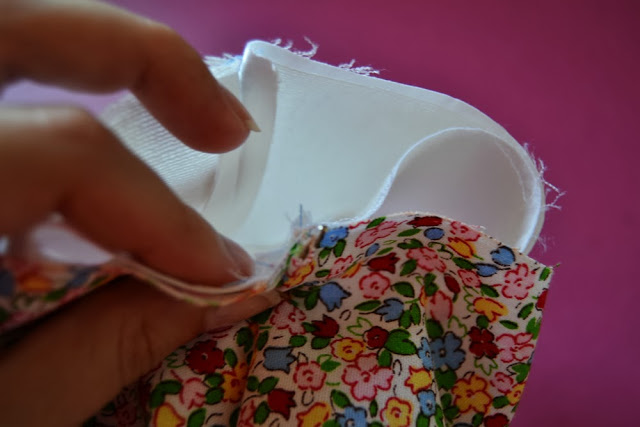
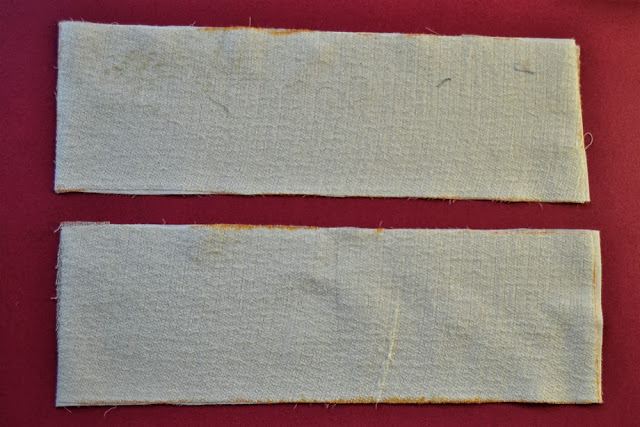
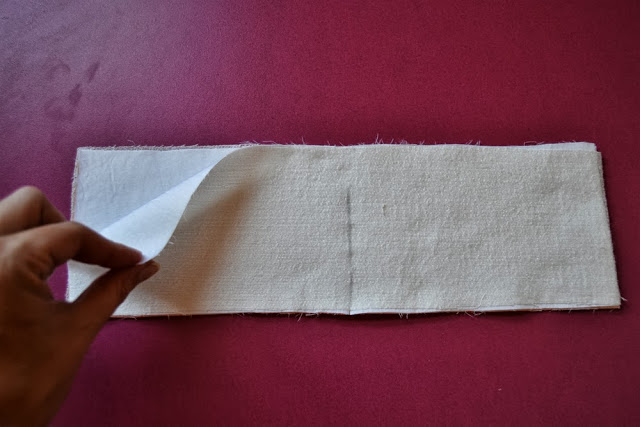 1.Take your two cuff pieces, already interfaced and place them with right side together. Make sure the opening is marked (I drew only the slit but you can draw the whole box as in the pattern, it’s easier).
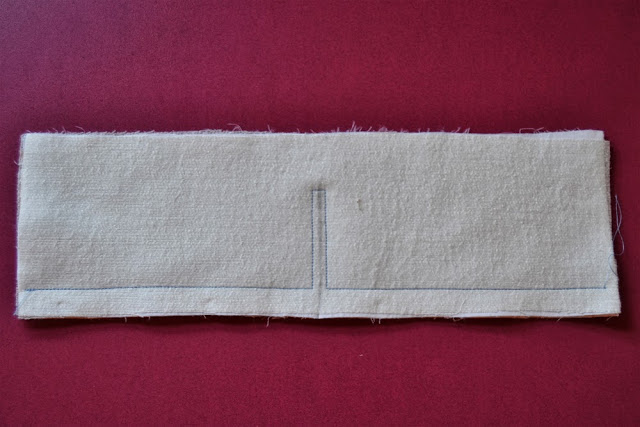
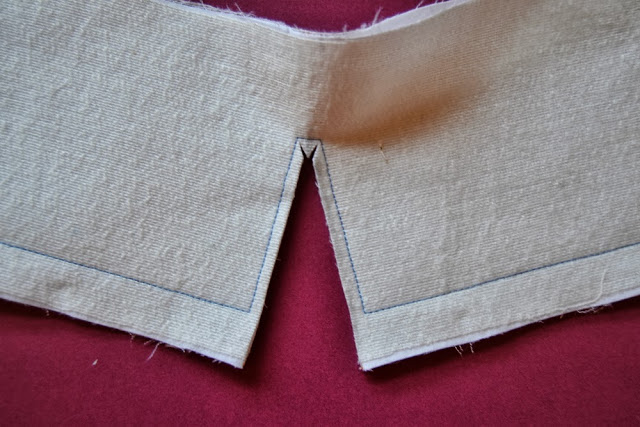
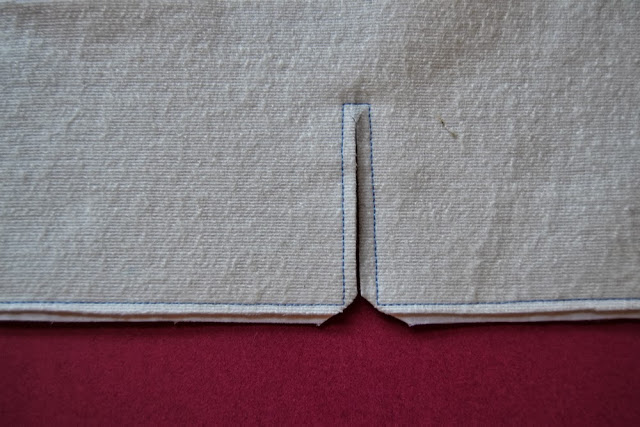
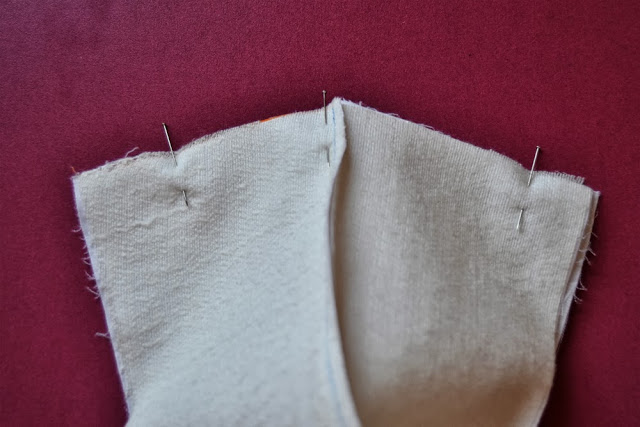
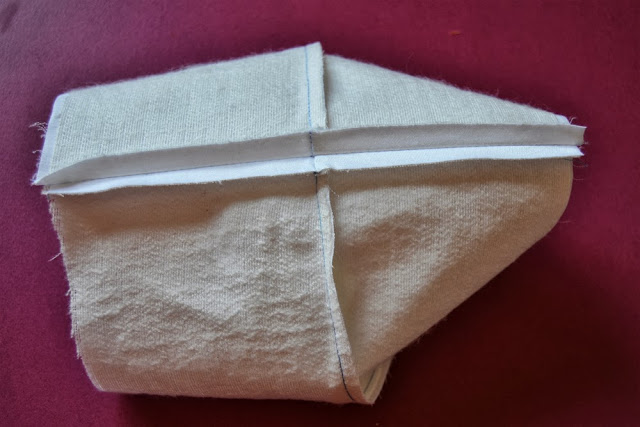 6.Press the seam open.
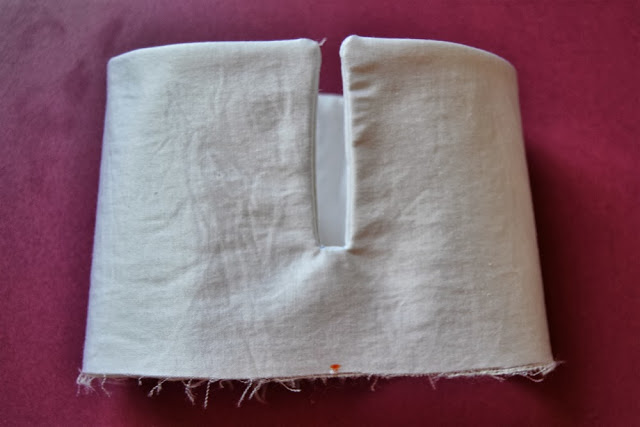 7.Turn the cuff inside out and press.
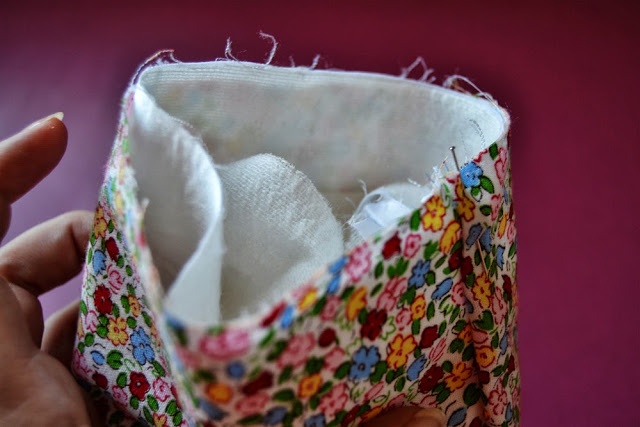
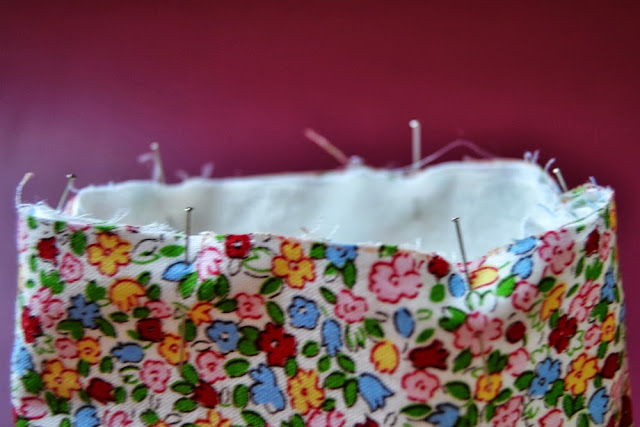
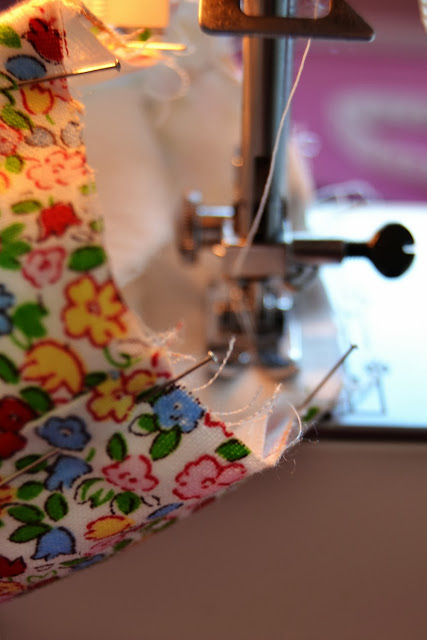 1. Now comes the tricky step: matching the cuff seam and the sleeve seam, pin the cuff inside the sleeve hem. Look carefully at the pictures and try before sewing. We will stitch the cuff like we would stitch bias binding. So the cuff right side is against the sleeve wrong side (believe me, try it! I inserted my first cuff on the wrong side.) When you have pinned it, stitch. Trim the seam allowances and press toward the cuff.
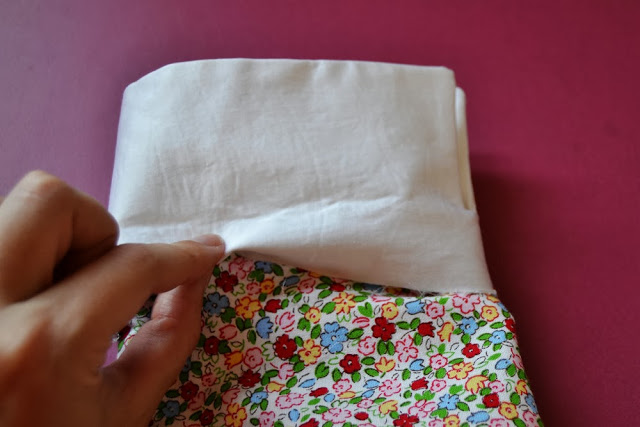
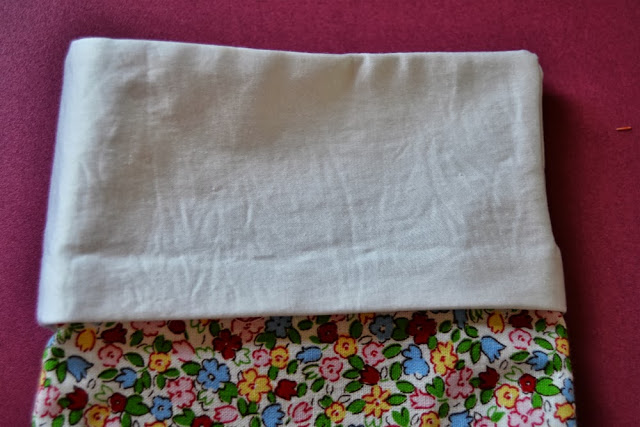 2. Take the cuff out of the sleeve and press the seam allowance toward the cuff.
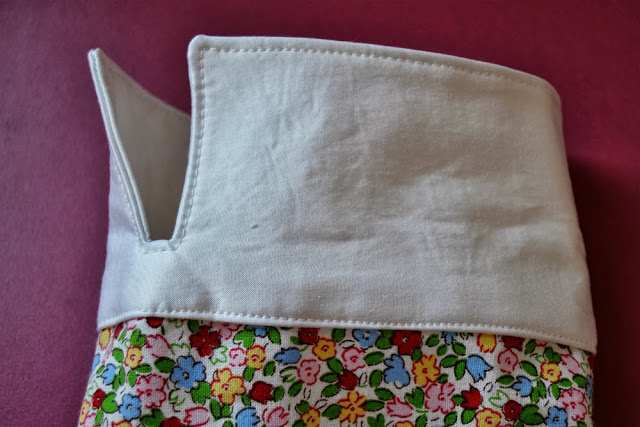 3. Topstitch!
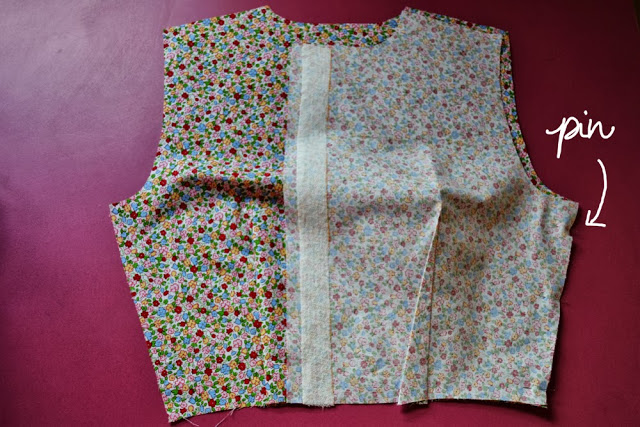
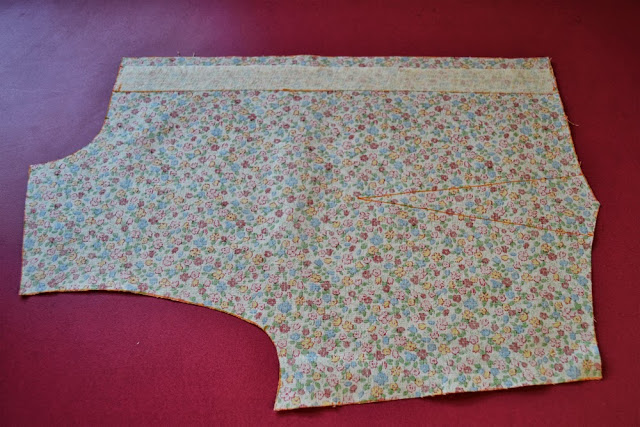 1.Take your bodice front piece and make sure you have transfered all the markings (dart, sleeve marking, zipper marking).
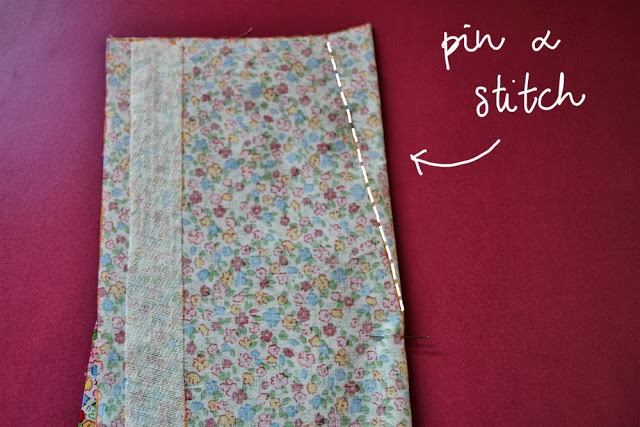 2.Fold the dart in the center with right sides together, matching up the dart legs. Pin into place.
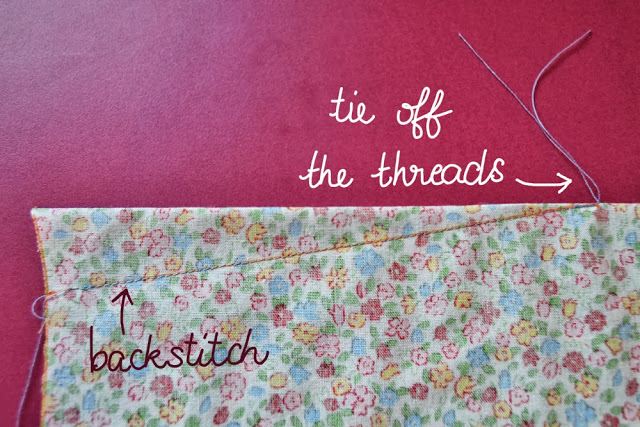 3.Stitch the dart: backstitch at the beginning but not at the end. When you arrive at the dart tip, tie off the threads.
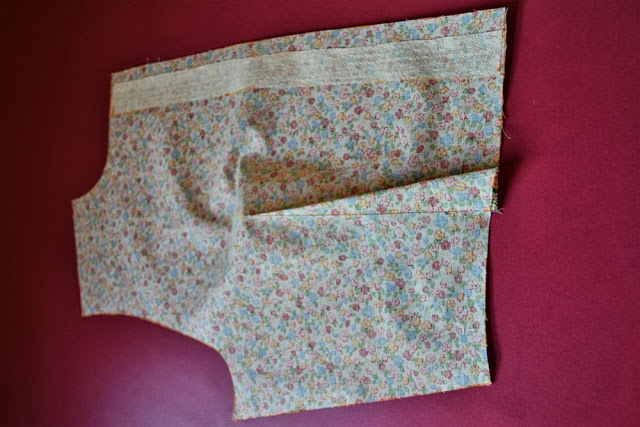 4.Press the dart toward the center.
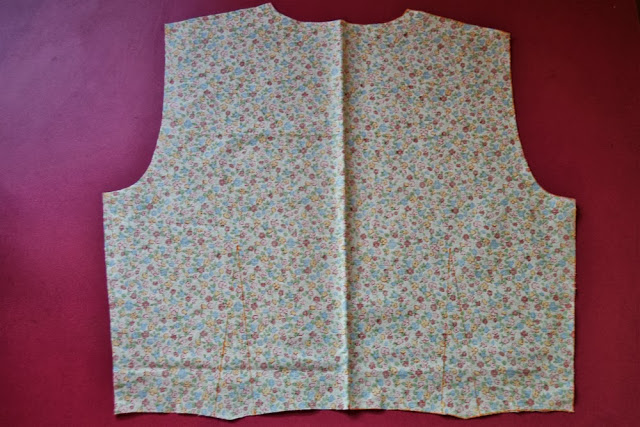 1.Take your bodice back piece and report all markings (darts, waist and collar center, sleeve and zipper markings).
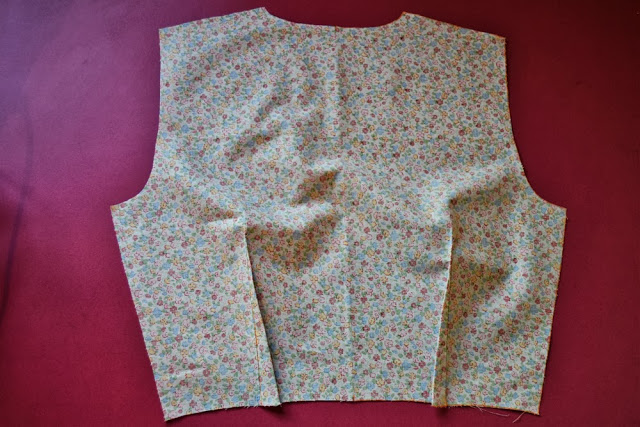 2.Stitch the darts like for the bodice front and press them toward center.
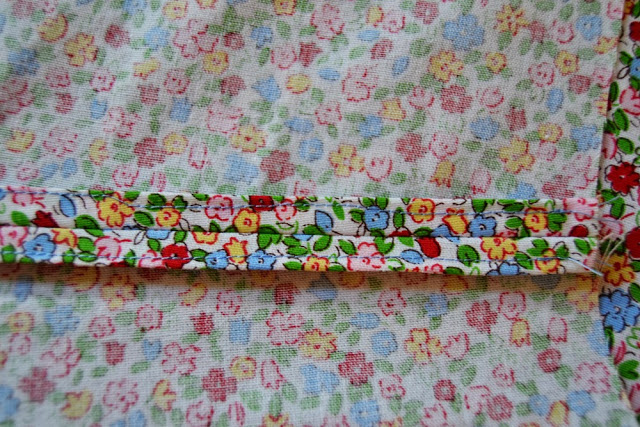 2.I decided to make a turned-and-stitched finish.
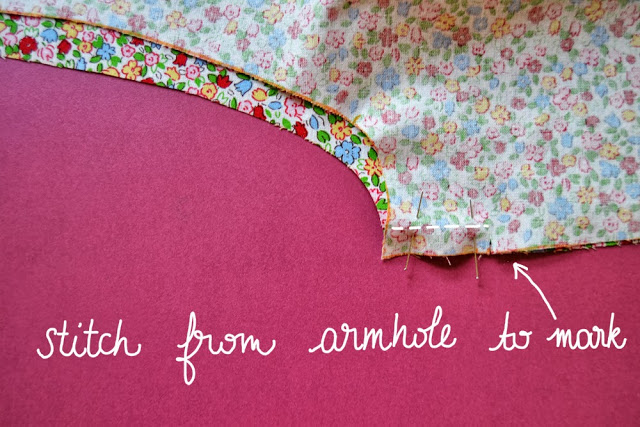 3.On the left side, stitch from the armhole to the zipper marking. Depending on how you finish you seam allowances, you might want to finish them before stitching the side seam (serger, zig-zag).
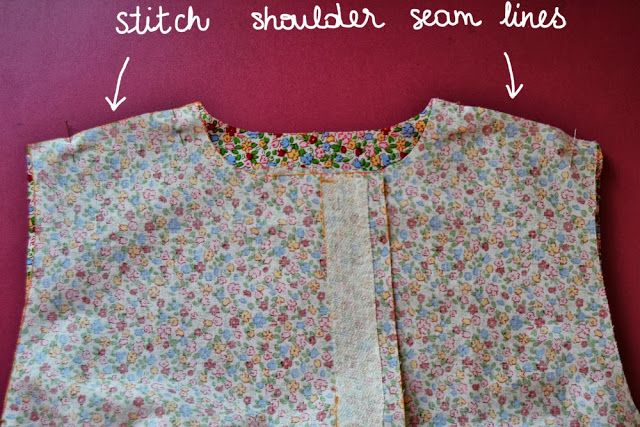 1.Pin the shoulder seams together with right sides together and stitch. Press the seams allowances open and finish them.
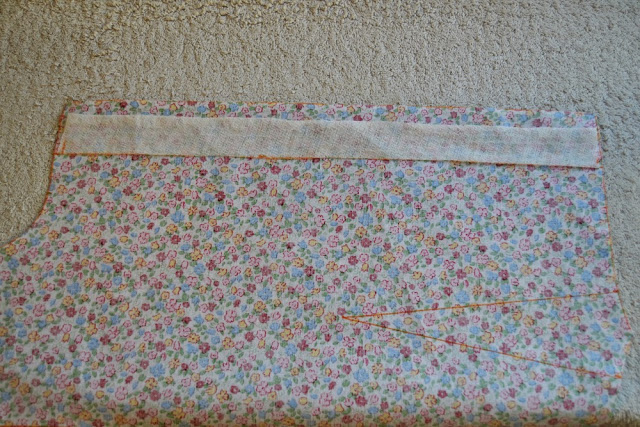
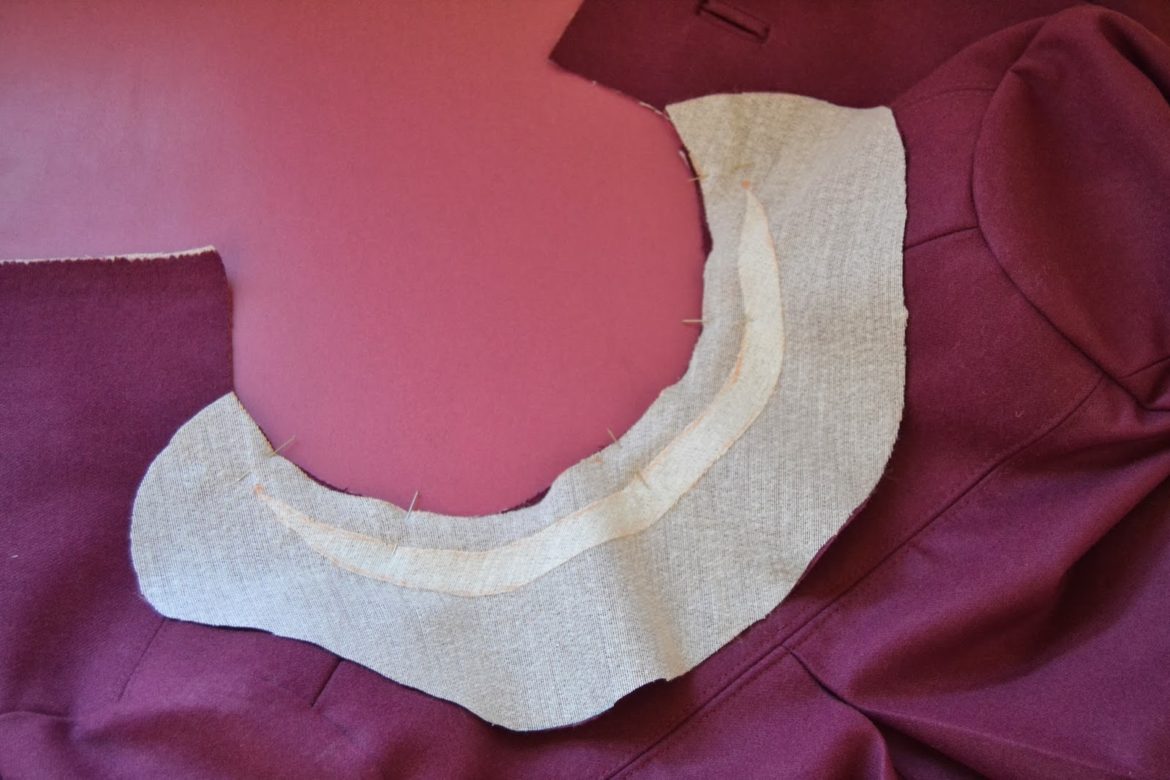
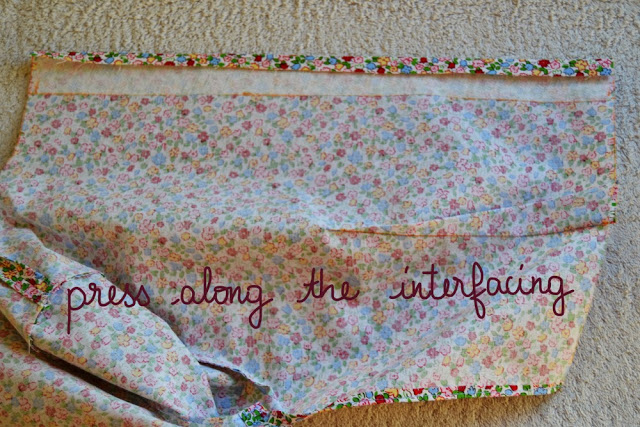 1.Take the bodice front. Fold and press the fabric margin (1 cm, 3/8″) along the interfacing, following the markings, like on the picture.
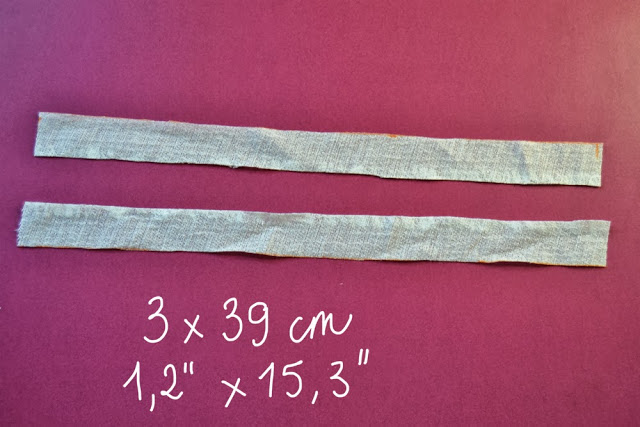
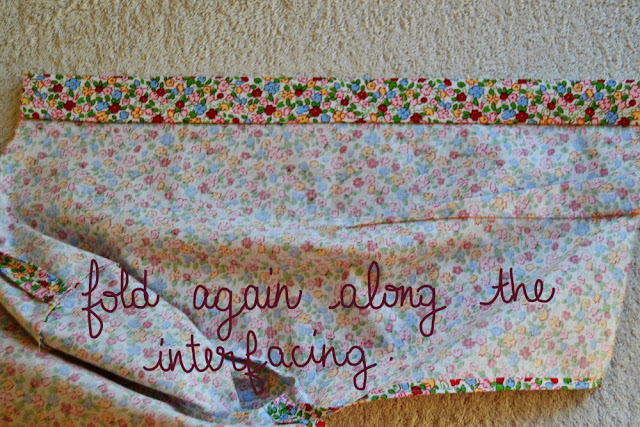 2.Fold again follwing the markings (3 cm, 1,2″) and press.
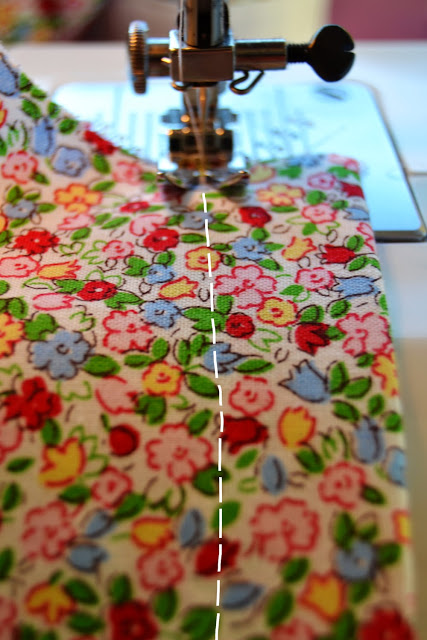 3.On the right side, stitch very close the fold. Repeat on the other bodice side.