Home Tags Posts tagged with "cuff"
Tag:

cuff

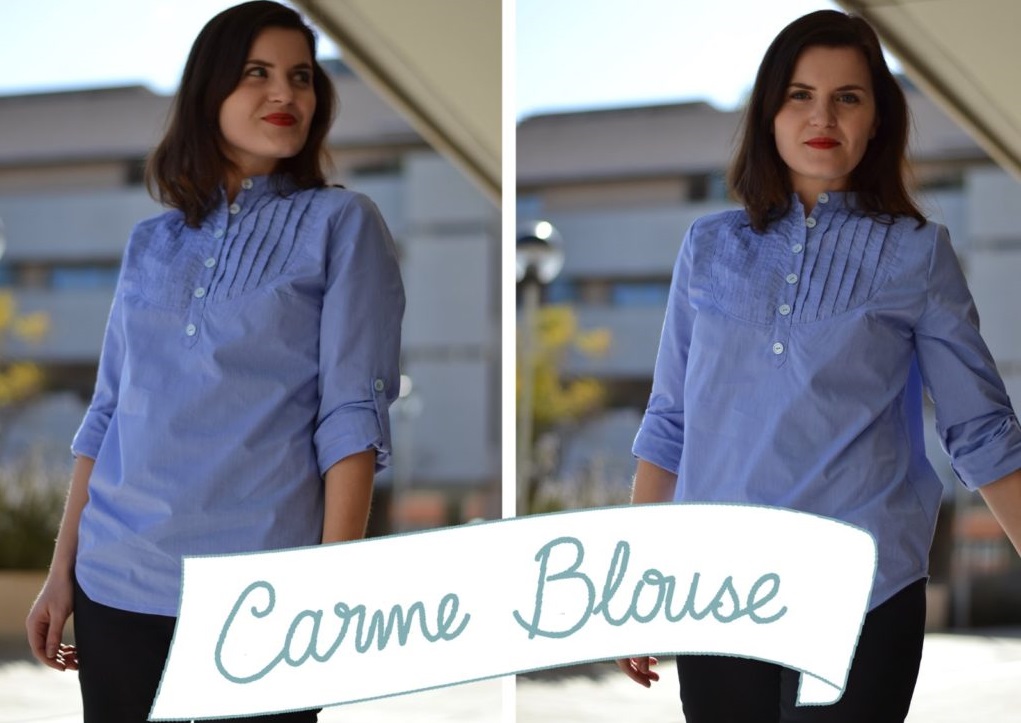
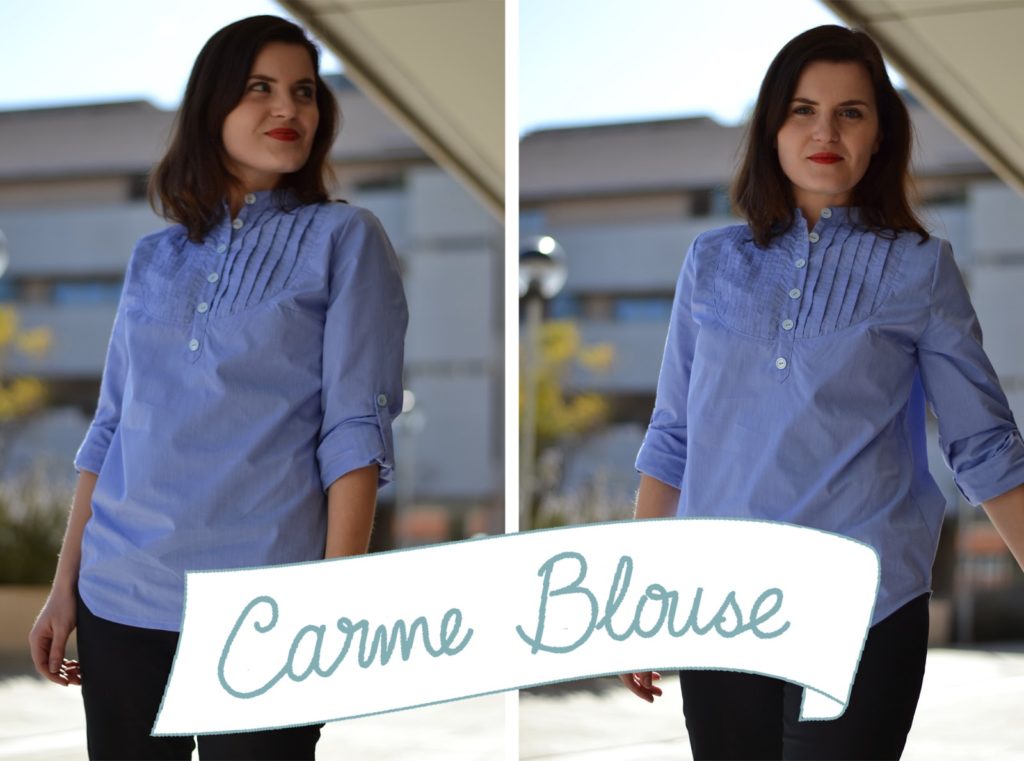
The Carme blouse pattern 2.0 is here! As it’s one of my first pattern, the sizing was not up to date, but I’m happy to tell you that you can now sew this blouse from size 34 to 52.
The pattern includes a print-at-home file as well as copyshop version. Get your copy here: Carme blouse pattern.
Now, let’s talk about the Sew-Along! Today is a big day as we’re going to make the entire sleeve piece. But don’t worry, there are 4 steps but each one is quite easy on its own.
Let’s begin!
SLEEVE VENT

SLEEVE TAB

SLEEVE CUFF

SET THE SLEEVE

I hope the videos are being useful and that you’re not already fed up with the jingle and my broken English (I know I am after editing the videos and watching them so much). I wish a great day and I’ll see you on Friday for the collar part of the Sew-Along.


4 comments
2 FacebookTwitterPinterestEmail
Thank you all for the amazing reception to the Carme blouse over the first weekend! Your comments (and your orders of course!) were so nice, I’m really touched!
So for those who have ordered the pattern or need some inspiration to get it, let’s see the beautiful versions of the pattern testers (second part is coming on wednesday).
Go read all the details about their Carme blouse on their blogs:

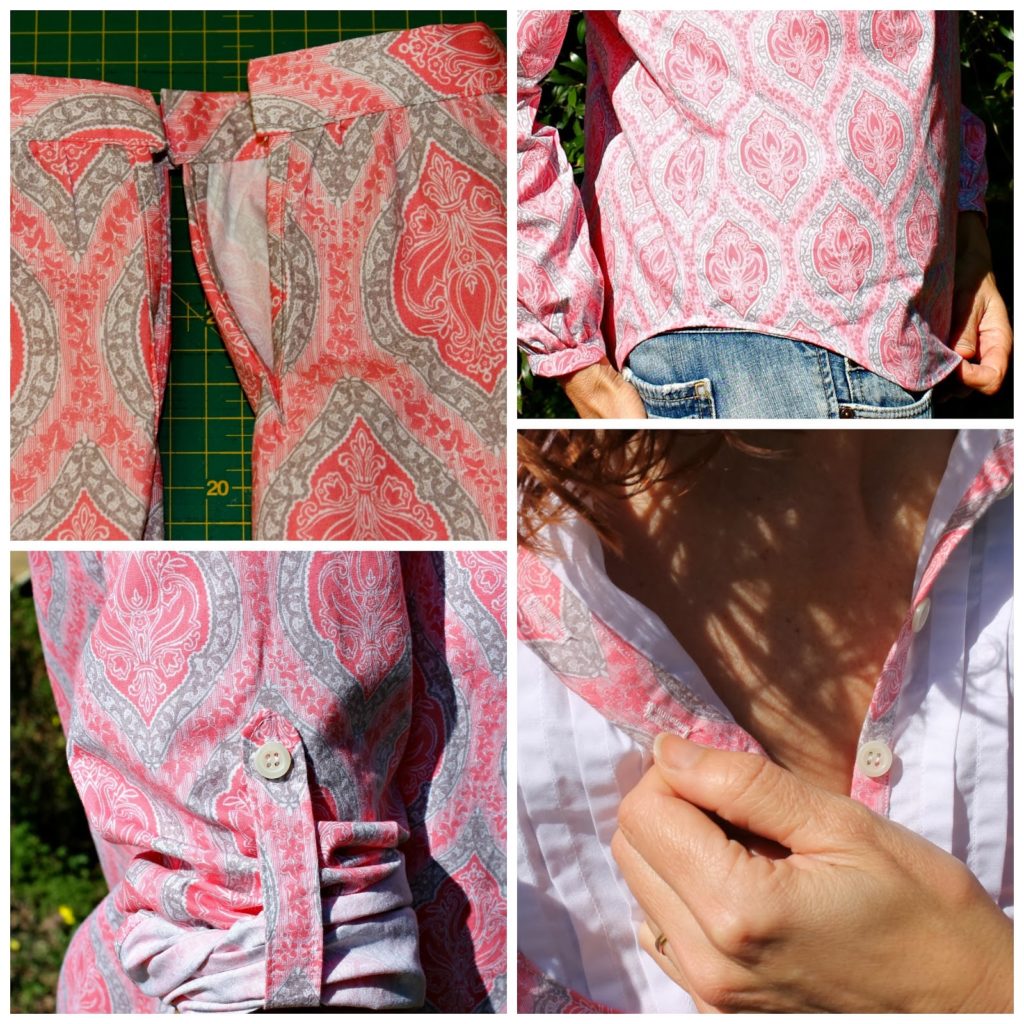
Carme Shirt 071PicMonkey Collage

Merche from Aventuras de costuras, made this beautiful cashmere print blouse with a white contrasting yoke. I don’t know about you but I want to make one lie that as soon as possible.

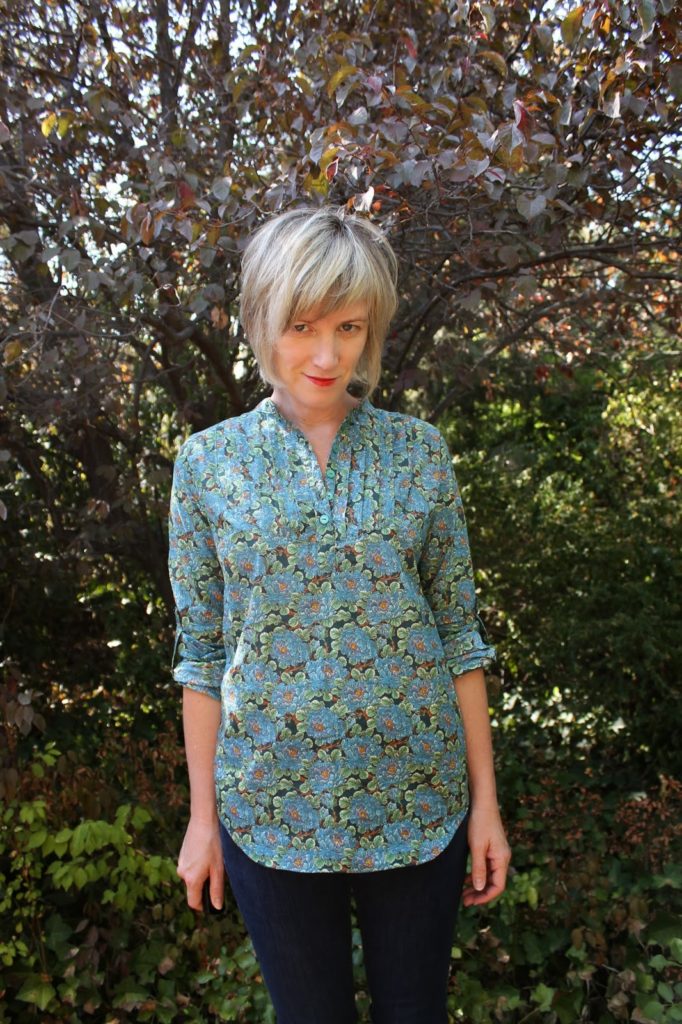
IMG_5698IMG_5727

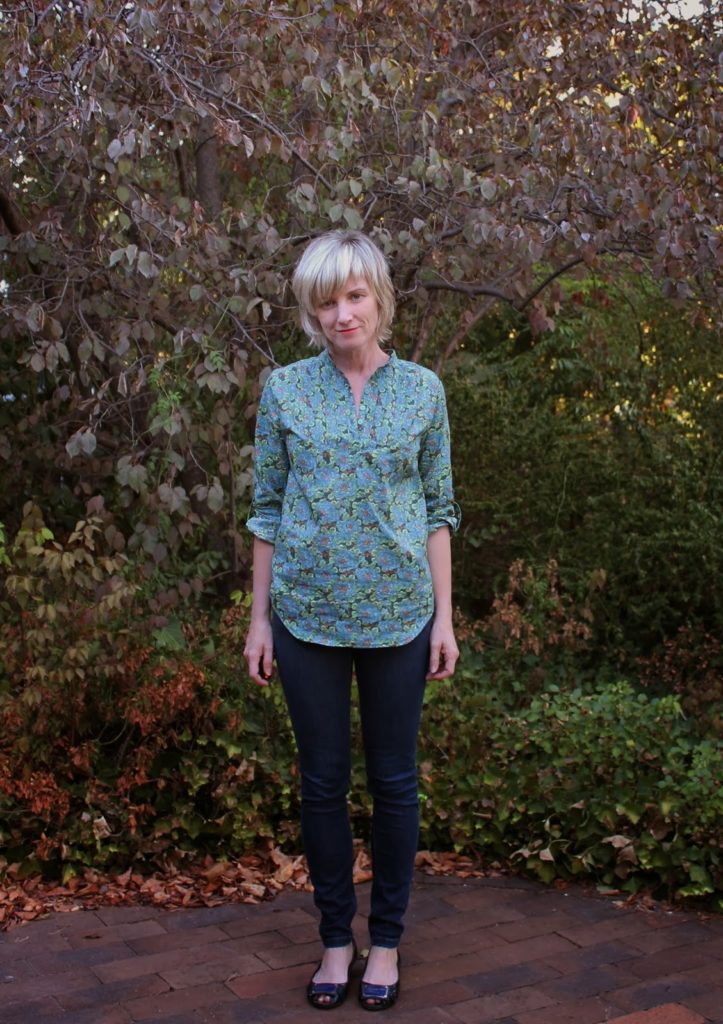
The master of Liberty fabric, Kirsty from Top Notch, used this beautiful blue and green Liberty. It feels really romantic and easy going.

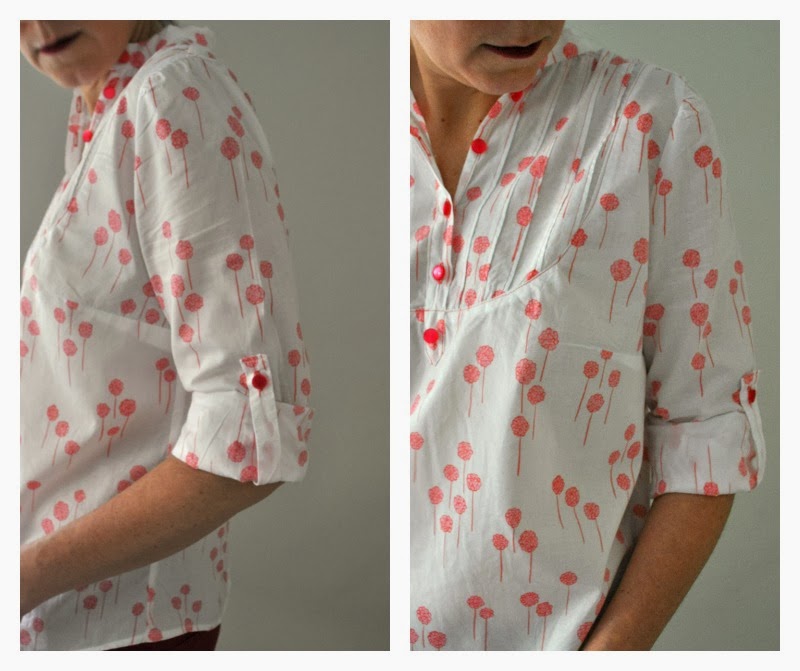
Carme-Blouse-Tucked-in-1-568x1024Sleeve-tabs

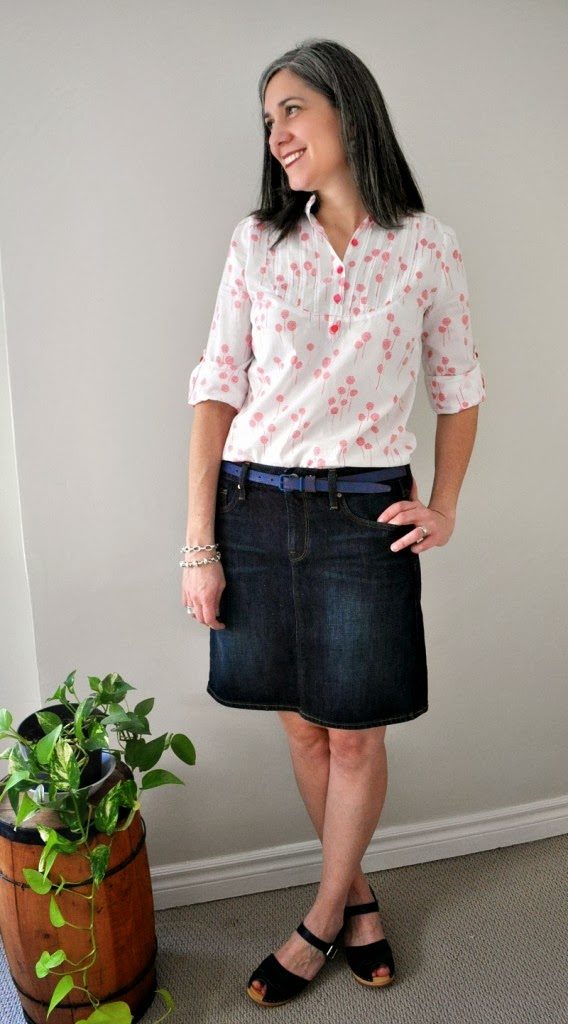
What a delicate and feminine fabric! Andrea from Stitch Parade chose this pretty cotton voile to sew her Carme blouse. A detail I love: the buttons and topstitching in red!
See you Wednesday for part 2…


13 comments
0 FacebookTwitterPinterestEmail
carme blouse pattern, blouse pattern, pauline alice, pin tuck, yoke, button placket, sleeve tab
I’m really happy to present the brand new pattern: the Carme blouse!
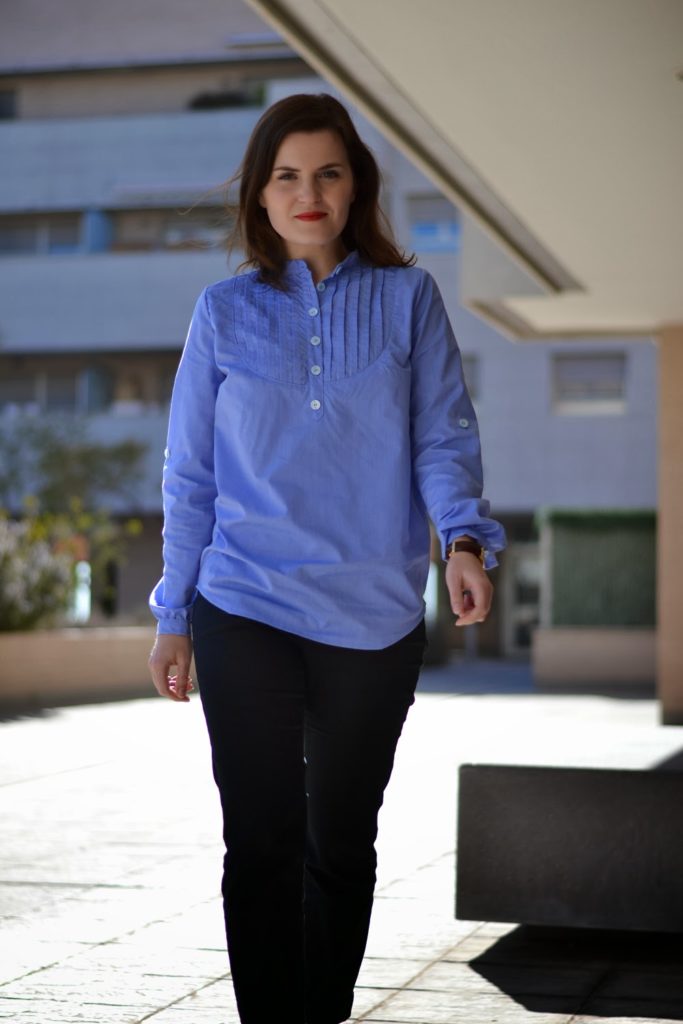
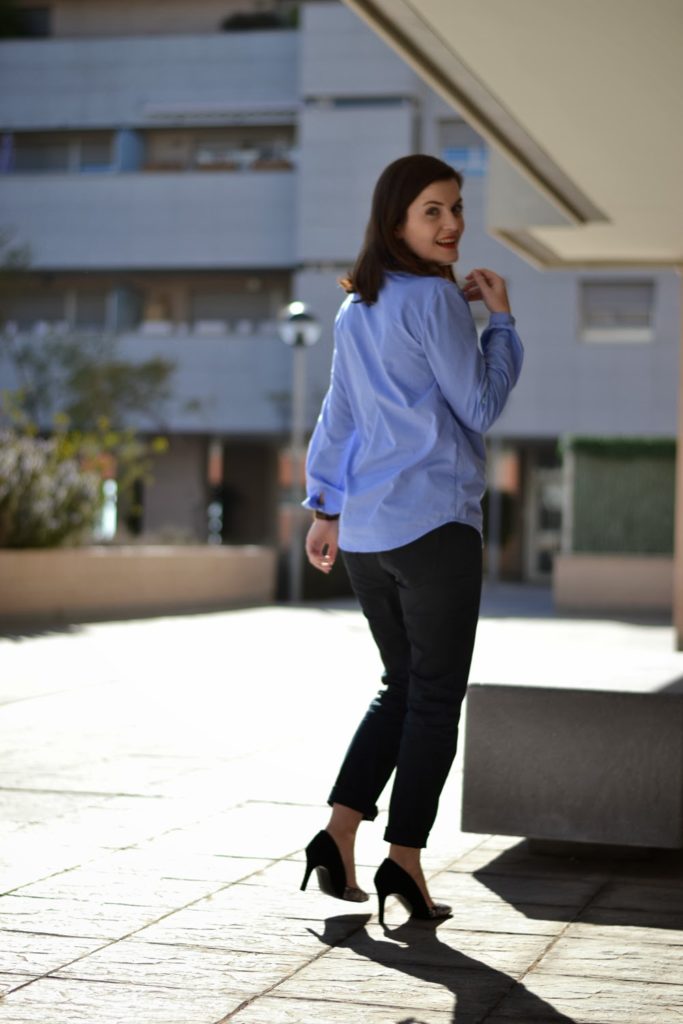
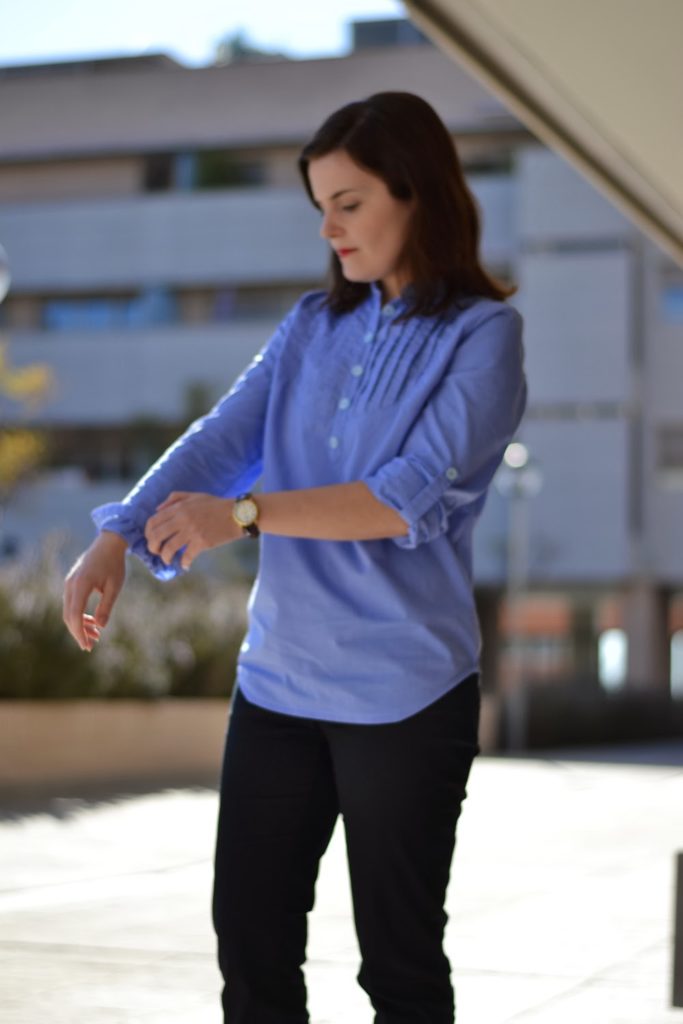
This is a casual, and yet feminine, blouse with a button placket, a pin-tucked yoke, a small mao collar and long gathered sleeves that can be rolled up with the sleeve tab.
carme blouse pattern, blouse pattern, pauline alice, pin tuck, yoke, button placket, sleeve tab
I wanted to design a blouse that you could wear everyday and still look elegant. With your favourite pair of trousers or your favourite skirt, it will be perfect to wear from the morning to work until the night for a drink, or on the weekend walking in the city.
2copiacarme blouse pattern, blouse pattern, pauline alice, pin tuck, yoke, button placket, sleeve tab
I really hope you’ll love the pattern as much as I do! I’m preparing a series of video tutorials so you don’t have to feel intimidated by the yoke detail and the button placket. The pattern is for an intermediate level, but with the tutorials, an advanced beginner can easily make it.
Buy the pattern here: Carme blouse pattern.
Have a great weekend!


54 comments
0 FacebookTwitterPinterestEmail
I hope you had a nice strong cup of coffee or tea this morning as today’s post is a tough one! Let’s begin!
STITCH THE CUFF
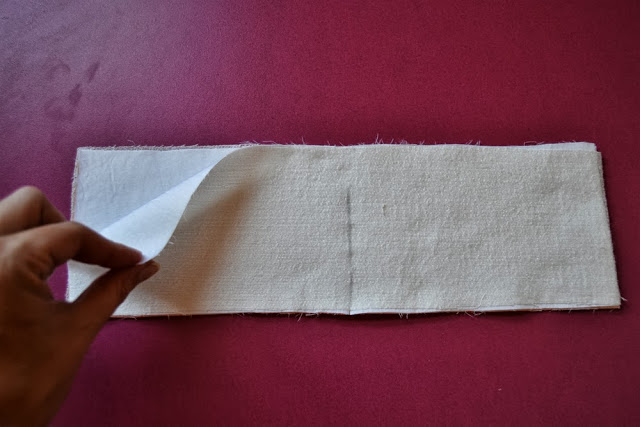
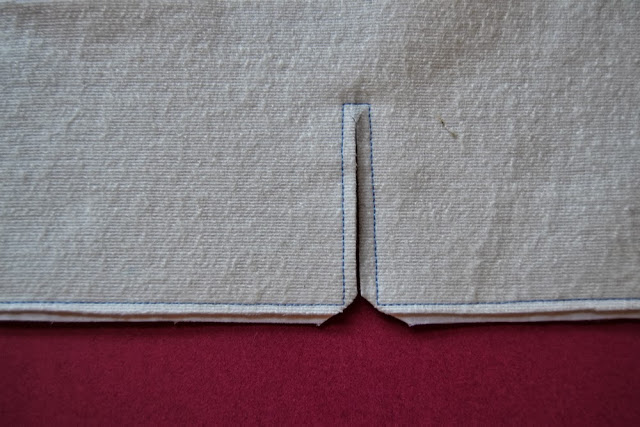
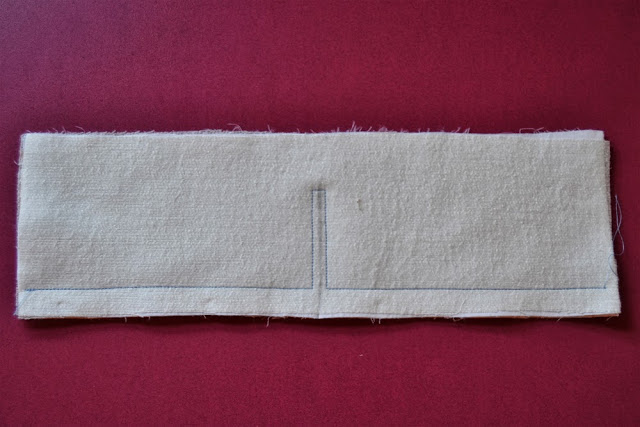
cami-sew-along-version-b-making-cuffs-11.Take your two cuff pieces, already interfaced and place them with right side together. Make sure the opening is marked (I drew only the slit but you can draw the whole box as in the pattern, it’s easier).
cami-sew-along-version-b-making-cuffs2
2.Pin and stitch the cuff, pivoting around the opening. It’s best to use a short length stitch (I used nº 2 for example).

cami-sew-along-version-b-making-cuffs3

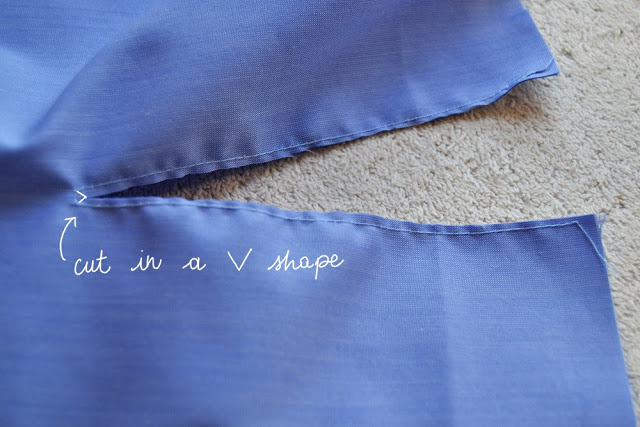
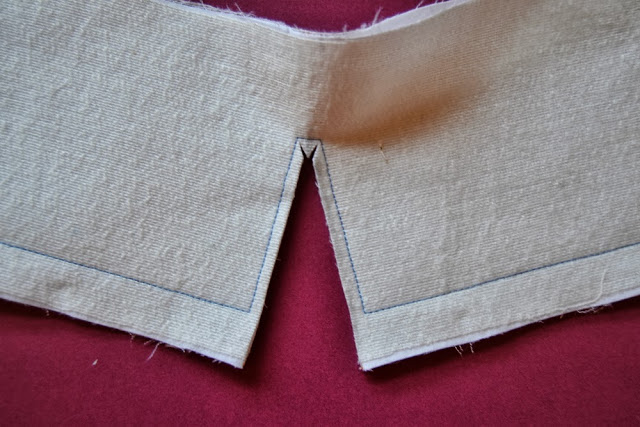
3.Cut carefully the opening between the stitches. At the end, cut a V-shape the closest possible to the stitch line to the angles like in the picture. Be careful not to cut the stitches!

cami-sew-along-version-b-making-cuffs4

4.Trim the seam allowance and cut the corners very close to the angles.

cami-sew-along-version-b-making-cuffs5
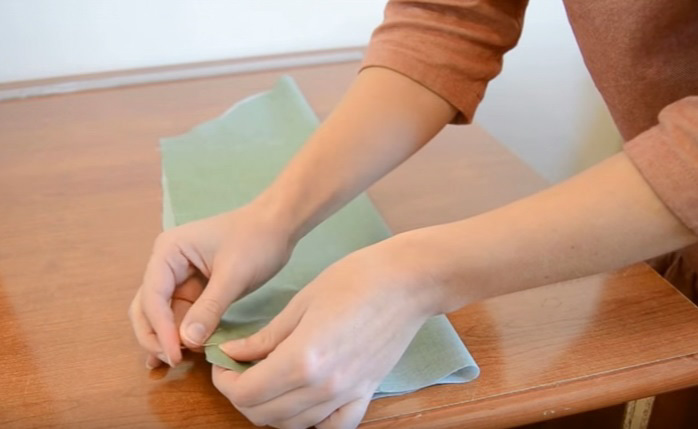
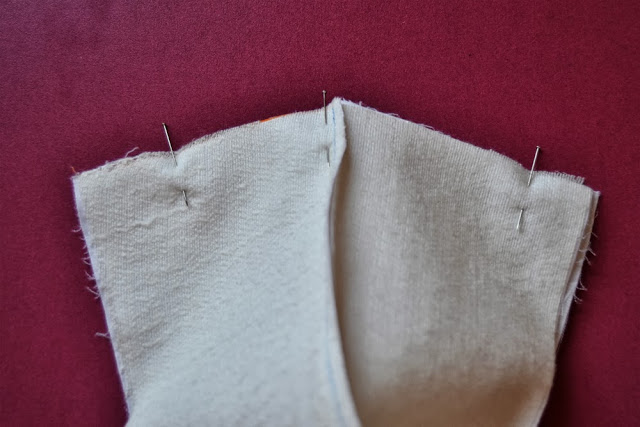
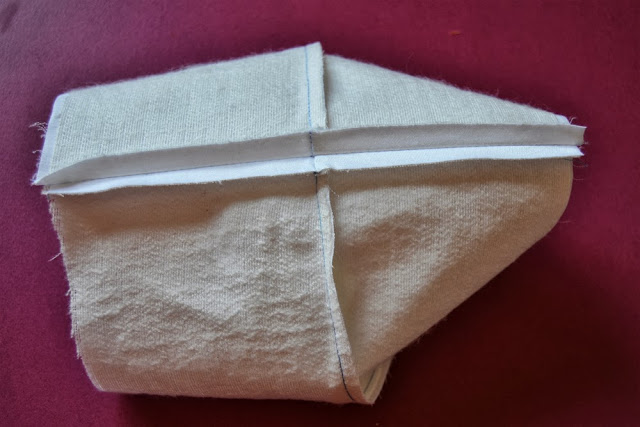
5.Open the cuff and pin together the side seams, with right side together. No need to turn the cuff inside out. Stitch.

cami-sew-along-version-b-making-cuffs66.Press the seam open.

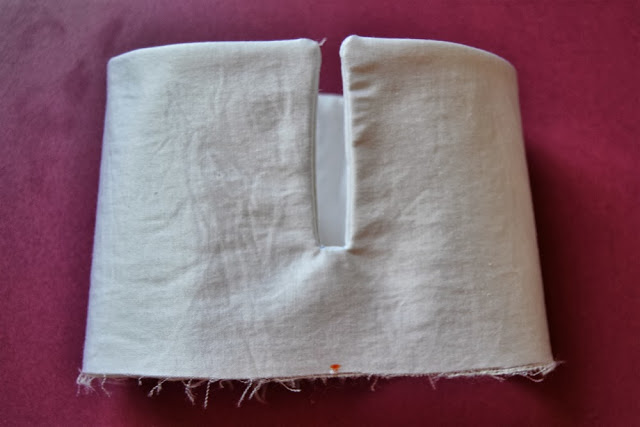
cami-sew-along-version-b-making-cuffs77.Turn the cuff inside out and press.
JOIN THE CUFF TO THE SLEEVE

cami-sew-along-version-b-making-cuffs8cami-sew-along-version-b-making-cuffs9cami-sew-along-version-b-making-cuffs10
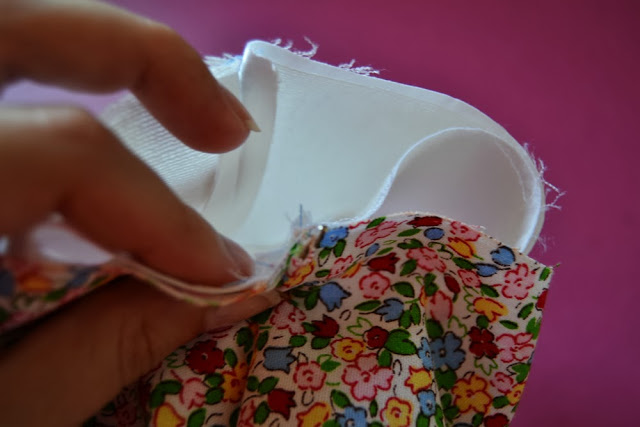
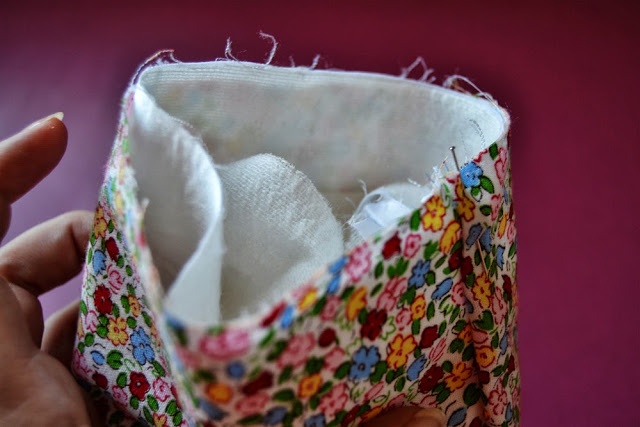
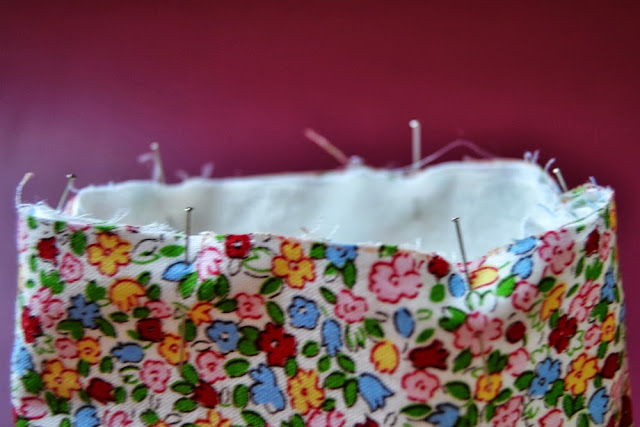
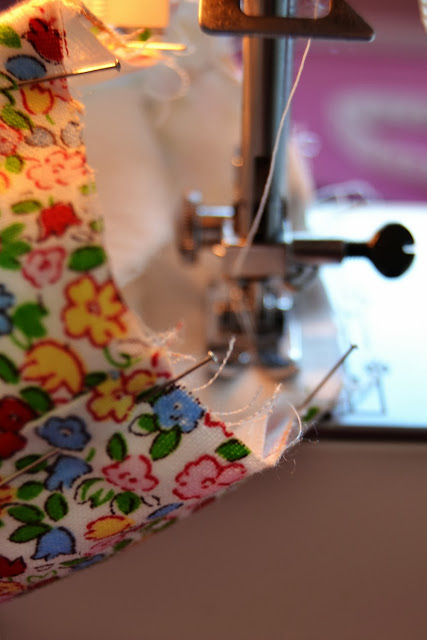
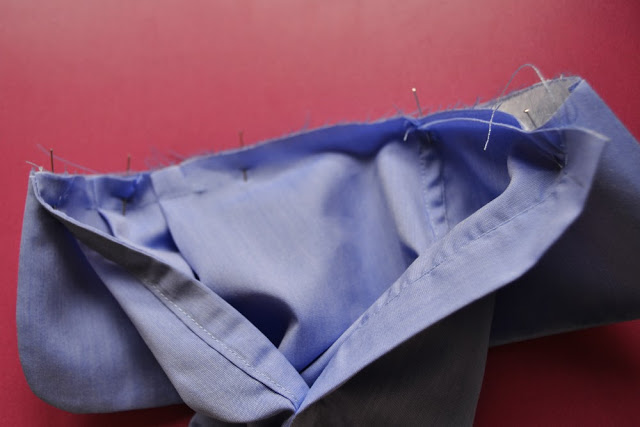
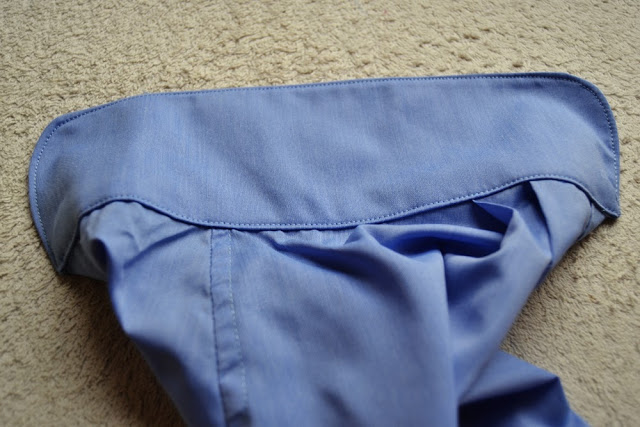
cami-sew-along-version-b-making-cuffs111. Now comes the tricky step: matching the cuff seam and the sleeve seam, pin the cuff inside the sleeve hem. Look carefully at the pictures and try before sewing. We will stitch the cuff like we would stitch bias binding. So the cuff right side is against the sleeve wrong side (believe me, try it! I inserted my first cuff on the wrong side.) When you have pinned it, stitch. Trim the seam allowances and press toward the cuff.
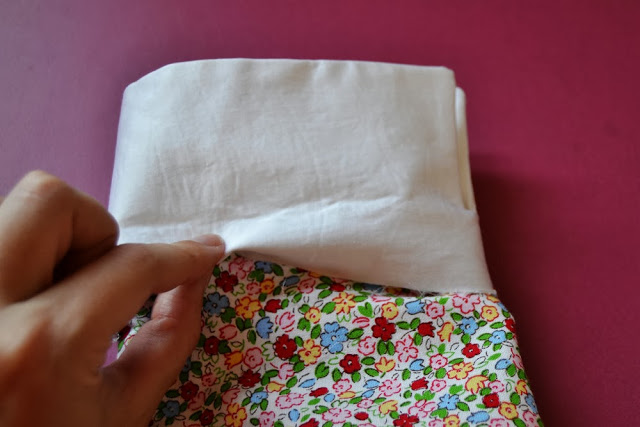
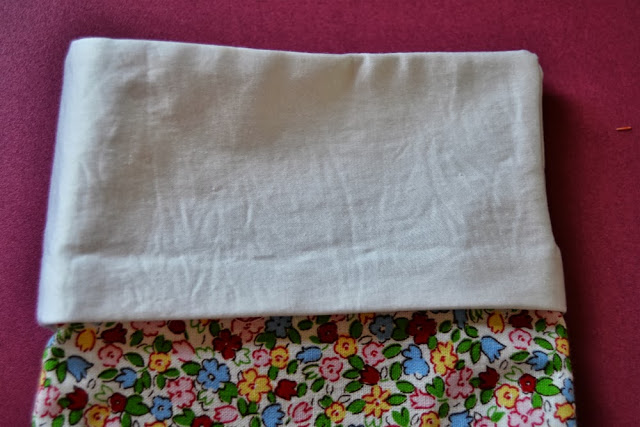
cami-sew-along-version-b-making-cuffs12cami-sew-along-version-b-making-cuffs132. Take the cuff out of the sleeve and press the seam allowance toward the cuff.
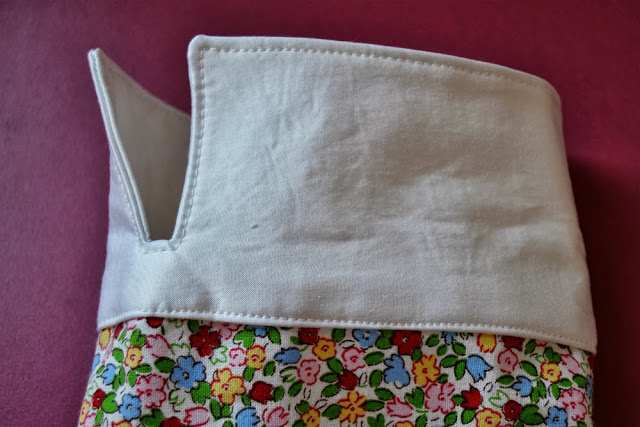
cami-sew-along-version-b-making-cuffs-143. Topstitch!

4. And repeat on the other side of course… What do you think? Easy or difficult?

pauline-sewing-pattern


12 comments
0 FacebookTwitterPinterestEmail

camí5_editado-1

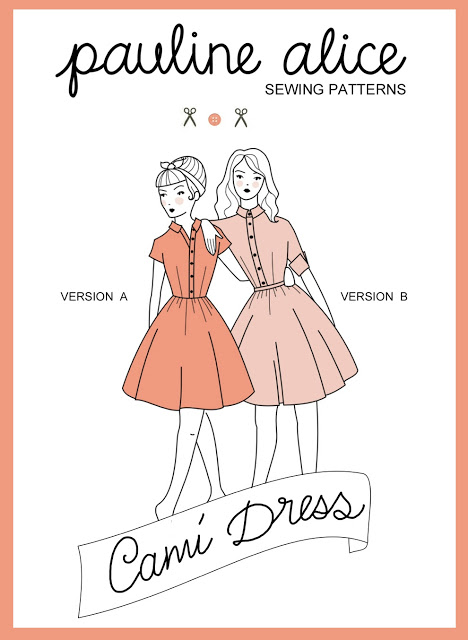
I am very happy to present you my first sewing pattern: the Camí dress!
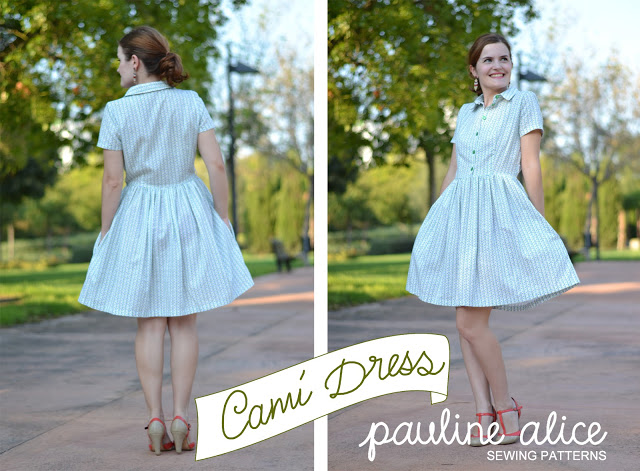
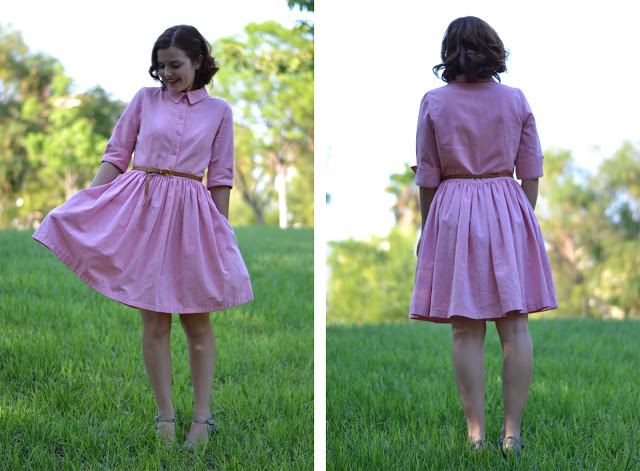
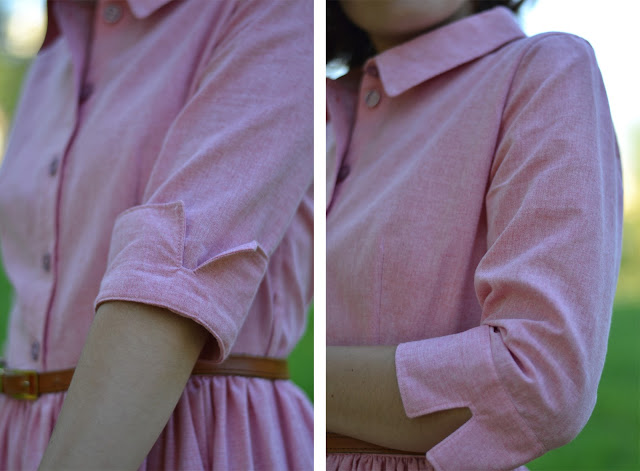
The Camí dress is a very versatile shirt dress: with its sleeve variation, it can be worn all year long… Version A has short sleeves and version B has 3/4 length sleeve with cuffs.
pattern1
I have been in love with the classic style of shirt dresses for a long time and that’s why I wanted to design one as my first pattern. Make the Camí dress in a cute printed cotton for a casual look or choose a  bright cotton sateen or silk blend for a more elegant touch: from day to night, the Camí will make an impression with its retro silhouette.


Camí1

The dress buttons down from the clasic shirt collar to the waist and for more comfort, there is also a side zipper. There are inseam pockets as they are so practical. The high-waist and full, gathered skirt are so typical of the 50’s fashion, you know how much I love those details 🙂
5 copia
The pattern and instructions are available as PDF files in English, Spanish and French. When the order is made, the files will be sent to your e-mail within 48 hours.
cami dress, pauline alice sewing pattern, sewing pattern, shirt dress


camí2
Want to make the Camí dress? Get the pattern here!
I hope you’ll love it and thanks for your support!
Have a wonderful week!

signature1_editado-1

53 comments
2 FacebookTwitterPinterestEmail
Hello! How would you like to continue the shirt tutorial?
Another step I found difficult when sewing my first shirt was the sleeve placket and the cuff. I wanted it to look nice and tidy like the ones I had from the store but I couldn’t figure out how to make it. And the pattern from Burda I was using didn’t have easy explanations, hem hem 🙂
So after many hours searching the internet, I figured it out. I hope this step-by-step will help you:

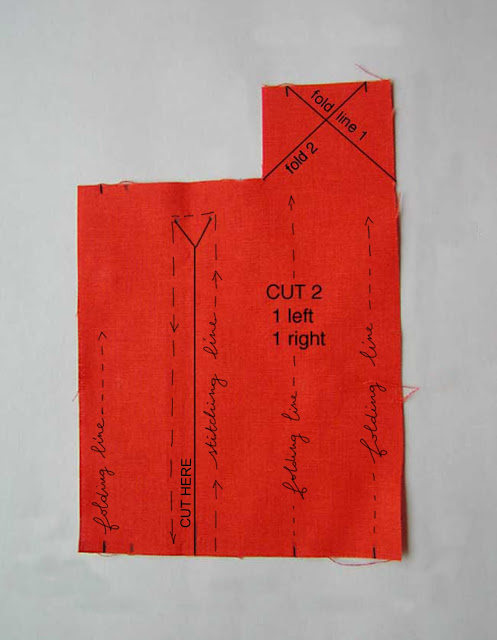
how-sew-shirt-sleeve-placket-cuff-sewing-pattern-11. Here is what your placket pattern piece should look like more or less. It should come with your shirt pattern but if not, you can find printable templates quite easily.
 

how-sew-shirt-sleeve-placket-cuff-sewing-pattern-2

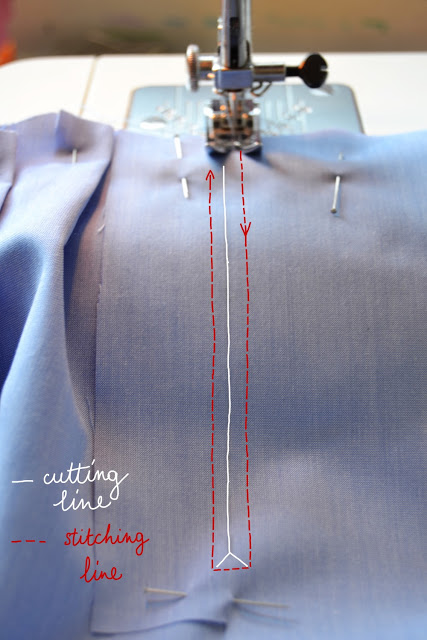
2. Place your placket piece over the sleeve, matching the cutting line marking. Important: both pieces should be with the wrong side facing up toward you!
Stitch the box around the cutting line (follow the red line), pivoting at the angles. It’s better to set your machine on a small stitch length.


how-sew-shirt-sleeve-placket-cuff-sewing-pattern-33. Cut the opening line and finish with a V shape very close to the stitching line.


how-sew-shirt-sleeve-placket-cuff-sewing-pattern-4
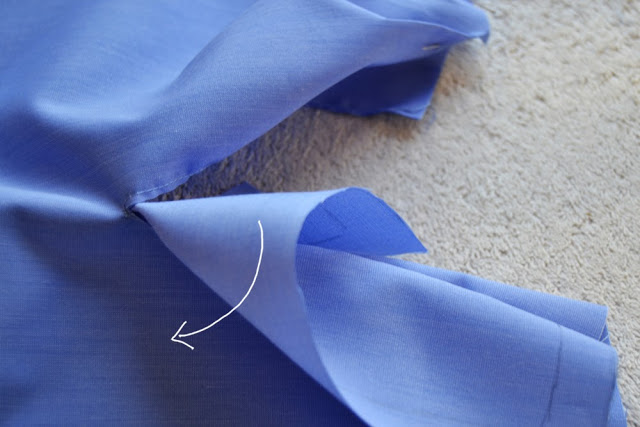
4. Turn the sleeve over and with right side up, flip the placket through the opening. Press open.


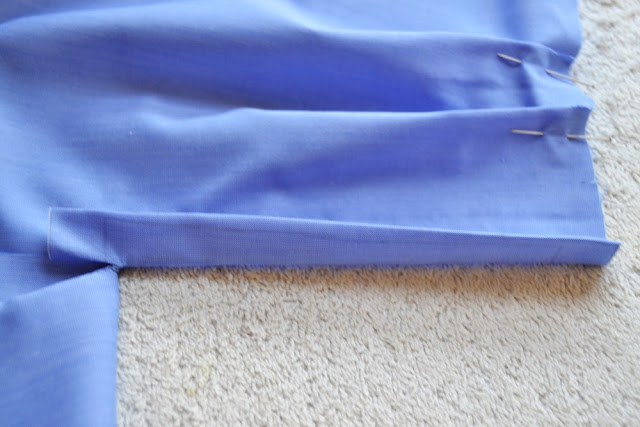
how-sew-shirt-sleeve-placket-cuff-sewing-pattern-55. Take the small side and fold under along the folding line. Press.
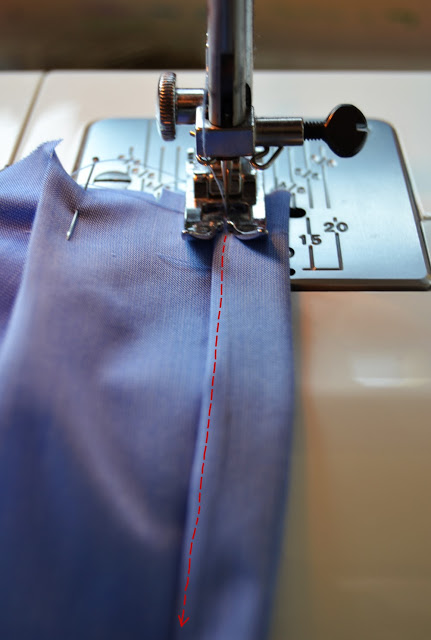
how-sew-shirt-sleeve-placket-cuff-sewing-pattern-66. Stitch very close to the folding line.
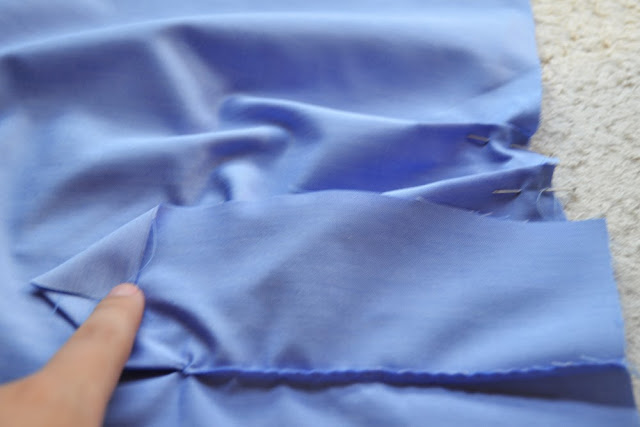
how-sew-shirt-sleeve-placket-cuff-sewing-pattern-77. On the other side, fold the end forming a point. Press.
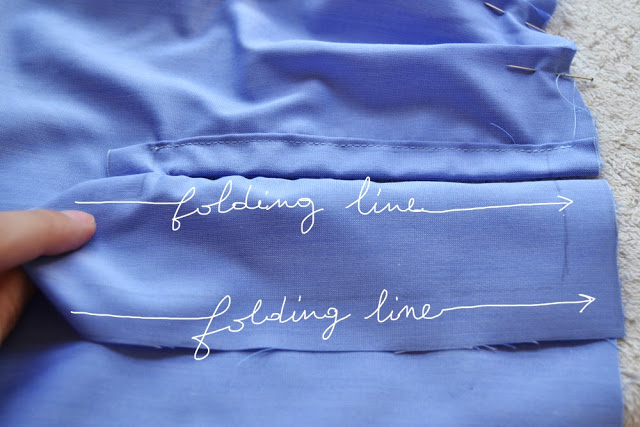
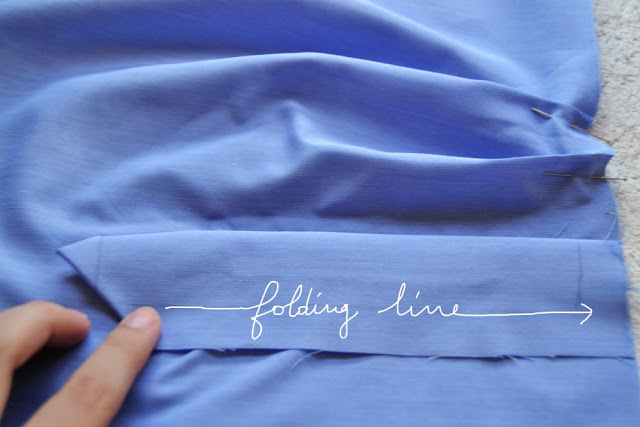
how-sew-shirt-sleeve-placket-cuff-sewing-pattern-8
8. Fold along the two folding lines and press.

how-sew-shirt-sleeve-placket-cuff-sewing-pattern-99. Now we have folded and pressed the fisrt line, we are going to fold the other one and press it.
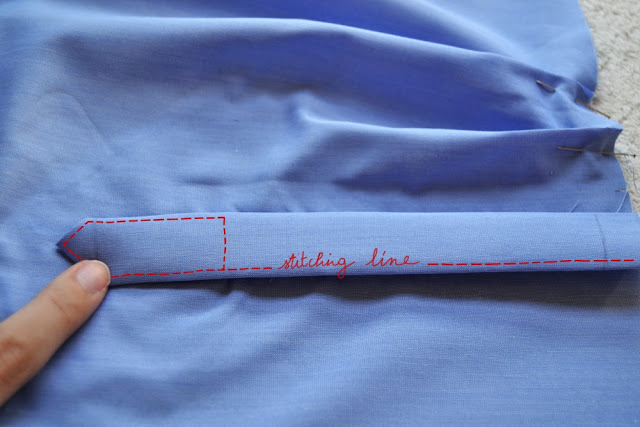
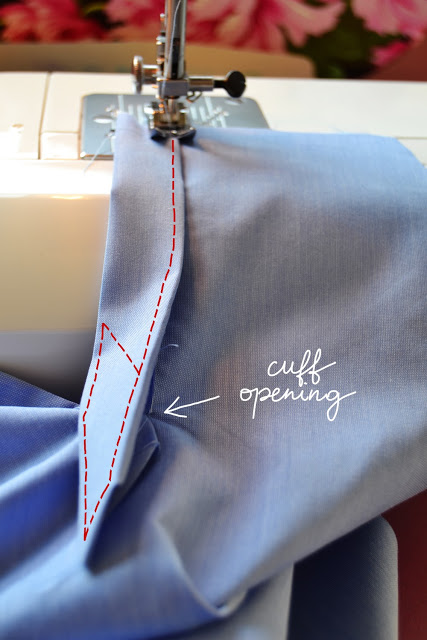
how-sew-shirt-sleeve-placket-cuff-sewing-pattern-1010. Place the pointed part over the small one. We are now going to stitch the red line, enclosing the raw edges under the placket.
how-sew-shirt-sleeve-placket-cuff-sewing-pattern-11
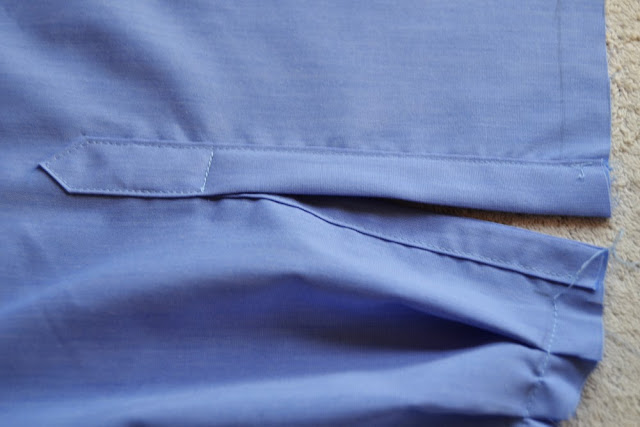
11. Edgestitch the placket following the red line. Go approx. 2 cm down the cuff opening to enclose the raw edge.


how-sew-shirt-sleeve-placket-cuff-sewing-pattern-12
12. The result: nice and tidy! You can now baste your sleeve bottom folds (usually 2).


how-sew-shirt-sleeve-placket-cuff-sewing-pattern-13
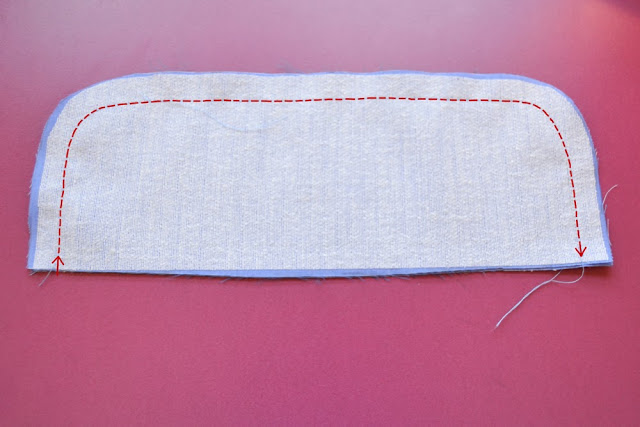
13. Interface your cuff pieces and with right sides together, stitch following the red line. Trim the seam allowances very close to the stitching line. Clip the curve.


how-sew-shirt-sleeve-placket-cuff-sewing-pattern-14
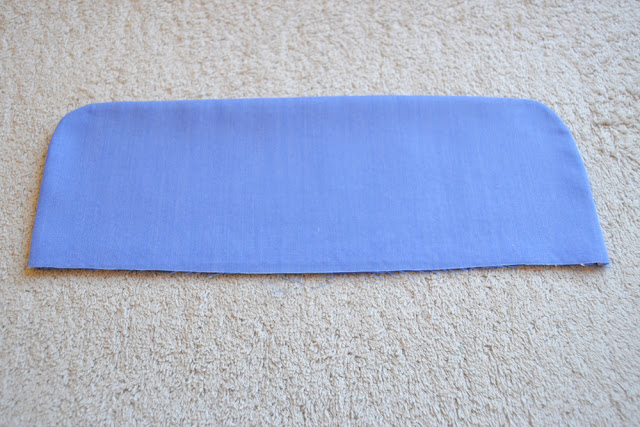
14. Turn inside out and press.

how-sew-shirt-sleeve-placket-cuff-sewing-pattern-15

15. Now do what I say, not what I do: instead of pinning the cuff layer to the outside of the sleeve, pin it to the inside. This should look almost like the picture but with the cuff inside.
Stitch. Trim the seam allowances and press them toward the cuff.


how-sew-shirt-sleeve-placket-cuff-sewing-pattern-1616. Fold the seam allowance of the cuff inside, press it and edgestitch all around the cuff. You’re done! The only missing step is sewing the button and buttonhole.
I hope that was useful! Have a nice week end!
I will come back very soon with great news!
pauline-sewing-pattern
19 comments
4 FacebookTwitterPinterestEmail