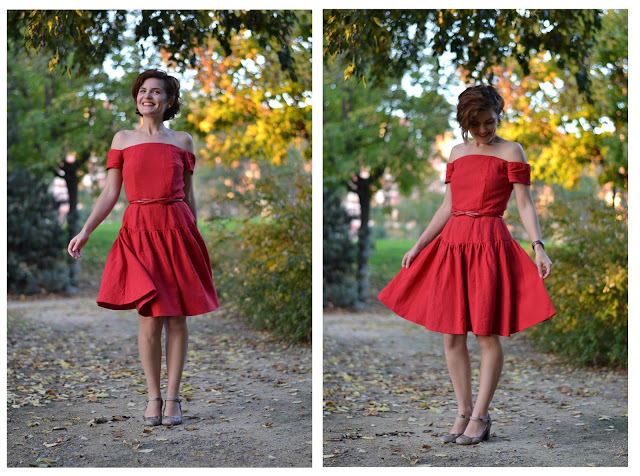
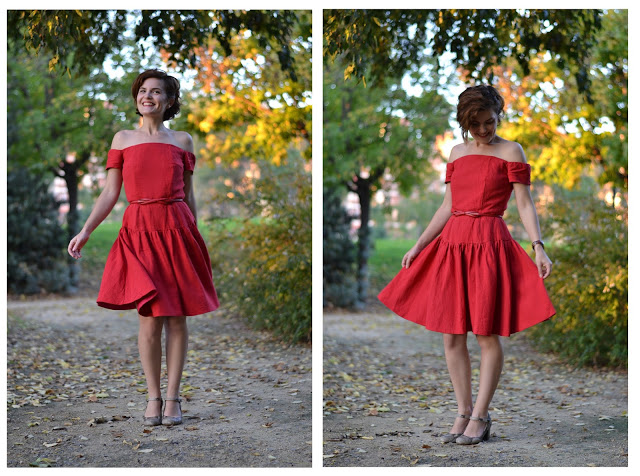
Holiday season has started and it means Party!!! Have you thought about your party dress for the holidays? Mine is going to be a velvet and polka dot tulle Seda Dress. And while sewing it, I took pictures of the minor changes I made in order to show you some variations you might want to try on your own version of the Seda dress.
So today, we’ll see how to add boning to the Off-the-shoulder version, View A.
View A of the Seda dress emphasizes the shoulders and neckline, I think it’s very sensual and quite sexy if you ask me. The dress is designed to work without added structure but depending on your fabric and your bust size, you may feel more comfortable adding boning to the bodice of the Seda dress View A.If your fabric is light and doesn’t have enough body, I would recommend adding an underlining. To underline the bodice, you can use muslin fabric, cotton batiste or silk organza (choosing the right underlining will depend on your fashion fabric, underlining should always be lighter in weight). Cut the bodice pieces out the underlining and transfer all the markings (you don’t need to mark the main fabric). Baste the fashion fabric and the underlining together, you can then use them as one piece.
Underlining will help structure the bodice of the dress, it will also prevent darts to be seen from the right side if your fabric is very light and will minimize wrinkles. And for our purpose, it will prevent to boning to show throught this double layers of fabric.So now on to the boning!
There are different types of boning, here the ones you’re most likely to find at your notion store:
- Plastic boning. Sold by the meter/yard.
- Steel boning. Either flat or spiral like in the above picture. Usually sold in precut length.
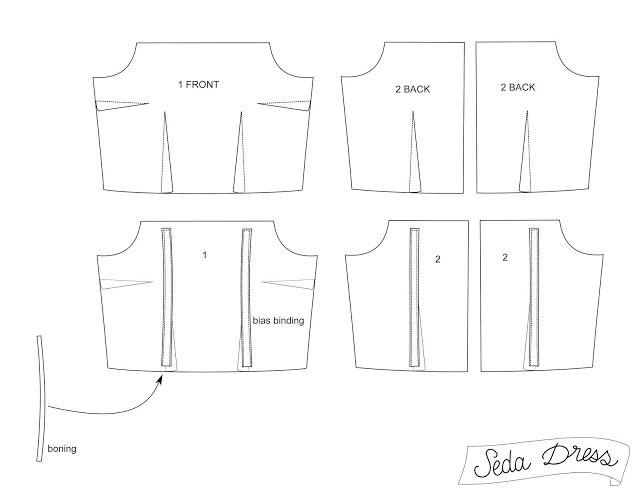
- Rigilene boning. Can be stitch directly on fabric. Sold by the meter/yard.You’ll need approximatively two 28 cm (11″) boning for the front bodice and two 26 (10 1/2″) for the back, both about 1 cm wide (3/8″).
-Stitch along the edge of the bias binding, going up and down, stitching very very close to the edges.
-Insert boning into the channel you created with the bias binding. Make sure your boning stops about 2 cm (3/4″) above the waistline edge. Stitch the bottom edge of the bias binding to prevent boning from moving.Rigilene boning insertionWith Rigilene boning, you’re going to pin the boning directly on the wrong side of the lining over the darts, as explained for the bias binding previously. You can melt both ends of the Rigilene so it won’t punch through the fabric (or stitch a piece of fabric over the ends). Make sure the boning stop about 2 cm (3/4″) from the neckline and waistline edges.
Stitch over the boning, on each side.Now you are ready to follow the Seda dress instructions just as they come.


1 comment
Velvet and polka dot tulle! That sounds stunning!