6,4K
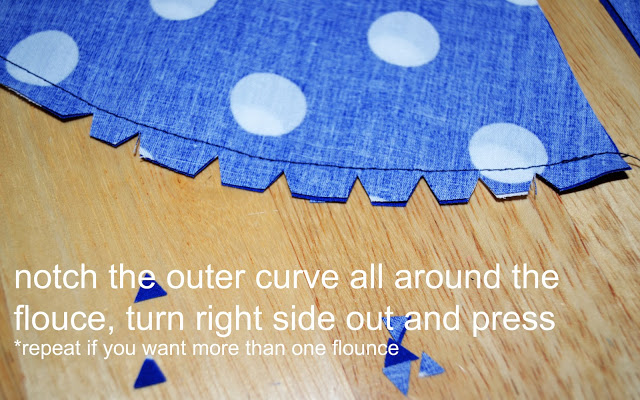
 2-Remember to press flat (if the curve isn’t round, notch more closely but be careful not to cut into your row of stitches).

 7-Stitch the flounces separately, press the seam allowances open, finish the edges as you prefer (zigzag, serger, bias binding…).

I am getting ready right now for the Andalusian party tonight so I thought it would be appropriate to make a new post about the flamenca dress.
If you remember, I already made the dress body and the lining. Which leaves me the sleeves and the skirt: these are the parts that are more time-consuming.
Today I’ll start with the sleeve and tomorrow the skirt part will follow.
……………………………………………………………………………………………………………………………………
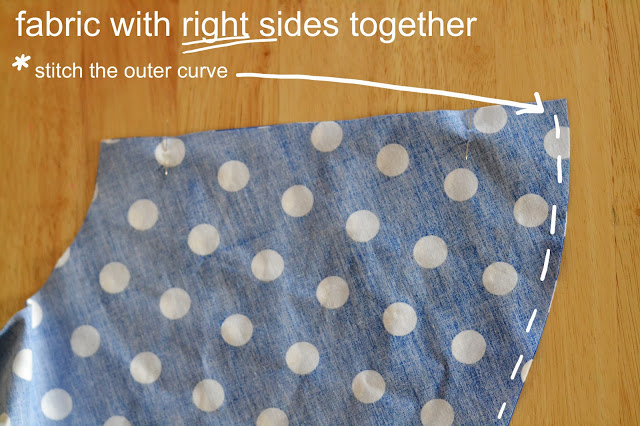
For the sleeves, I decided to line the flounces with self-fabric as the outside is going to show quite a bit.
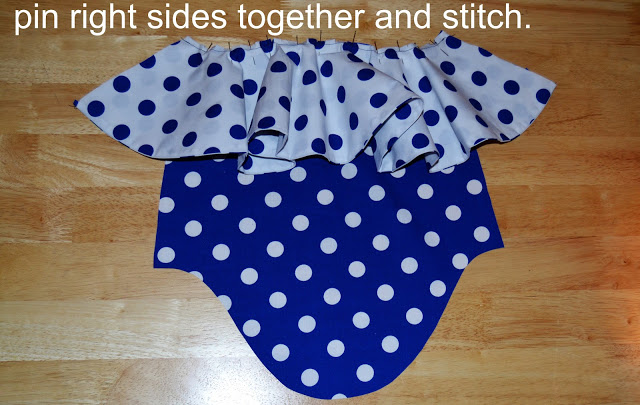
1-Take the sleeve flounces and place them right sides together.
 2-Remember to press flat (if the curve isn’t round, notch more closely but be careful not to cut into your row of stitches).
3-Add as many flounces as you want (I have two, one blue, one white).
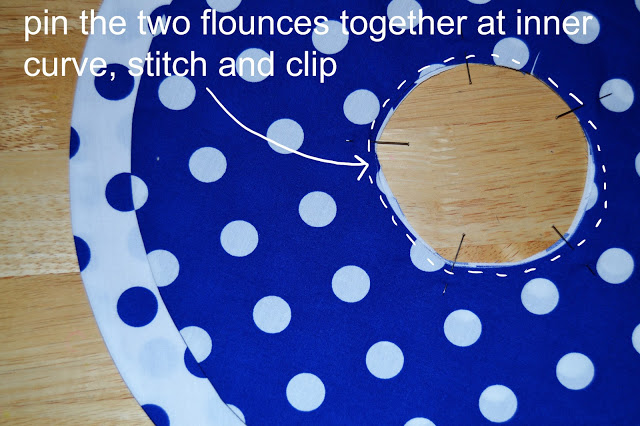
4-Sew the flounces together at inner curve.
 5-Take your sleeve piece.
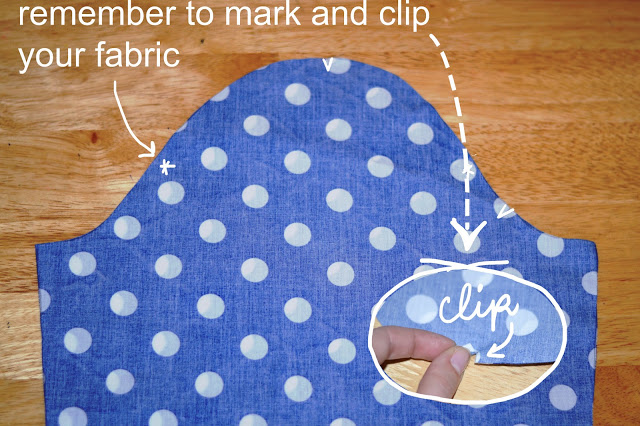
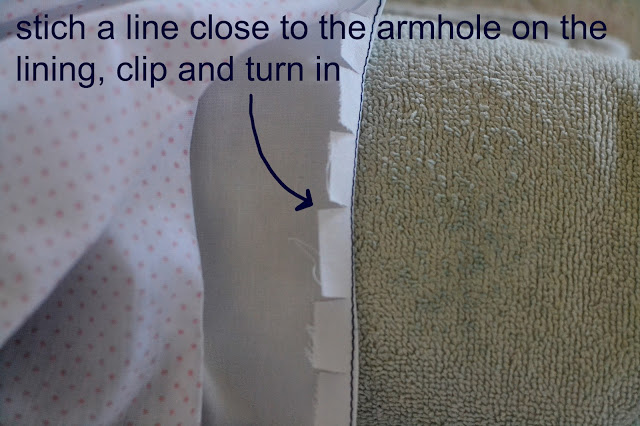
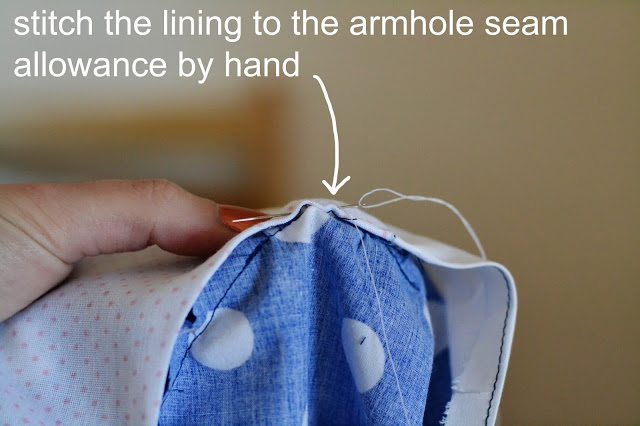
6-Pin the flounces to the sleeve right sides together (for example: blue against blue). Remember to clip the curve of the flounces so it’s easier to pin.
 7-Stitch the flounces separately, press the seam allowances open, finish the edges as you prefer (zigzag, serger, bias binding…).
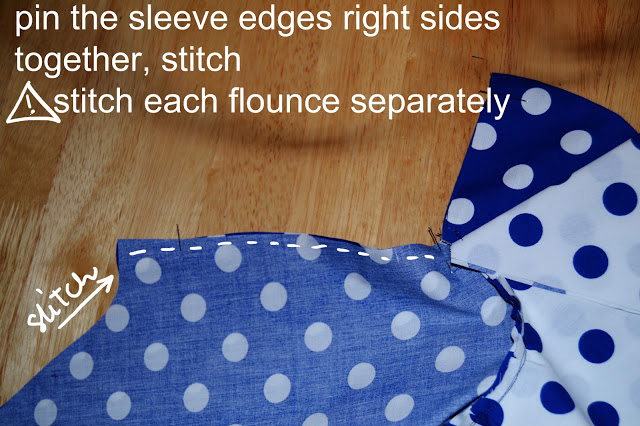
There you go for the moment! I hope it was useful and I will post the skirt explanation tomorrow and the final pictures during the following days.
Now excuse me, I have to finish my make up for the party… Bye!
