7,4K

If you’re like me, when you see a garment you like on the internet, you want to know how it’s made. There is nothing more frustating than finding the perfect dress or skirt and having no idea of what pattern was used or good enough pictures to figure it out. What I love are blogs with construction pictures, that way, even if I don’t have the pattern, I can try to make something similar. If only I did that! But everytime I try to take pictures of the construction, I forget and keep on sewing until it’s almost finished… Do what I say, not what I do 🙂
Ok, I made an effort and took pictures of the construction of the Scarlett dress, good girl!
Let’s start with the corset:
Let’s start with the corset:
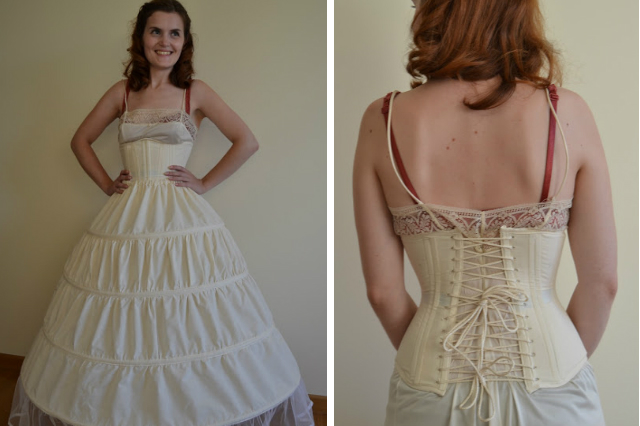
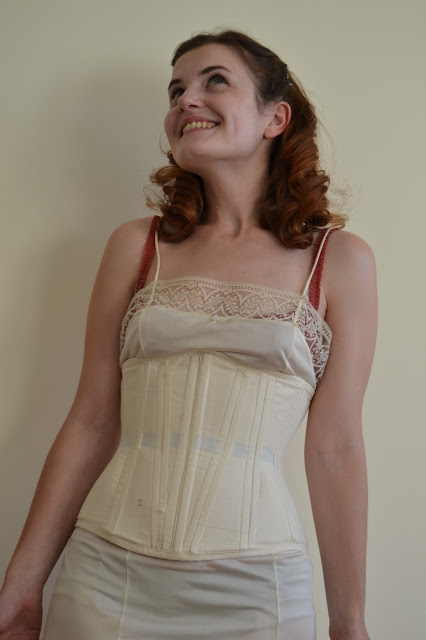
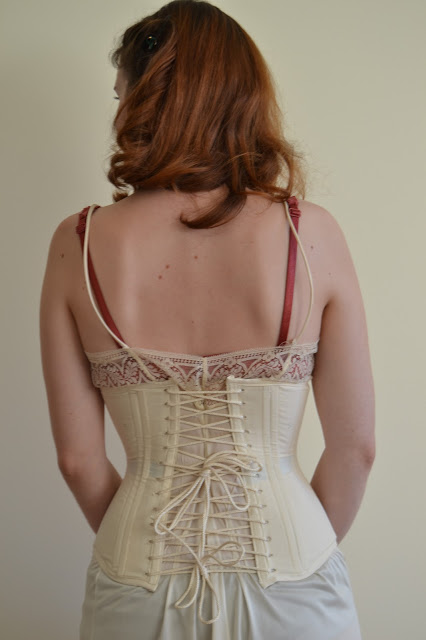
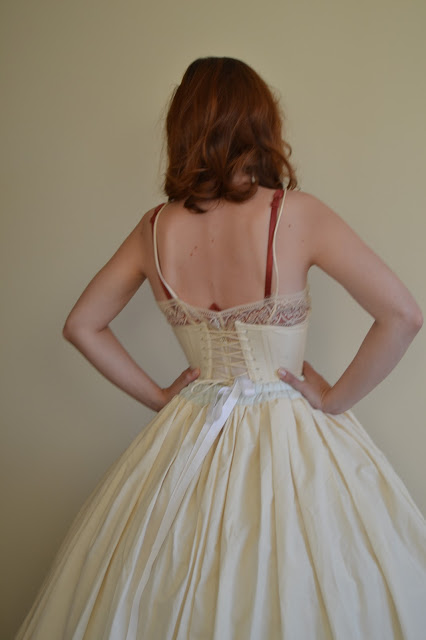
It’s made of heavy muslin (or coutil in the corset world). I am pretty happy with it being my first corset but I would make some changes for the next one. I wasn’t able to find spiral metal boning in any notion stores in Valencia so I had to use plastic boning. Not bad for a night but I don’t think it would be confortable for a longer time. Nor was I able to find a busk to close and open the front. So I have to lace it open everytime I want to wear it.
The pattern is made from my measurements and is amazing. I found it here, the fit is perfect and it’s very easy to follow and make, you just need a piece of paper, a ruler and a calculator. The same girl also has a tutorial on how to sew the corset here. I didn’t make the same flat-felt seams, just regular seams with slip-in-the-ditch to create boning channels.
I didn’t have metal grommets so I sewed them by hand like small buttonholes. Took me a whole movie, not so bad…
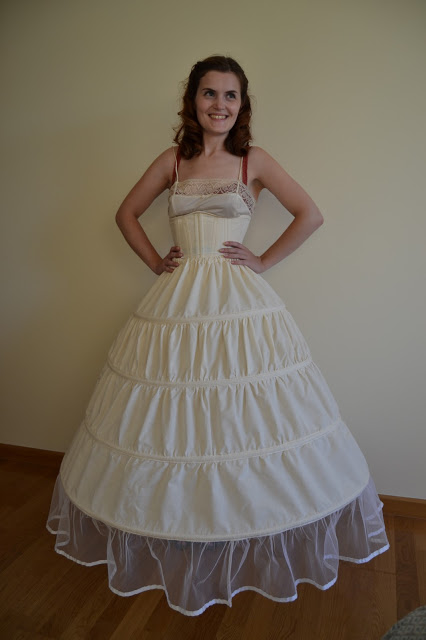
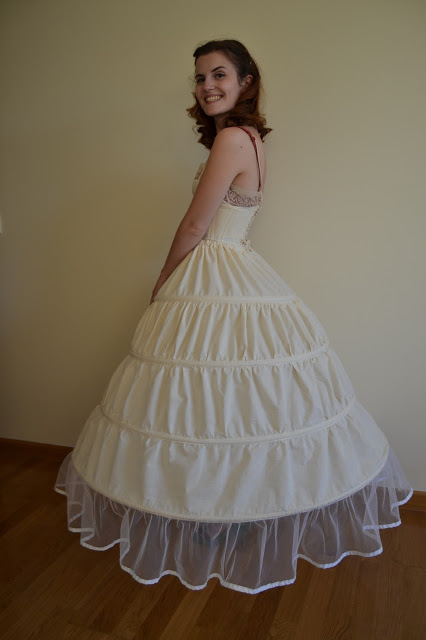
Here is the hoop-skirt: the most important part of the costume as it support the whole dress. The volume depends of how many hoops you add and the width. Here is how I made mine:
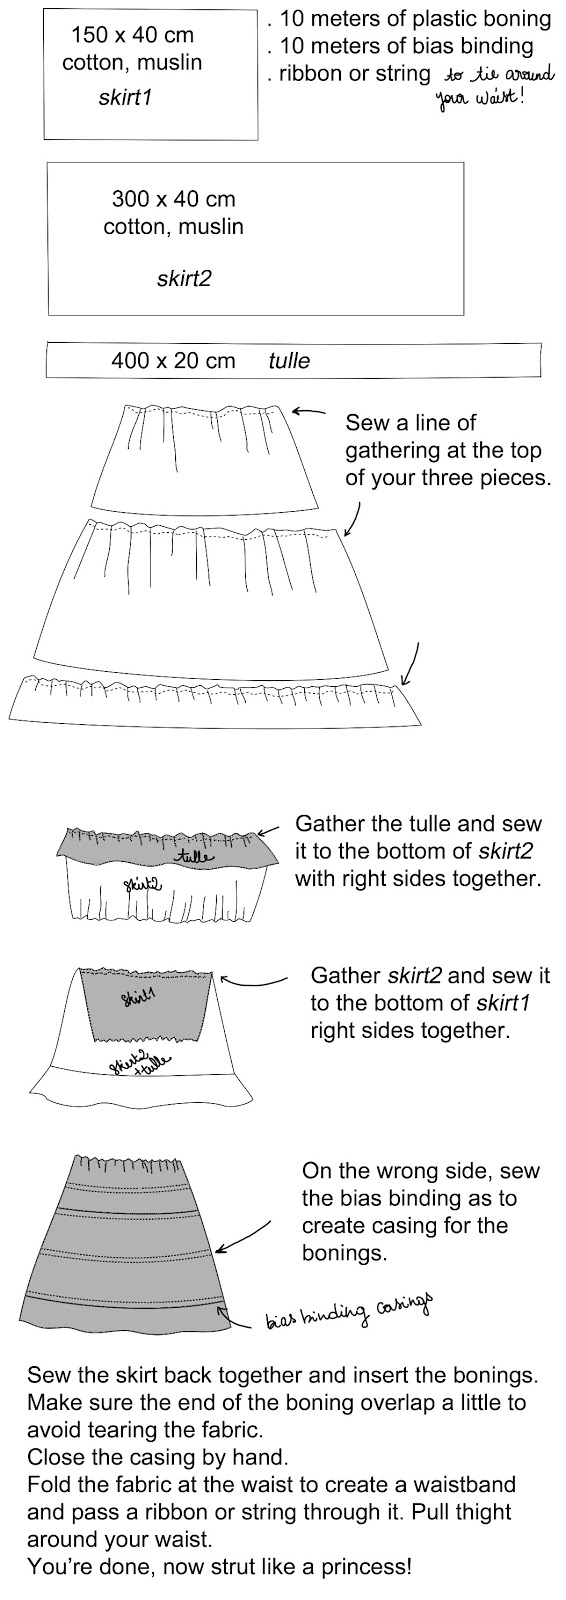
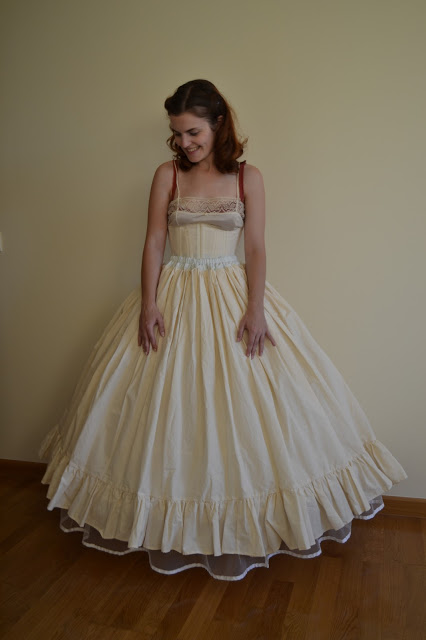
Now the underskirt: you need it to cover the hoop skirt and smooth the boning lines. It’s very simple to make: gather a big rectangle of fabric! For example, mine is 4 meters wide (it has to be wider than the hoop skirt, important). I made a small gathered flounce at the bottom (6 meters x 20 cm) and sew it to the big piece. I also made a separate waistband so it would be easier to gather the ribbon around my waist to close the skirt.
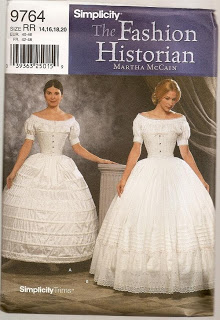
I also found this pattern on the internet but I think it’s out of print. Maybe you can find it on ebay or etsy.
And for the umbrella, I found the recover tutorial here. I had a vintage umbrella from the 20’s with a broken fabric so I decided to recover it. It’s not difficult to do and it’s a great way to customize an old umbrella.
I hope it was useful and that you enjoyed it. If you’re still reading, sorry, this has to be the longest post ever 🙂 If you have any questions, just ask in the comment section, I’d be happy to help.
Have a nice week end!

