10.4K

 Place your pieces WRONG SIDES together (yes, yes, wrong sides, I know it’s weird!). Pin and stitch together (note: 1,5 cm or 5/8″ seam allowances included in the pattern).
 Press the seam allowances to one side.
 Trim the bottom seam allowance to a minimum (about 0.5 cm or 3/16″).

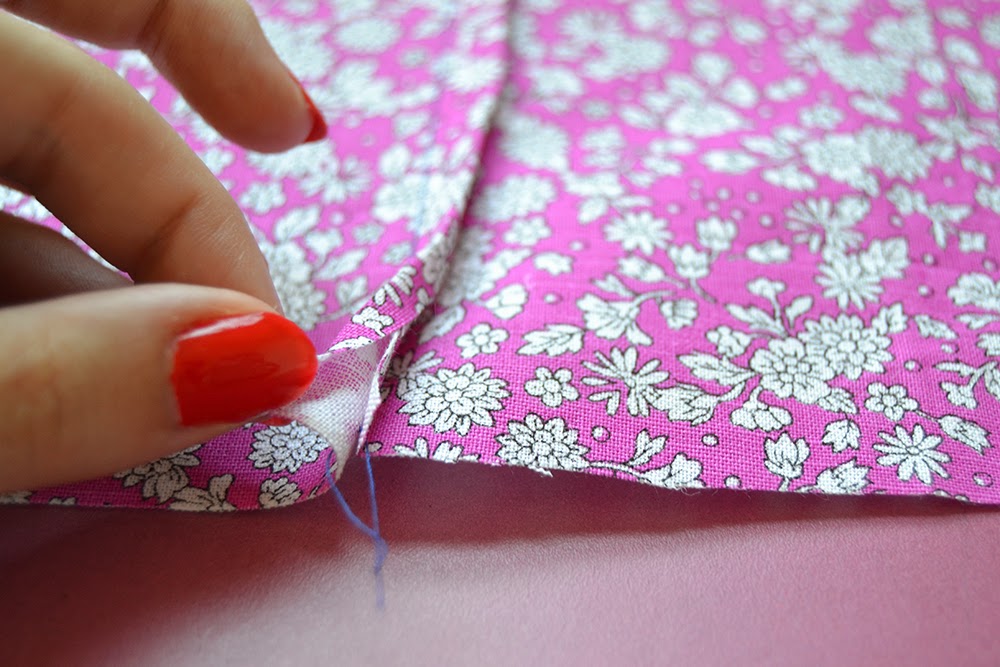 Fold the superior seam allowance over the trimmed one. It should enclose the bottom seam allowance. Press.

 Stitch very close to the folded edge. Try to keep your stitches parallel to the first stitching line.
One thing you need to know is that I don’t have a serger. It means I’m obsessed about seam allowances and how to finish them neatly so they don’t fray or even show on the inside. My favourite techniques are lining (I line everything I can, now you know why the Alameda dress is fully lined!), french seams, bias binding and when there is no other solution, the zig-zag stitch (the less, the better).
But with trousers, there is another seam available, which is strong, beautiful on the outside AND on the inside and leaves all the raw edges enclosed: the flat-fell seam!
So let’s see how to make this flat-fell seam as you’re going to use it on your Turia dungarees. This is also the typical seam you can find on denim trousers or men shirts.
FLAT-FELL SEAM
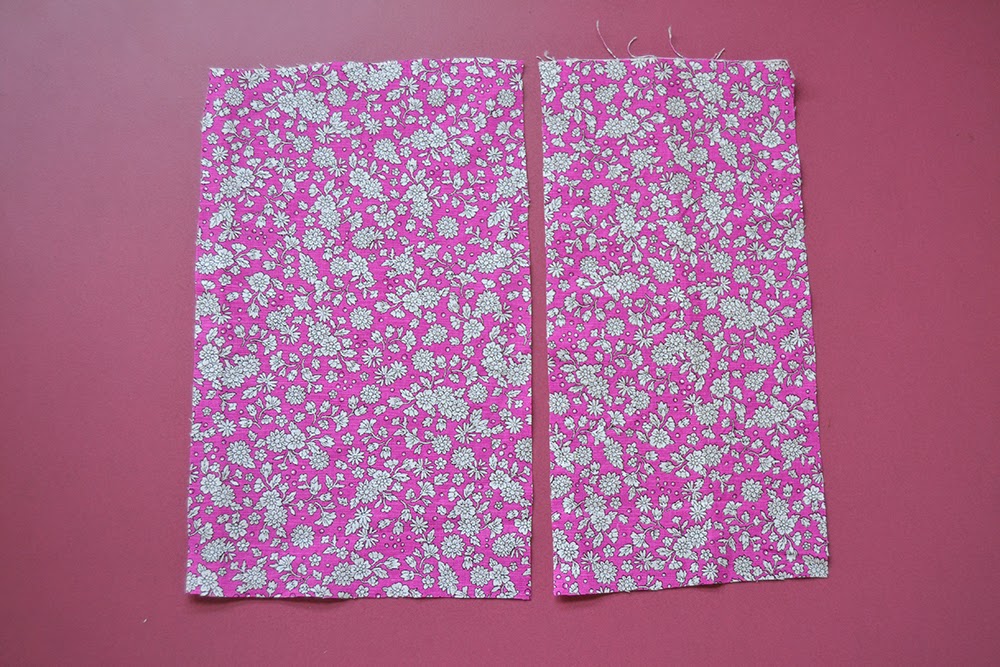
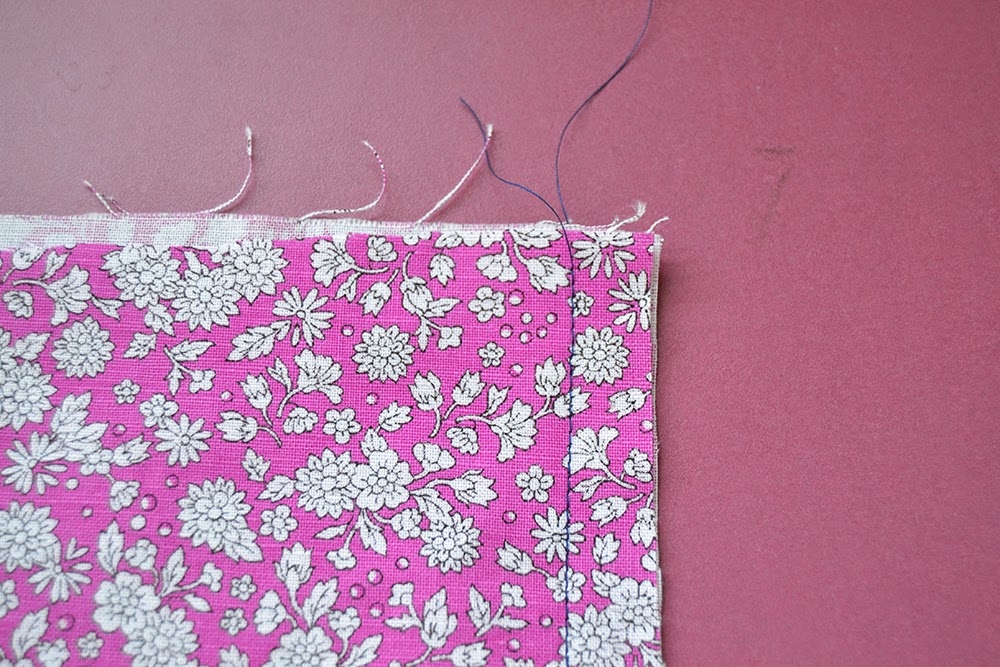 Place your pieces WRONG SIDES together (yes, yes, wrong sides, I know it’s weird!). Pin and stitch together (note: 1,5 cm or 5/8″ seam allowances included in the pattern).
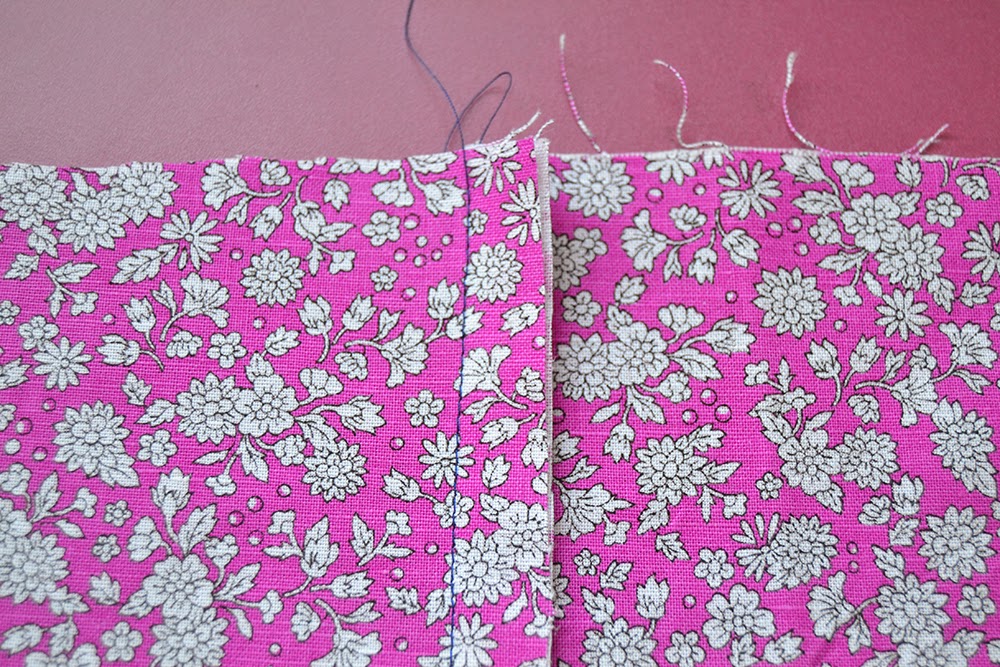 Press the seam allowances to one side.
Note: for the center front and center back seam, it’s important to press the seam in the opposite direction if you want them to match at the crotch. For example, press the center front seam allowances to the right and the center back seam allowances to the left.
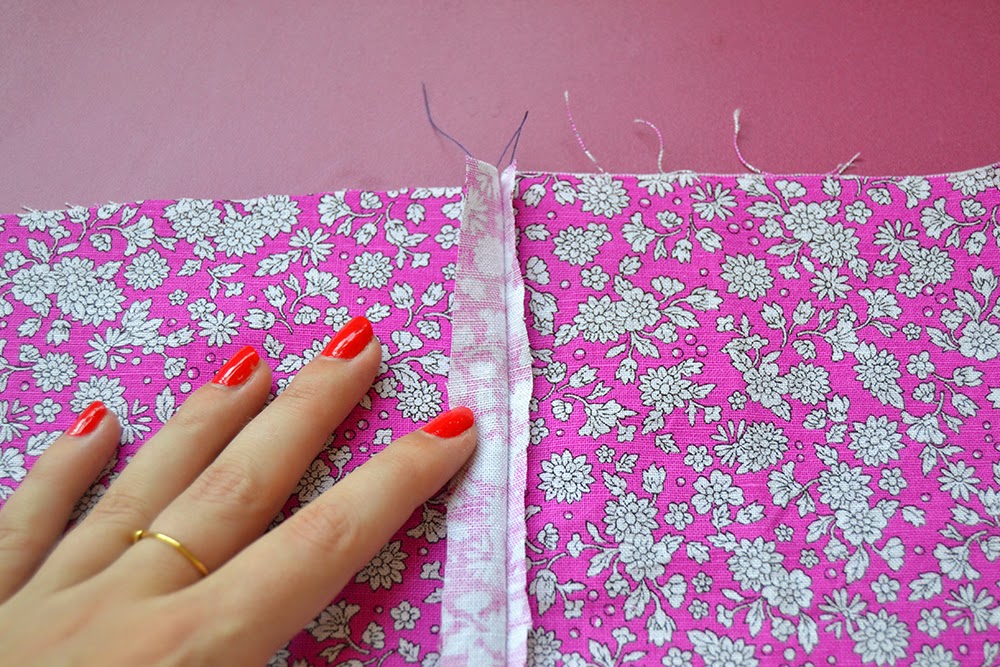 Trim the bottom seam allowance to a minimum (about 0.5 cm or 3/16″).
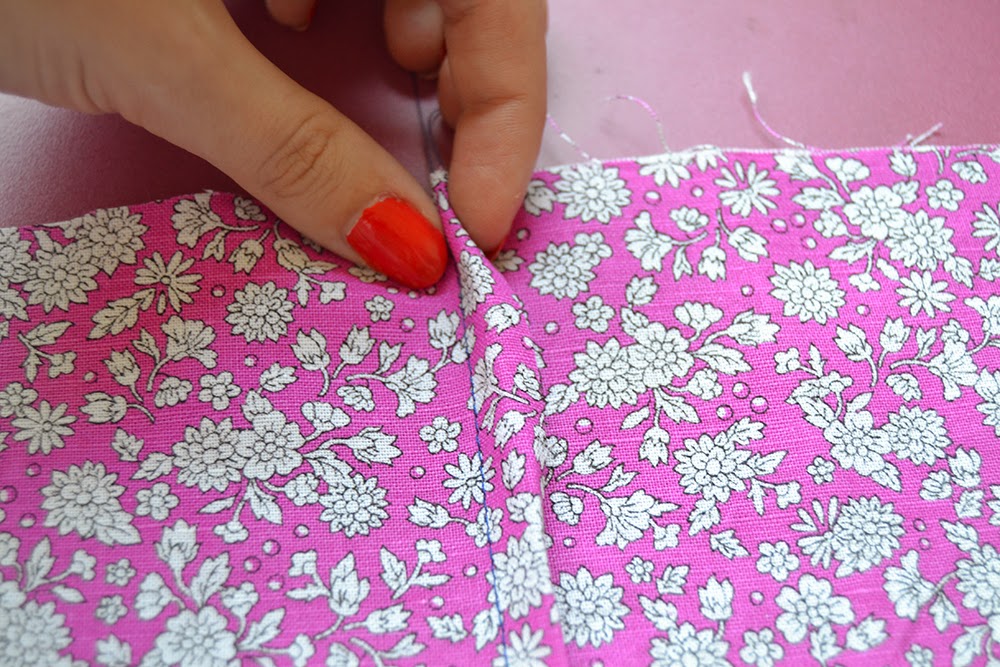
 Fold the superior seam allowance over the trimmed one. It should enclose the bottom seam allowance. Press.
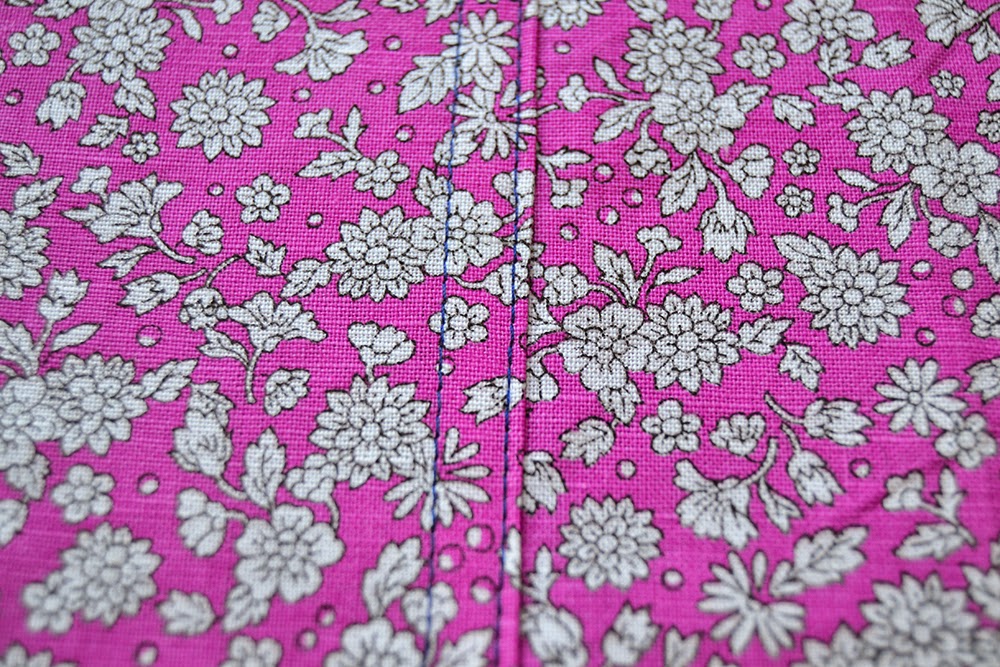
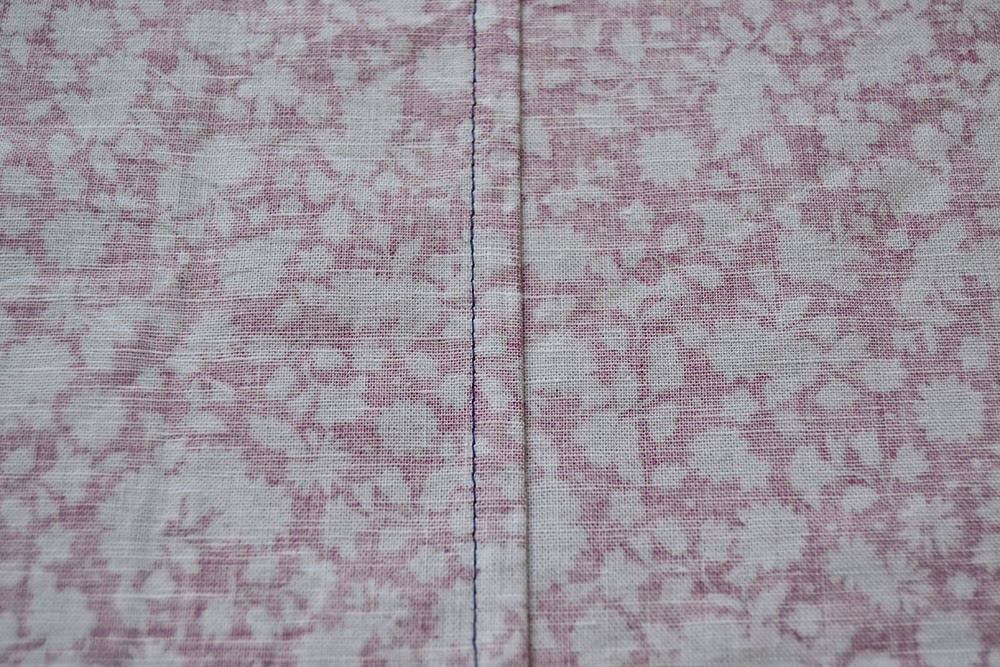 Stitch very close to the folded edge. Try to keep your stitches parallel to the first stitching line.
There you go: a very strong and clean seam with double topstitching from the right side and no raw edges on the inside.
Did you know the flat-fell seam? I hope you’re going to use it on your sewing projects, it’s a great technique!


7 comments
Que bien lo explicas! .
Bravo guapísima! !.
Besitos guapa
¡Gracias Sonia!
Thank you so much for this tutorial. I've never encountered flat-fell seam before but it seems to be very pretty and give a clean finish. I'm going to try!
Yes, try it! It's easy, give a clean finish with all raw edges enclosed and it's very strong, so good for seams which are going to suffer lots of stress, like inseams.
Bonjour Pauline, tu as écrit "endroit contre endroit" mais tu pensais "envers contre envers" je crois! Pas facile d'avoir un blog trilingue.
Merci en tout cas, je n'ai encore jamais utilisé ce type de couture. Continue à nous faire rêver avec tes jolies créations et tes superbes photos!
Pauline.
Merci, c'est changé! Ah dur dur de ne pas se mélanger les pinceaux entre toutes ces langues 😉
aww thank you do much.