5.2K

Edit:
I created a Camí Sew-Along flicker group so you can post pictures of your on-going project, show your fabric… But if you have any questions, better ask them here so everybody can see the answer!
And at the end of the Sew-Along, send me a picture of your finished dress and we’ll make a big finish with all your creations!
Now that you have made your muslin and the needed alterations to your pattern, it’s time to cut your fabric (after having washed and pressed previously to avoid any shrinkage).
We’ll prepare the pieces that need to be interfaced.
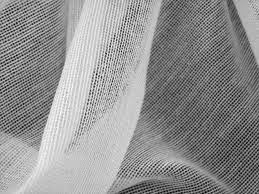
A word on interfacing: it should always match in weight your fabric, or be lighter. As the fabrics recommended for the Camí dress are light, use a lightweight interfacing. I like to use light weft interfacing (it’s a mix between knit and woven interfacing: it has the stability of woven interfacing but still has the drapeability of the knit). It’s available almost everywhere. Here’s a picture of how it looks (it also comes in black):
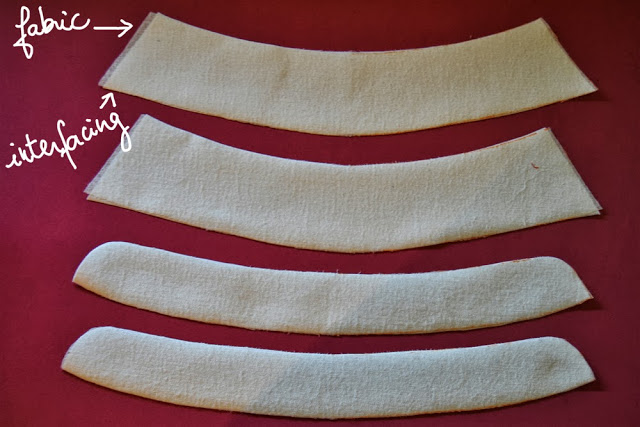
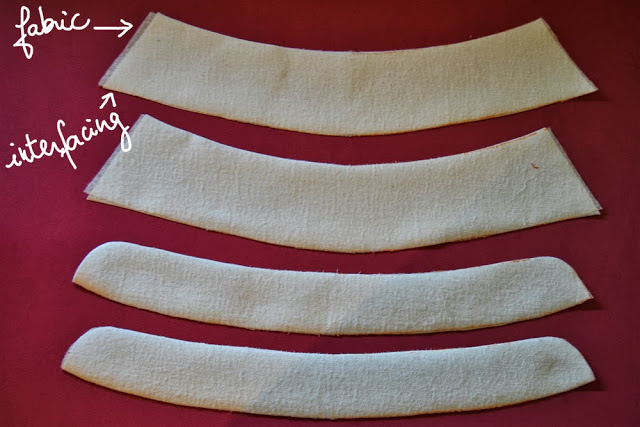
1. Cut your collar pieces on the interfacing: 2 under collar pieces and 2 upper collar pieces. Place them over their corresponding fabric piece, the interfacing glue facing the fabric wrong side. Take your iron, spritz a little of water over the piece and steam-press the interfacing to the fabric. You might want to use a press-cloth just in case some glue get onto your iron. Repeat for the other collar pieces.
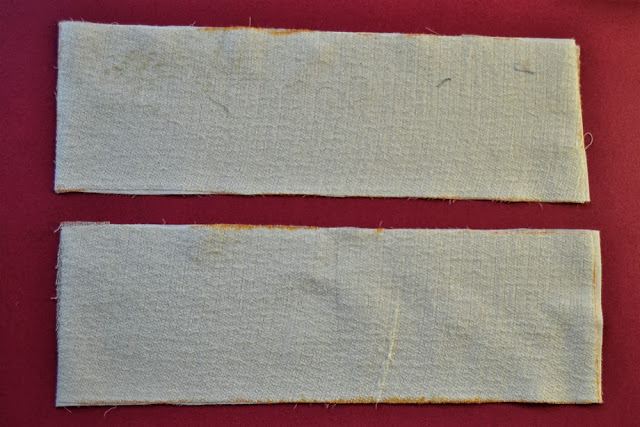
2.The same goes for the cuffs. Cut the 4 cuff pieces (sorry, only picture of 2), put them over the fabric and steam-press.
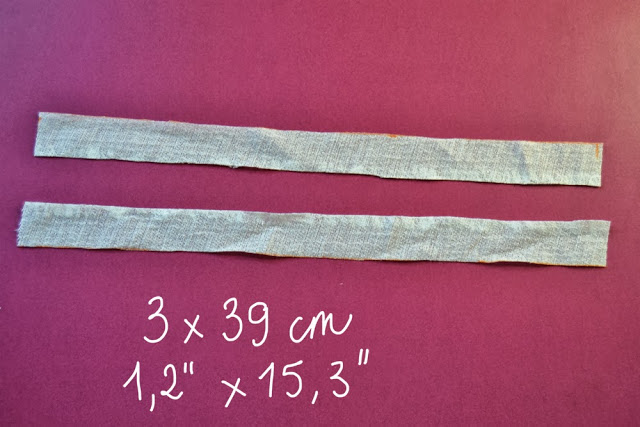
3.Now for the button placket, cut 2 strips of interfacing of 3×39 cm (or 1,2″x15,3″). They correspond to the pattern piece A.
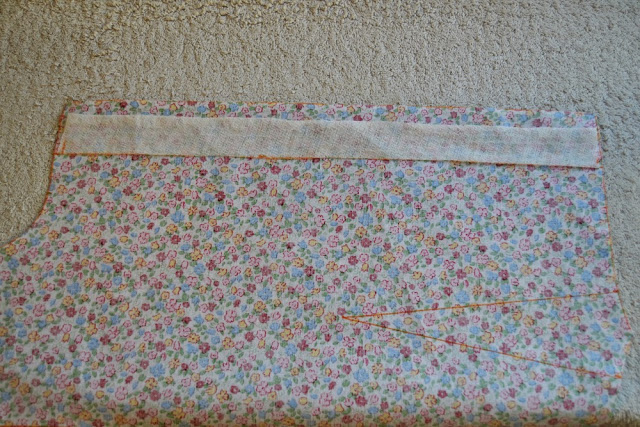
4.Take your bodice front, wrong side facing up, and place the interfacing strip (glue facing down) between the marks. Steam-press. Repeat on the other side.
There you go! Wednesday we’ll actually start sewing our bodice. I remind you that you can find the schedule and the links to the previous Sew-Along posts here.


7 comments
Hola!!
Muy bien explicado todo, y la explicación de la entretela me va genial!! Yo la pongo siempre un poco a ojo. Tengo una que debe ser parecida a la que explicas: es como de tela de punto ¿no?
Otra cosa, veo que la entretela va por toda la pieza, incluidos márgenes de costura ¿no? Es que es una duda que siempre he tenido y nunca sé si lo hgo bien.
Besicos
Hola guapa. Si se parece a una entretela de punto. Me gusta mucho porque no es tan tiesa que la tejida.
Por los márgenes en la entretela, yo los incluyo siempre, así no tengo que dibujar otra ieza de patrón especial. Como despues vas recortando los márgenes, no molesta.
Pero no creo que hay una manera correcta, cada una sus trucos 😉
Te cuento lo de la entretela, muy fácil, pide en la tienda entretela de punto!
Hay veces que tenemos la solución al lado y no caemos.
Gracias por todo
¡Gracias Charo! Como en inglés el nombre es diferente que la de punto, pensaba que en español también era diferente. Tendría que verme en la tienda, voy explicandome medio en francés, medio en inglés, enseñando y dibujando lo que quiero porque no conozco los nombres tecnicos en español (pero tengo suerte, en mi tienda, ya me conocen y saben lo que quiero). Un besito
Perfecto explicado!!.
Deseando ver mas!!
Besitos
Gracias Sonia!
Genial. Hasta ahora facilito.
Comments are closed.