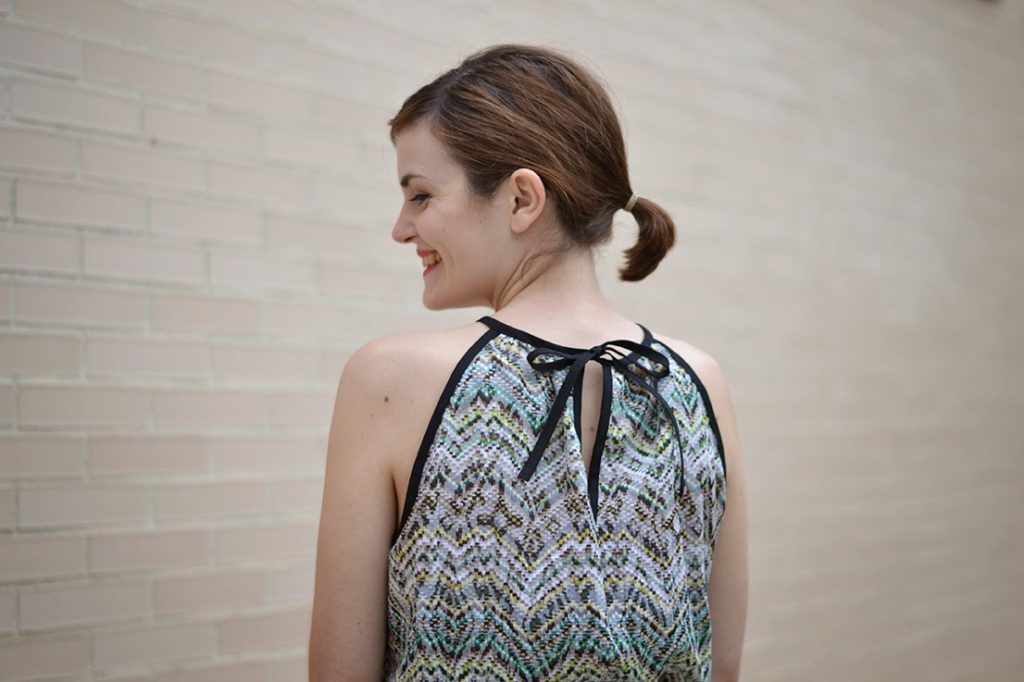
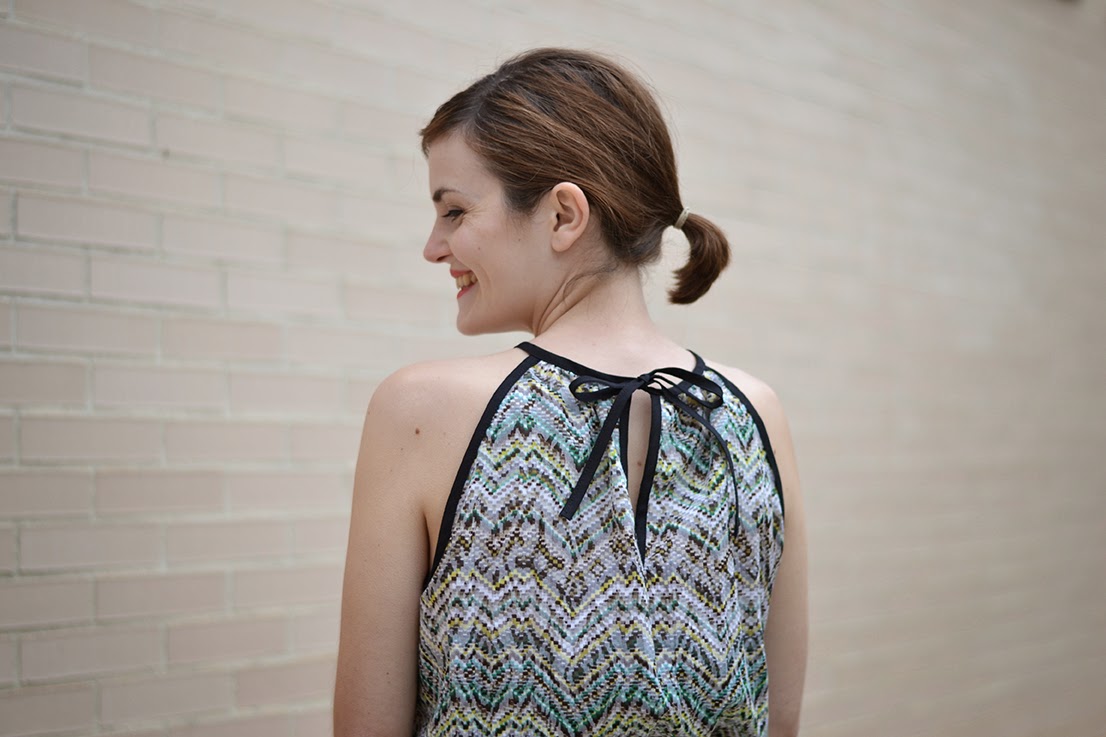
This tutorial might come in handy if you’re making the new Eliana dress pattern as this is the technique used to make the front/back opening on the bodice.
It’s quite easy and produces such great results. If you are making a blouse or shirt, using sheer or lightweight fabric and want to add a vent to a one-piece sleeve or an opening on the bodice, this tutorial definitely is for you!
Supplies:
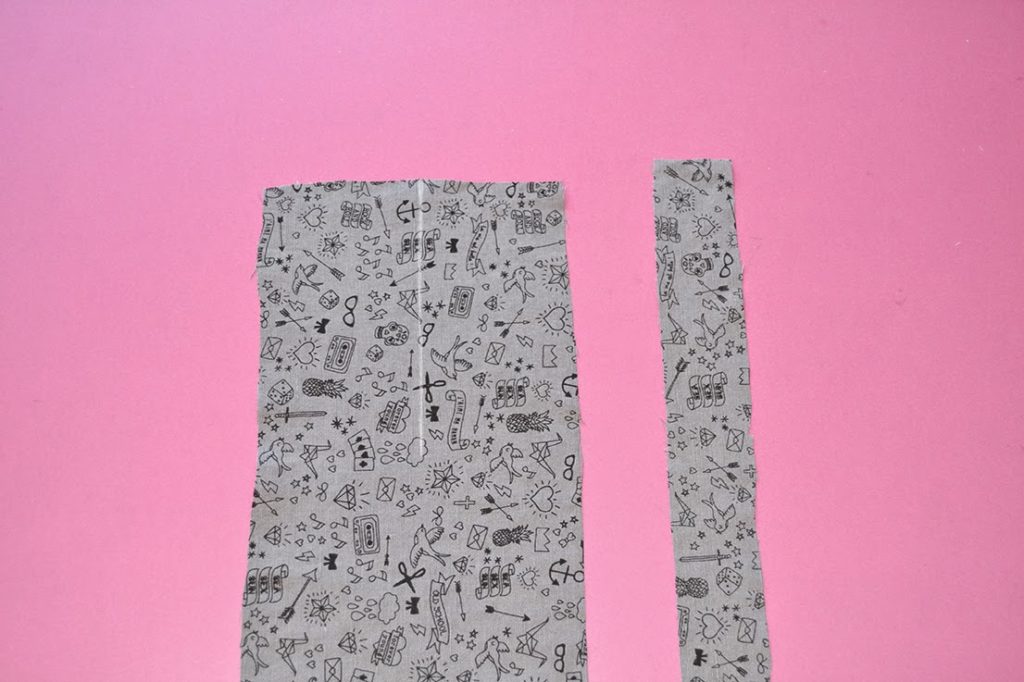
Step 1:
Cut the opening.
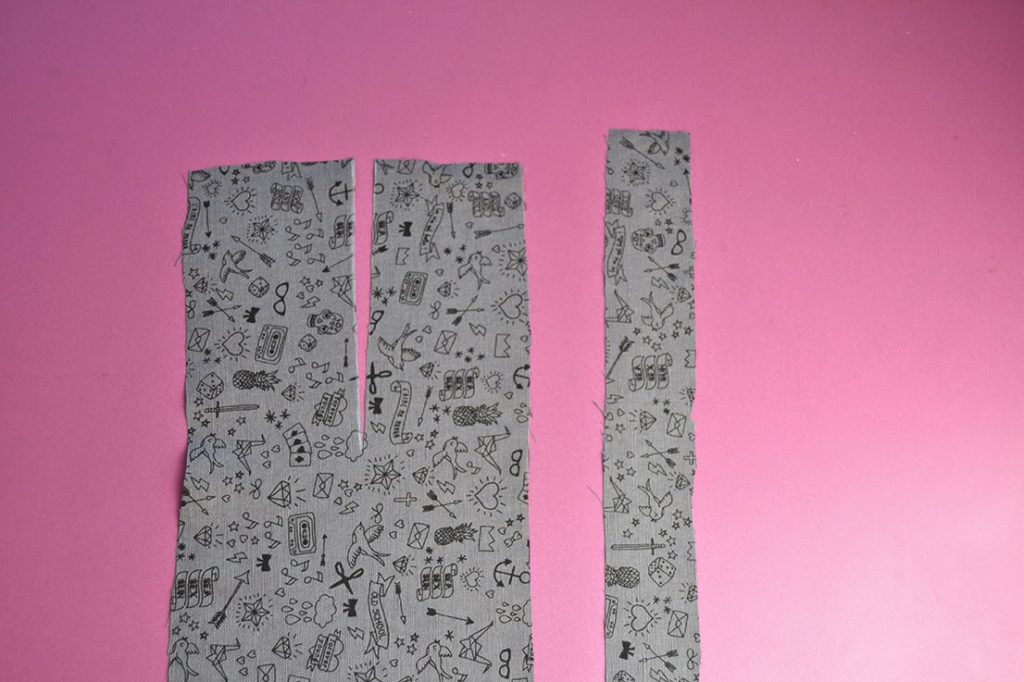
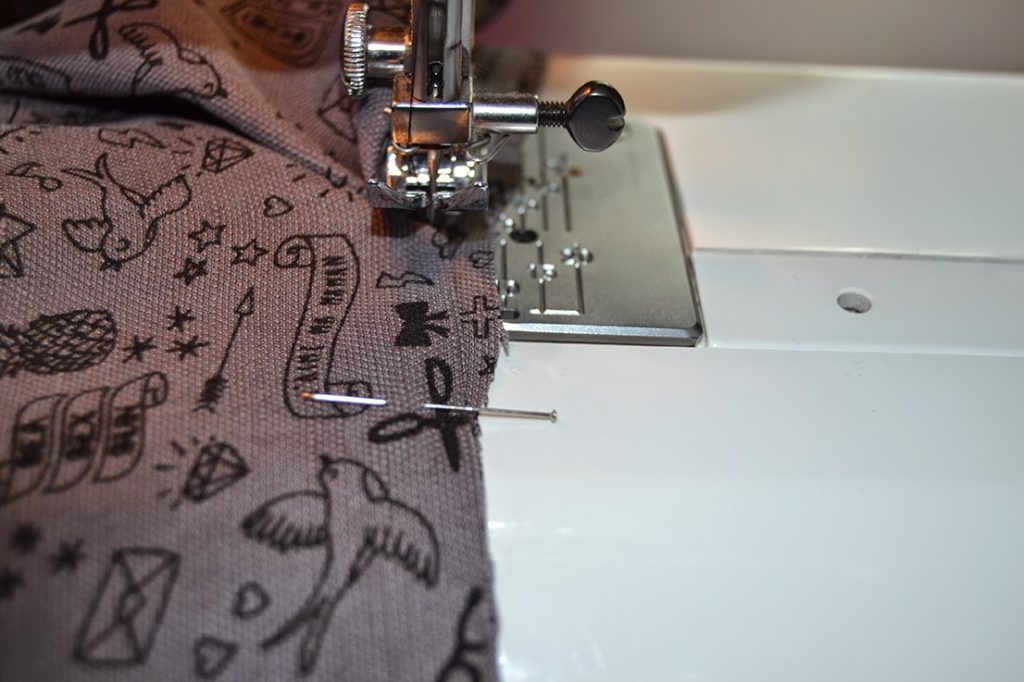
With right sides facing you, pin the sleeve/bodice opening and the vent together. The center of the sleeve/bodice opening will sit about 1/4″ from the vent edge, this will account for the pivot/shit of fabric.
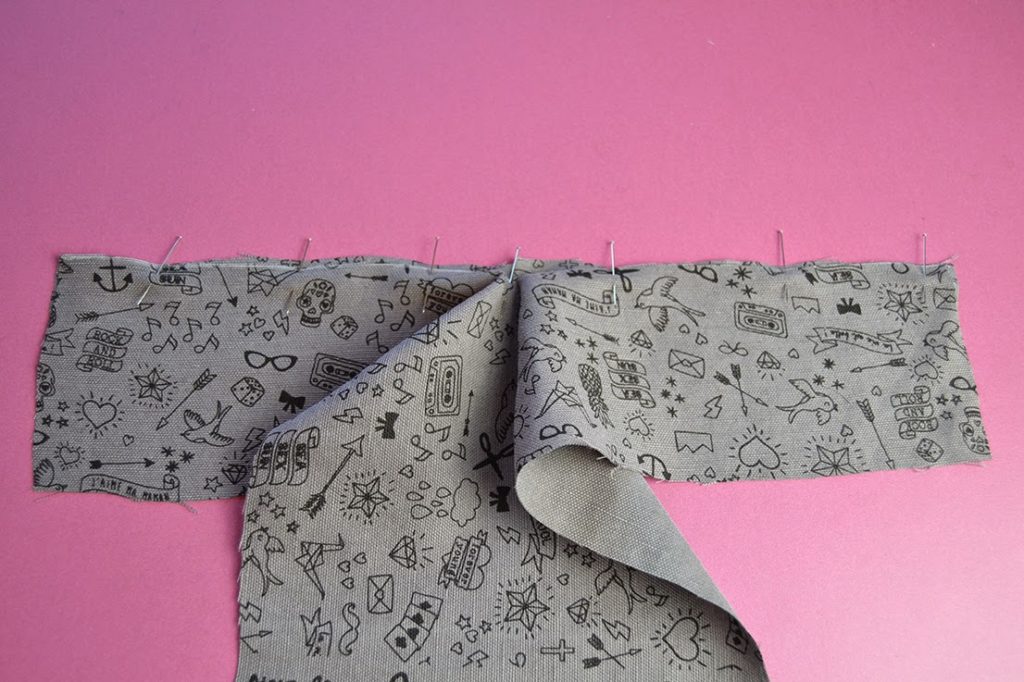
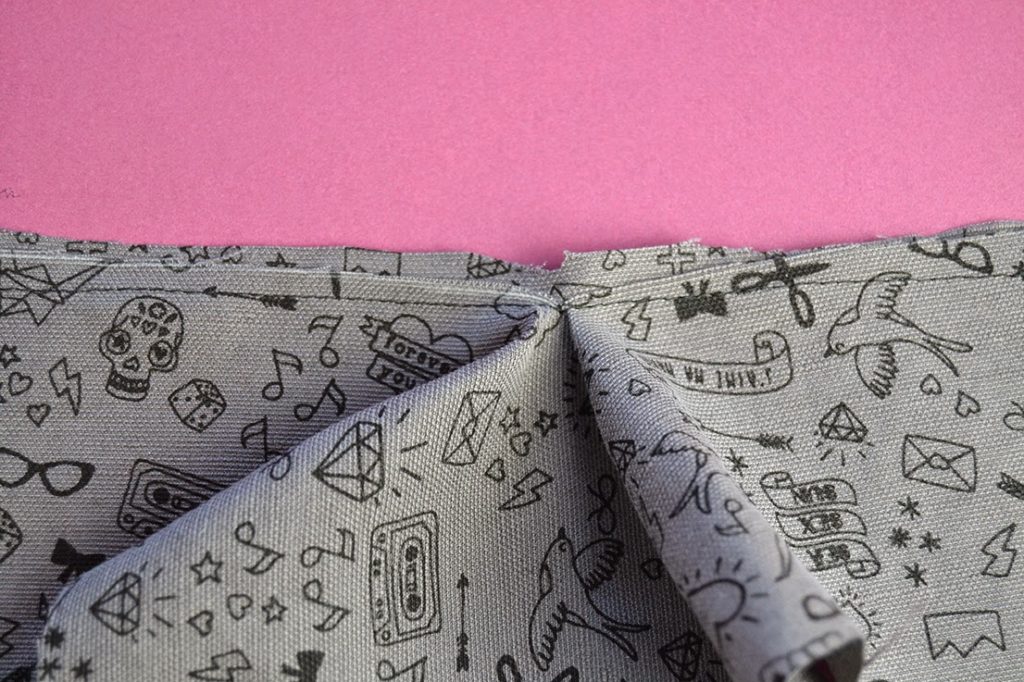
Step 3:Stitch 1/4″ from the edge. When you reach the center, put the needle down, lift the foot and pivot the fabric to the back. Make sure there is no fold at the corner: the stitching line is just barely on the sleeve/bodice.
Then continue until the end.
Step 4:
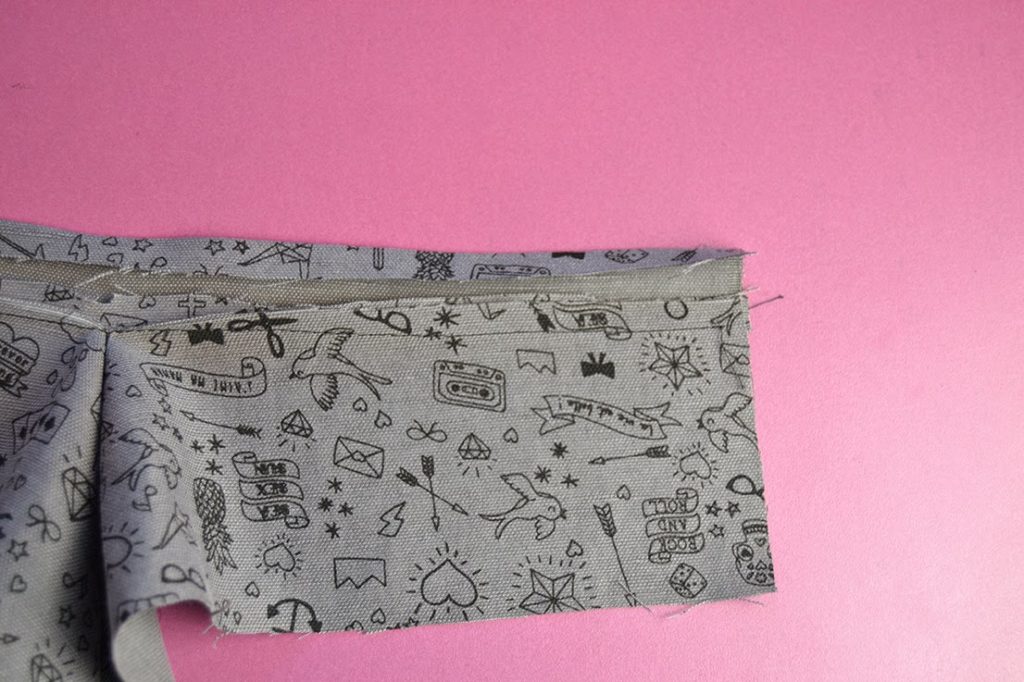
Press the seam allowance toward the vent. Then fold the other edge of the vent by 1/4″ and press.
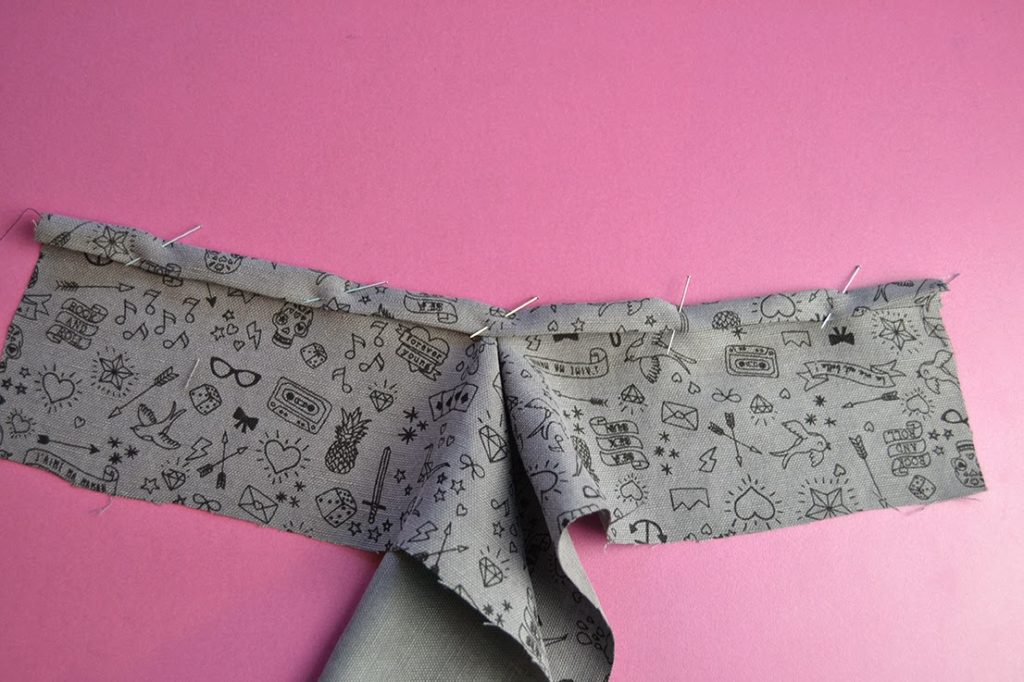
Fold the vent over the seam allowances. The folded edge of the vent should sit just over the stitching line. Pin in place.
Step 5:
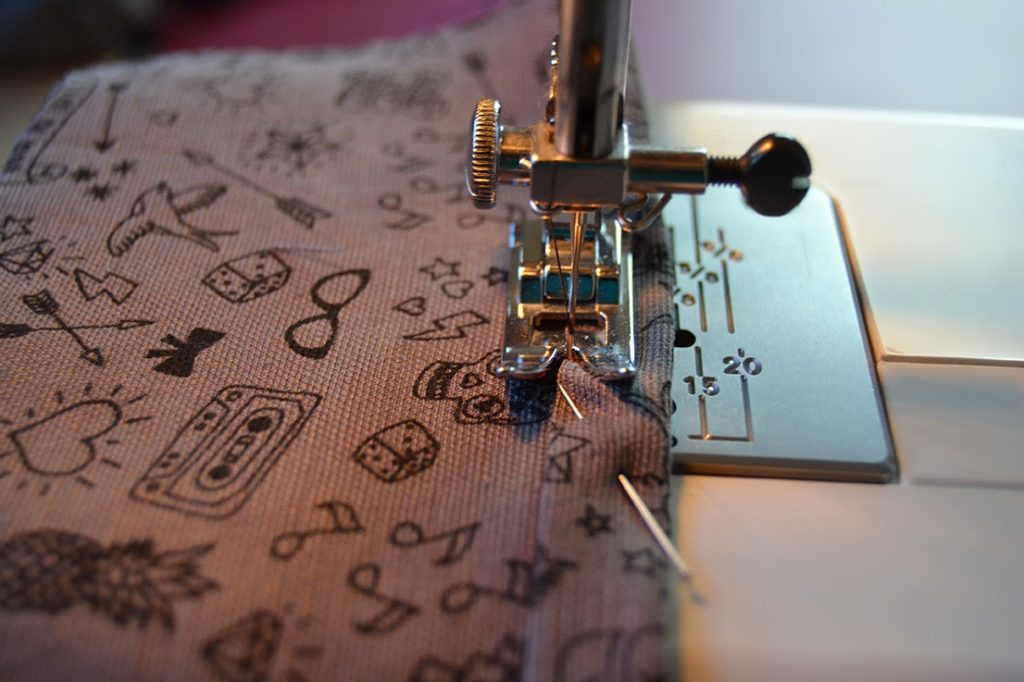
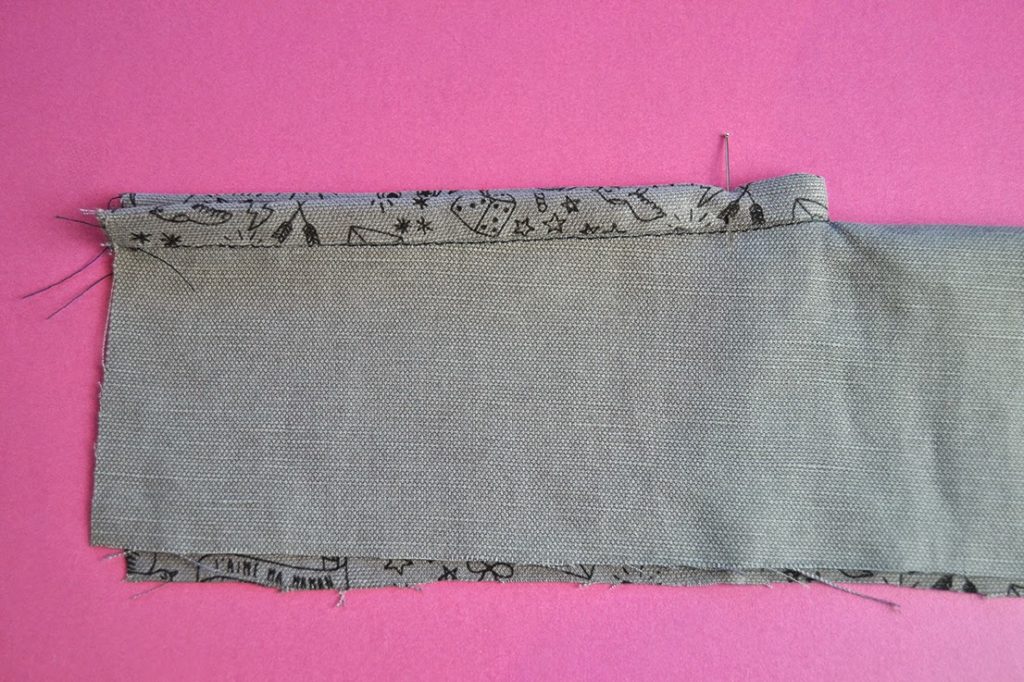
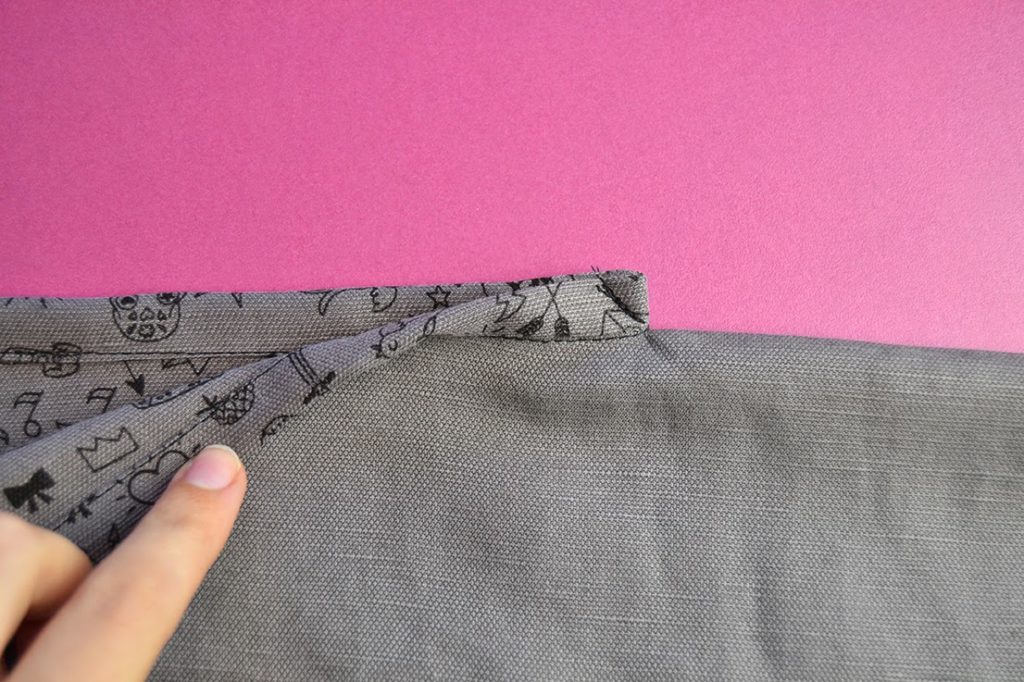
Edgestitch. Remember to pivot when you reach the center.
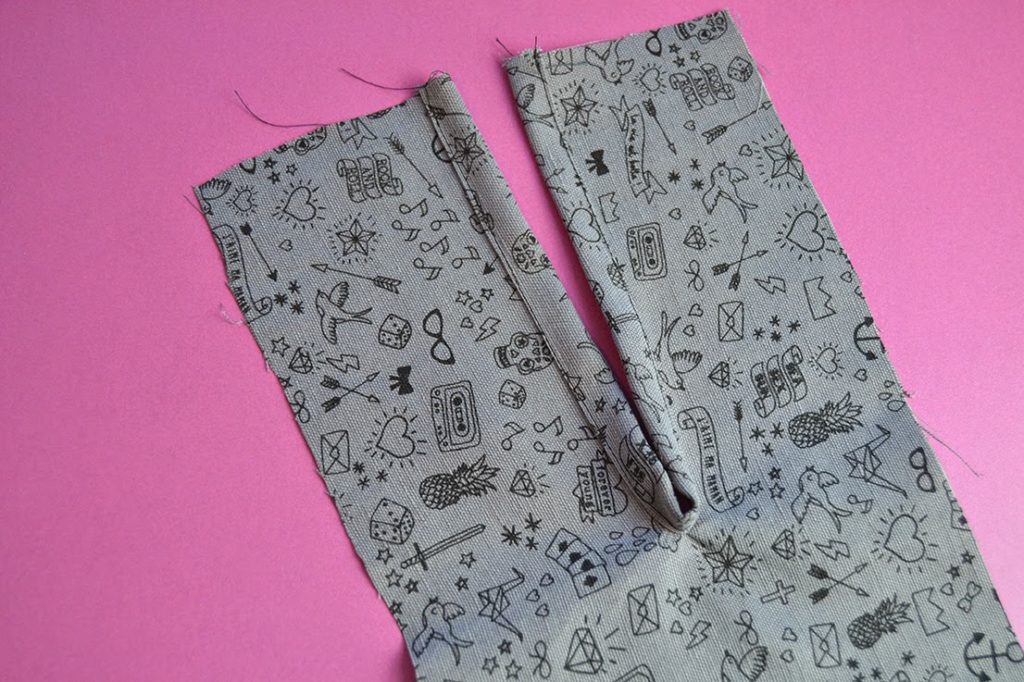
Fold the vent with right sides together. Stitch diagonally across the end, it will keep the vent inside and flat.
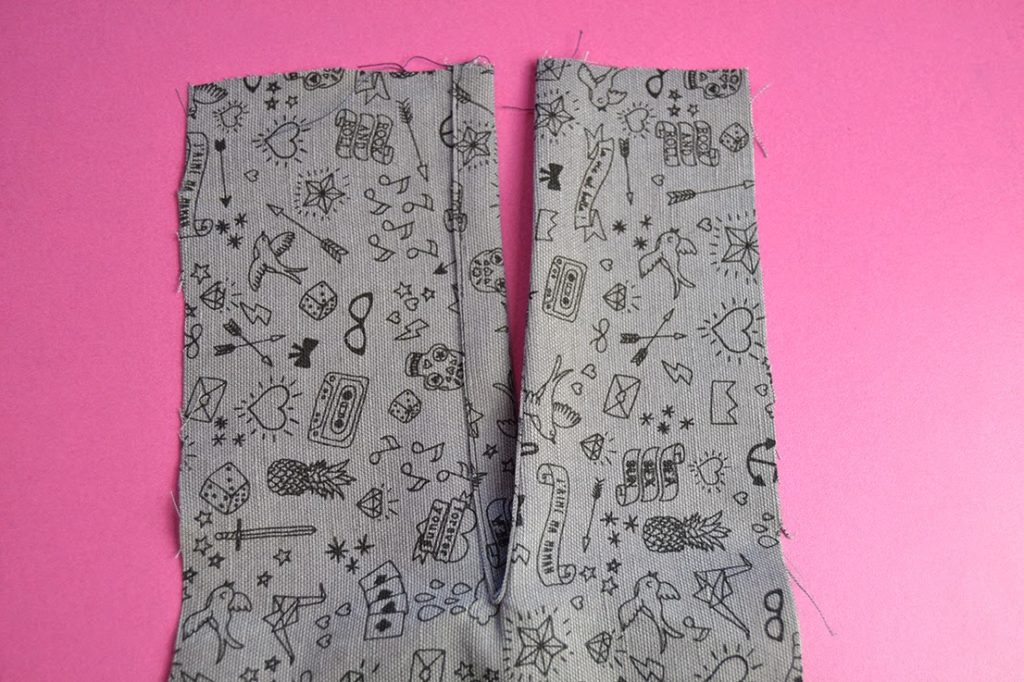
Press the vent to one side.


12 comments
Merci Pauline !!!
Est très clair, merci.
Sabrina
It couldn’t be clearer if you personally stood over one’s shoulder and told them what to do! you have a great way of explaining things!
Great tutorial. Thank you
Buenísimo, gracias.
¡Me han traído la Carme los Reyes! Así que, de esta primavera no puede pasar el hacérmela.
Plas plas plas!!!.
Fabulosa como siempre en tus explicaciones!
Besitos guapa
Great tutorial! Thanks! This will come in handy for the next summer blouses.
http://www.ninushko.com
Bonjour.
J'ai beau suivre les explications, j'ai des plis qui se forment au niveau de l'ouverture. J'ai défait et refait plusieurs fois mais j'ai toujours les des plis qui font que l'ouverture de la manche n'est pas jolie.
Bonjour Maude,
je sais que c'est une étape délicate et que c'est difficile d'obtenir une ouverture parfaite du premier coup. Est-ce que ton ouverture est bien placée en décalage sur le biais au niveua du milieu? Sur la 2e photo de l'étape 3, tu verras que le milieu de l'ouverture est positionnée à environ 1,3 cm du bord du biais, cela permet de pivoter le tissu plus facilement sans faire de plis.
N'hésite pas à m'envoyer une photo.
Je n'avais pas décalé le milieu de la fente par rapport au biais. Après avoir ré-essayer c'est bon, je n'ai plus les plis disgracieux.
Hola,
tan bien explicado como siempre, así da gusto.
Bessosss,
Silvia.
thank you for this tutorial. I will use this on the Eliana 🙂
You might like to add this to your “Tutorials and Techniques” as it doesn’t seem to be included there..